You know that feeling when you finally find the garden lantern idea that looks *exactly* right for your yard? That perfect blend of glow, style, and personality you’ve been saving to a Pinterest board for months. We’ve filtered through hundreds of options to bring you only what’s worth your attention this year. Here are 32 distinct, real-home-tested garden lantern ideas to inspire your own outdoor sanctuary. And stay until the end — we break down the most common mistakes that can ruin these looks. 📌 Save this to Pinterest for later — you’ll want to revisit these ideas.
1. Anchor a Pond with a Stone Pagoda Lantern
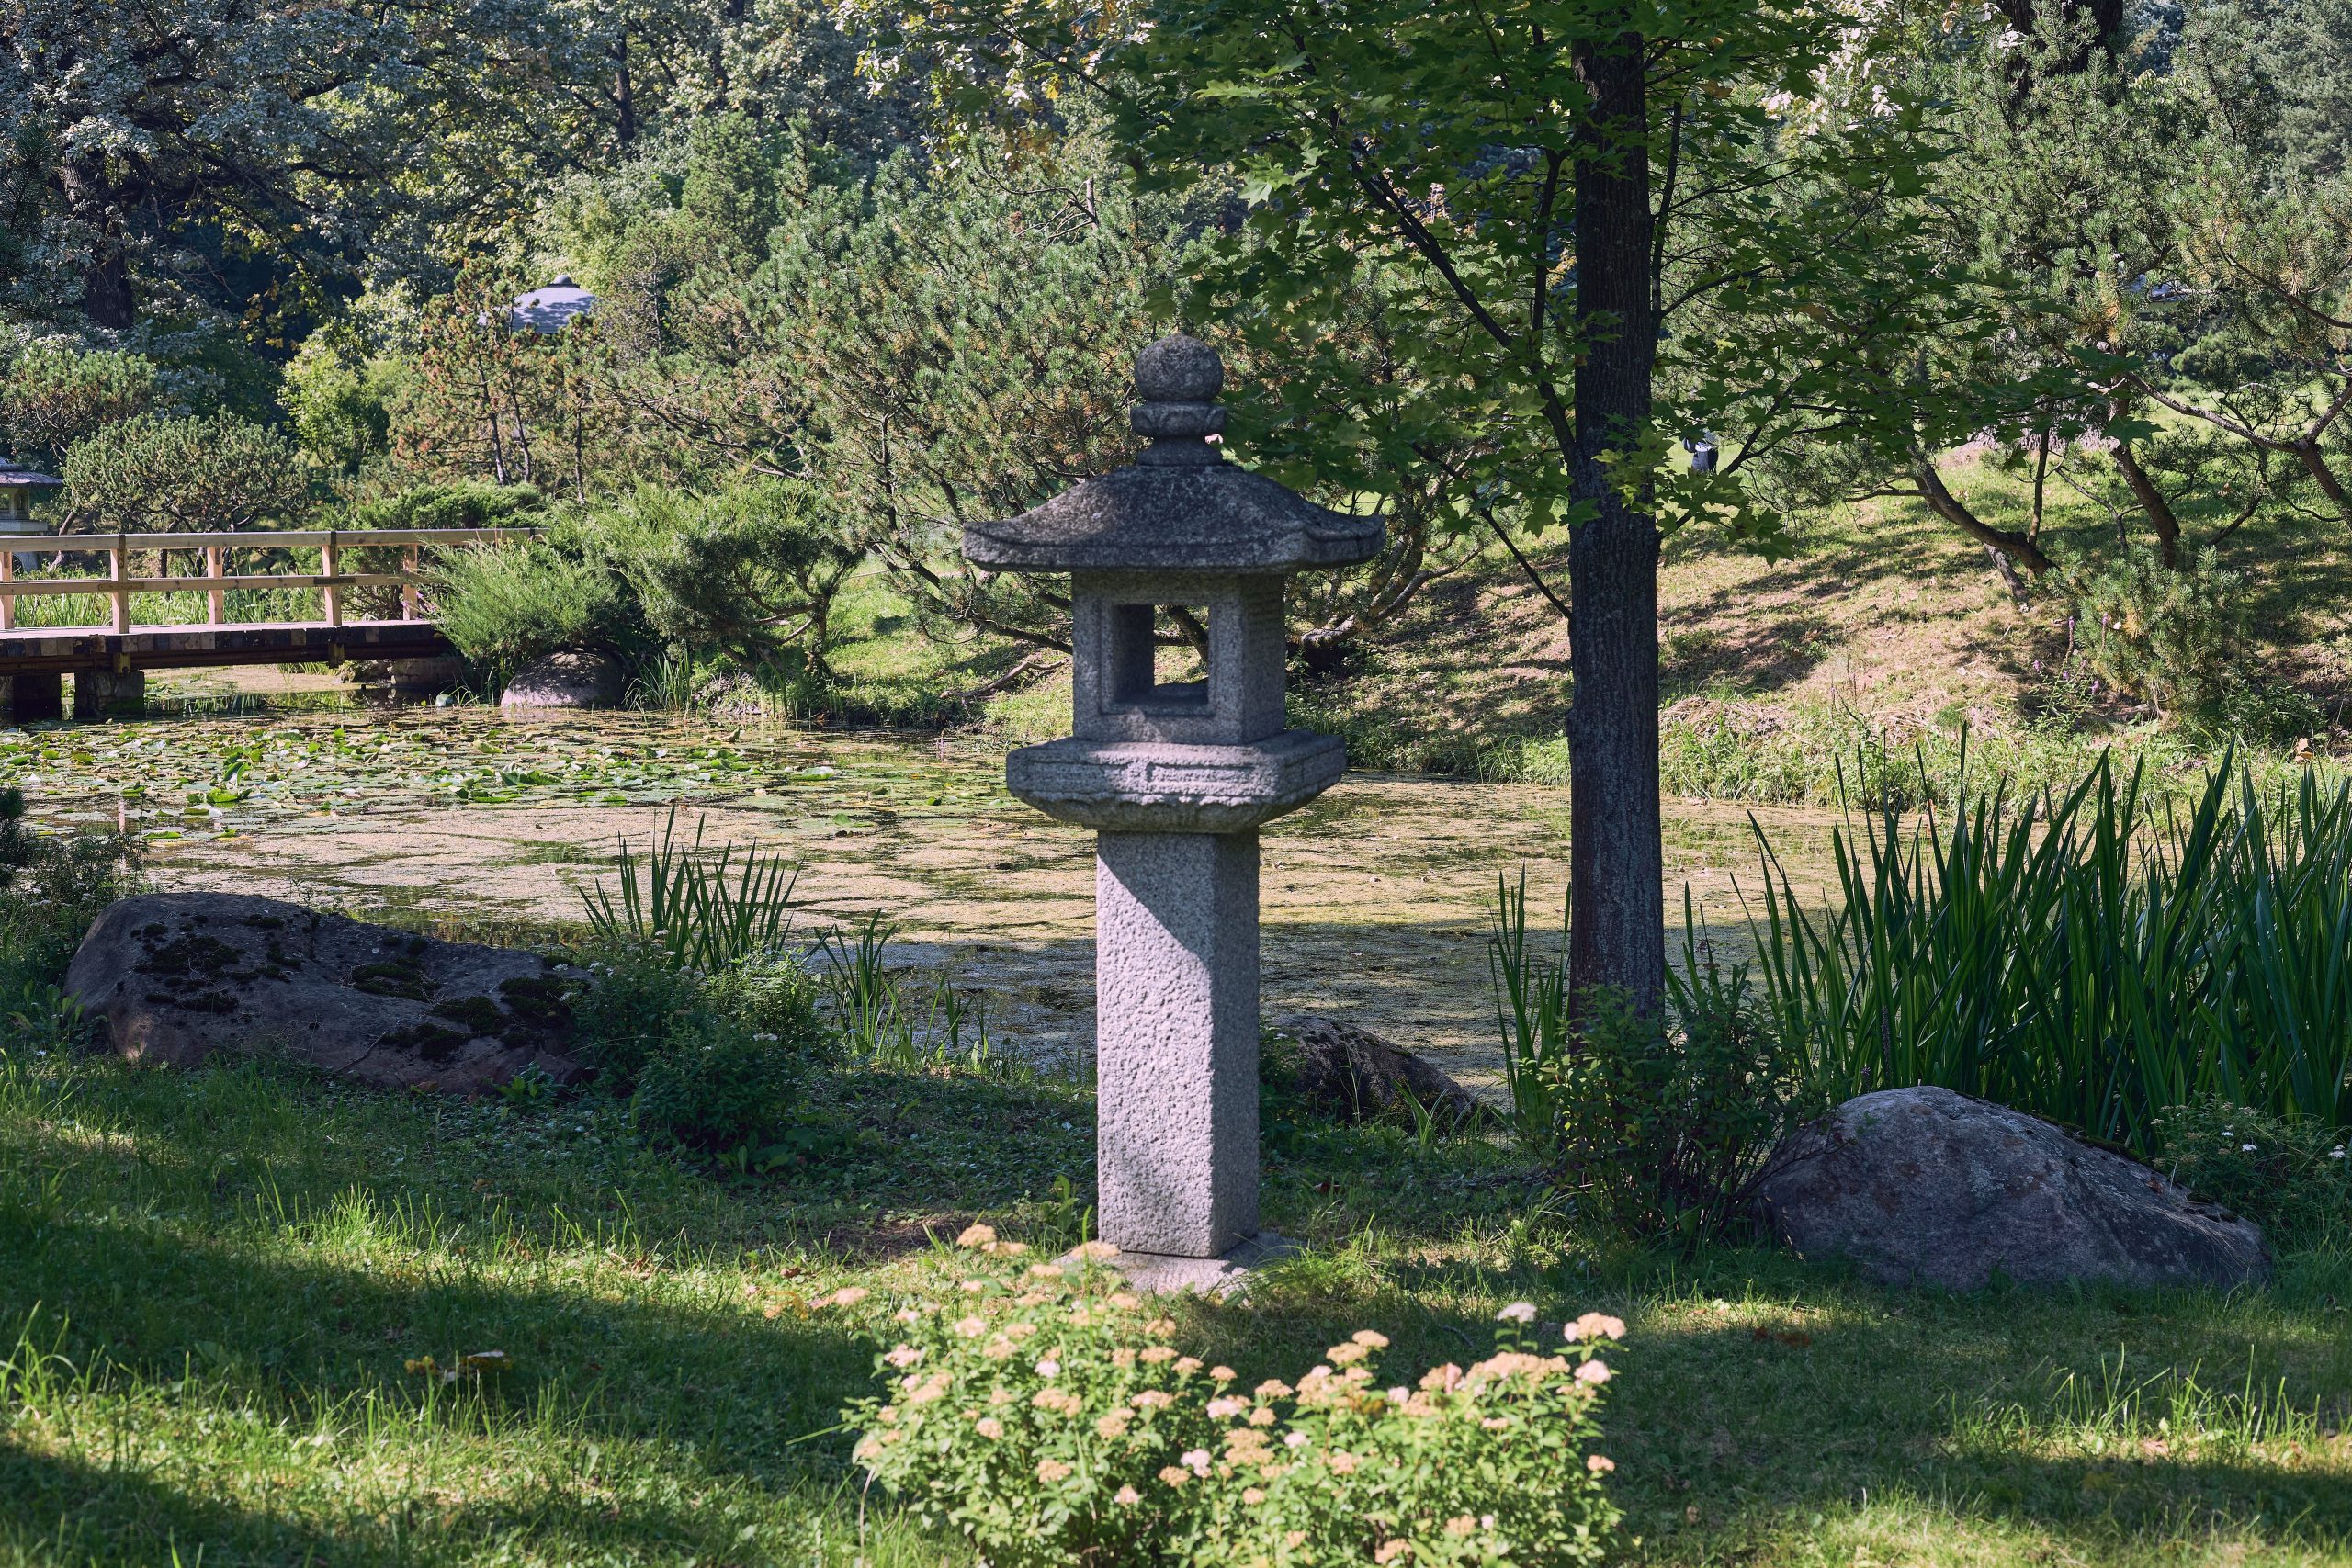
What makes this scene so compelling is the interplay of permanence and nature. The solid, gray stone pagoda lantern feels ancient and grounded, providing a strong vertical anchor. This stability creates a beautiful contrast with the soft, organic forms of the water lilies, the wild greenery, and the gentle curve of the light wood bridge. It’s a classic lesson in balance; the hardscape of the lantern and paving makes the surrounding softness feel even more lush and alive.
⚠️ Real Talk
When placing a feature lantern near water, position it where the afternoon or evening light will catch its reflection. You get double the impact—the physical lantern and its shimmering counterpart on the water’s surface. For a DIY pond, ensure the foundation for a heavy stone lantern is perfectly level and built up with packed gravel and a concrete paver; a slight tilt can become a major issue over time as the ground settles.
2. Hang Ornate White Moroccan Lanterns from Tree Branches
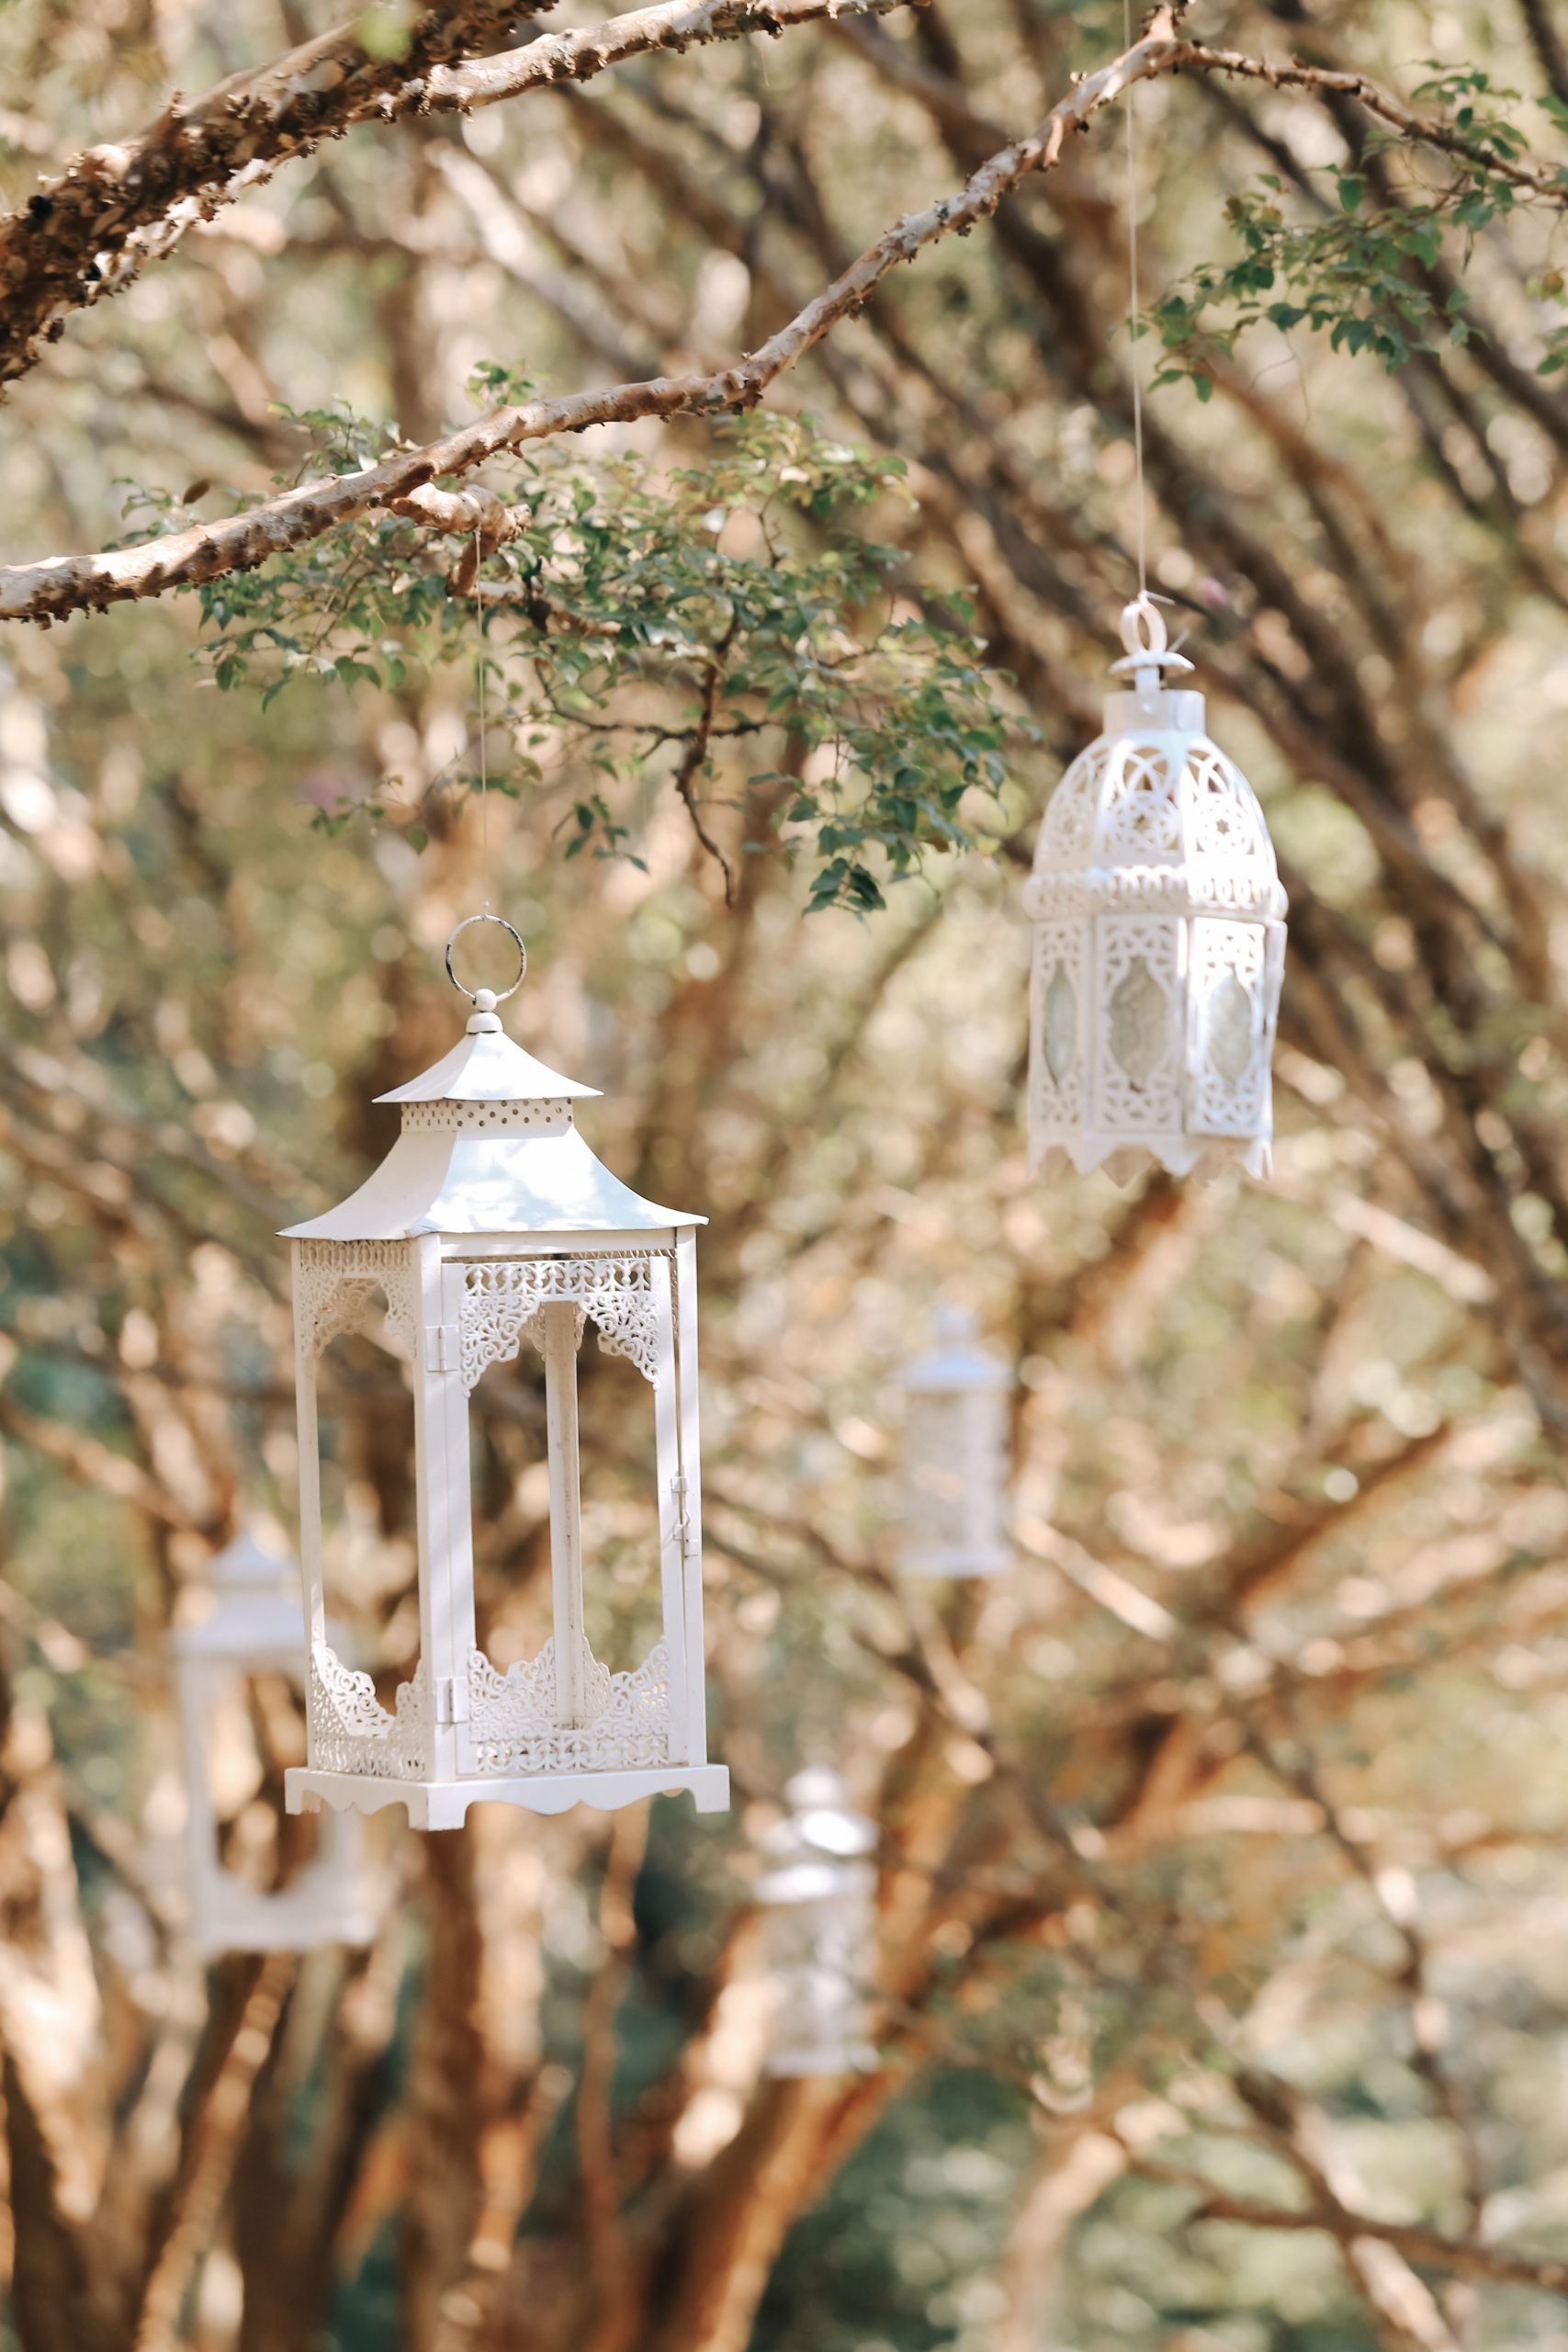
This magical, floating effect comes from a simple formula: 70% natural texture (the tree branches and leafy canopy) + 30% intricate pattern (the white Moroccan-style lanterns). The key is the contrast. The clean white and detailed cut-outs of the lanterns stand out against the rustic, organic backdrop. You could swap the Moroccan style for minimalist black frames or colorful paper lanterns and achieve a totally different vibe while using the exact same principle of hanging them in organic, slightly random-feeling clusters.
📐 Style Math
Hanging anything from tree branches requires care. Be honest about the branch’s health—avoid anything that looks dead, cracked, or weak. Use wide, soft straps or rope to hang the lanterns instead of thin wire or chain, which can cut into the bark and damage the tree over time. Also, if you’re using real candles, ensure the lanterns are far from any leaves and that the flame is fully enclosed. For a worry-free version, solar or battery-powered LEDs are your best friends here.
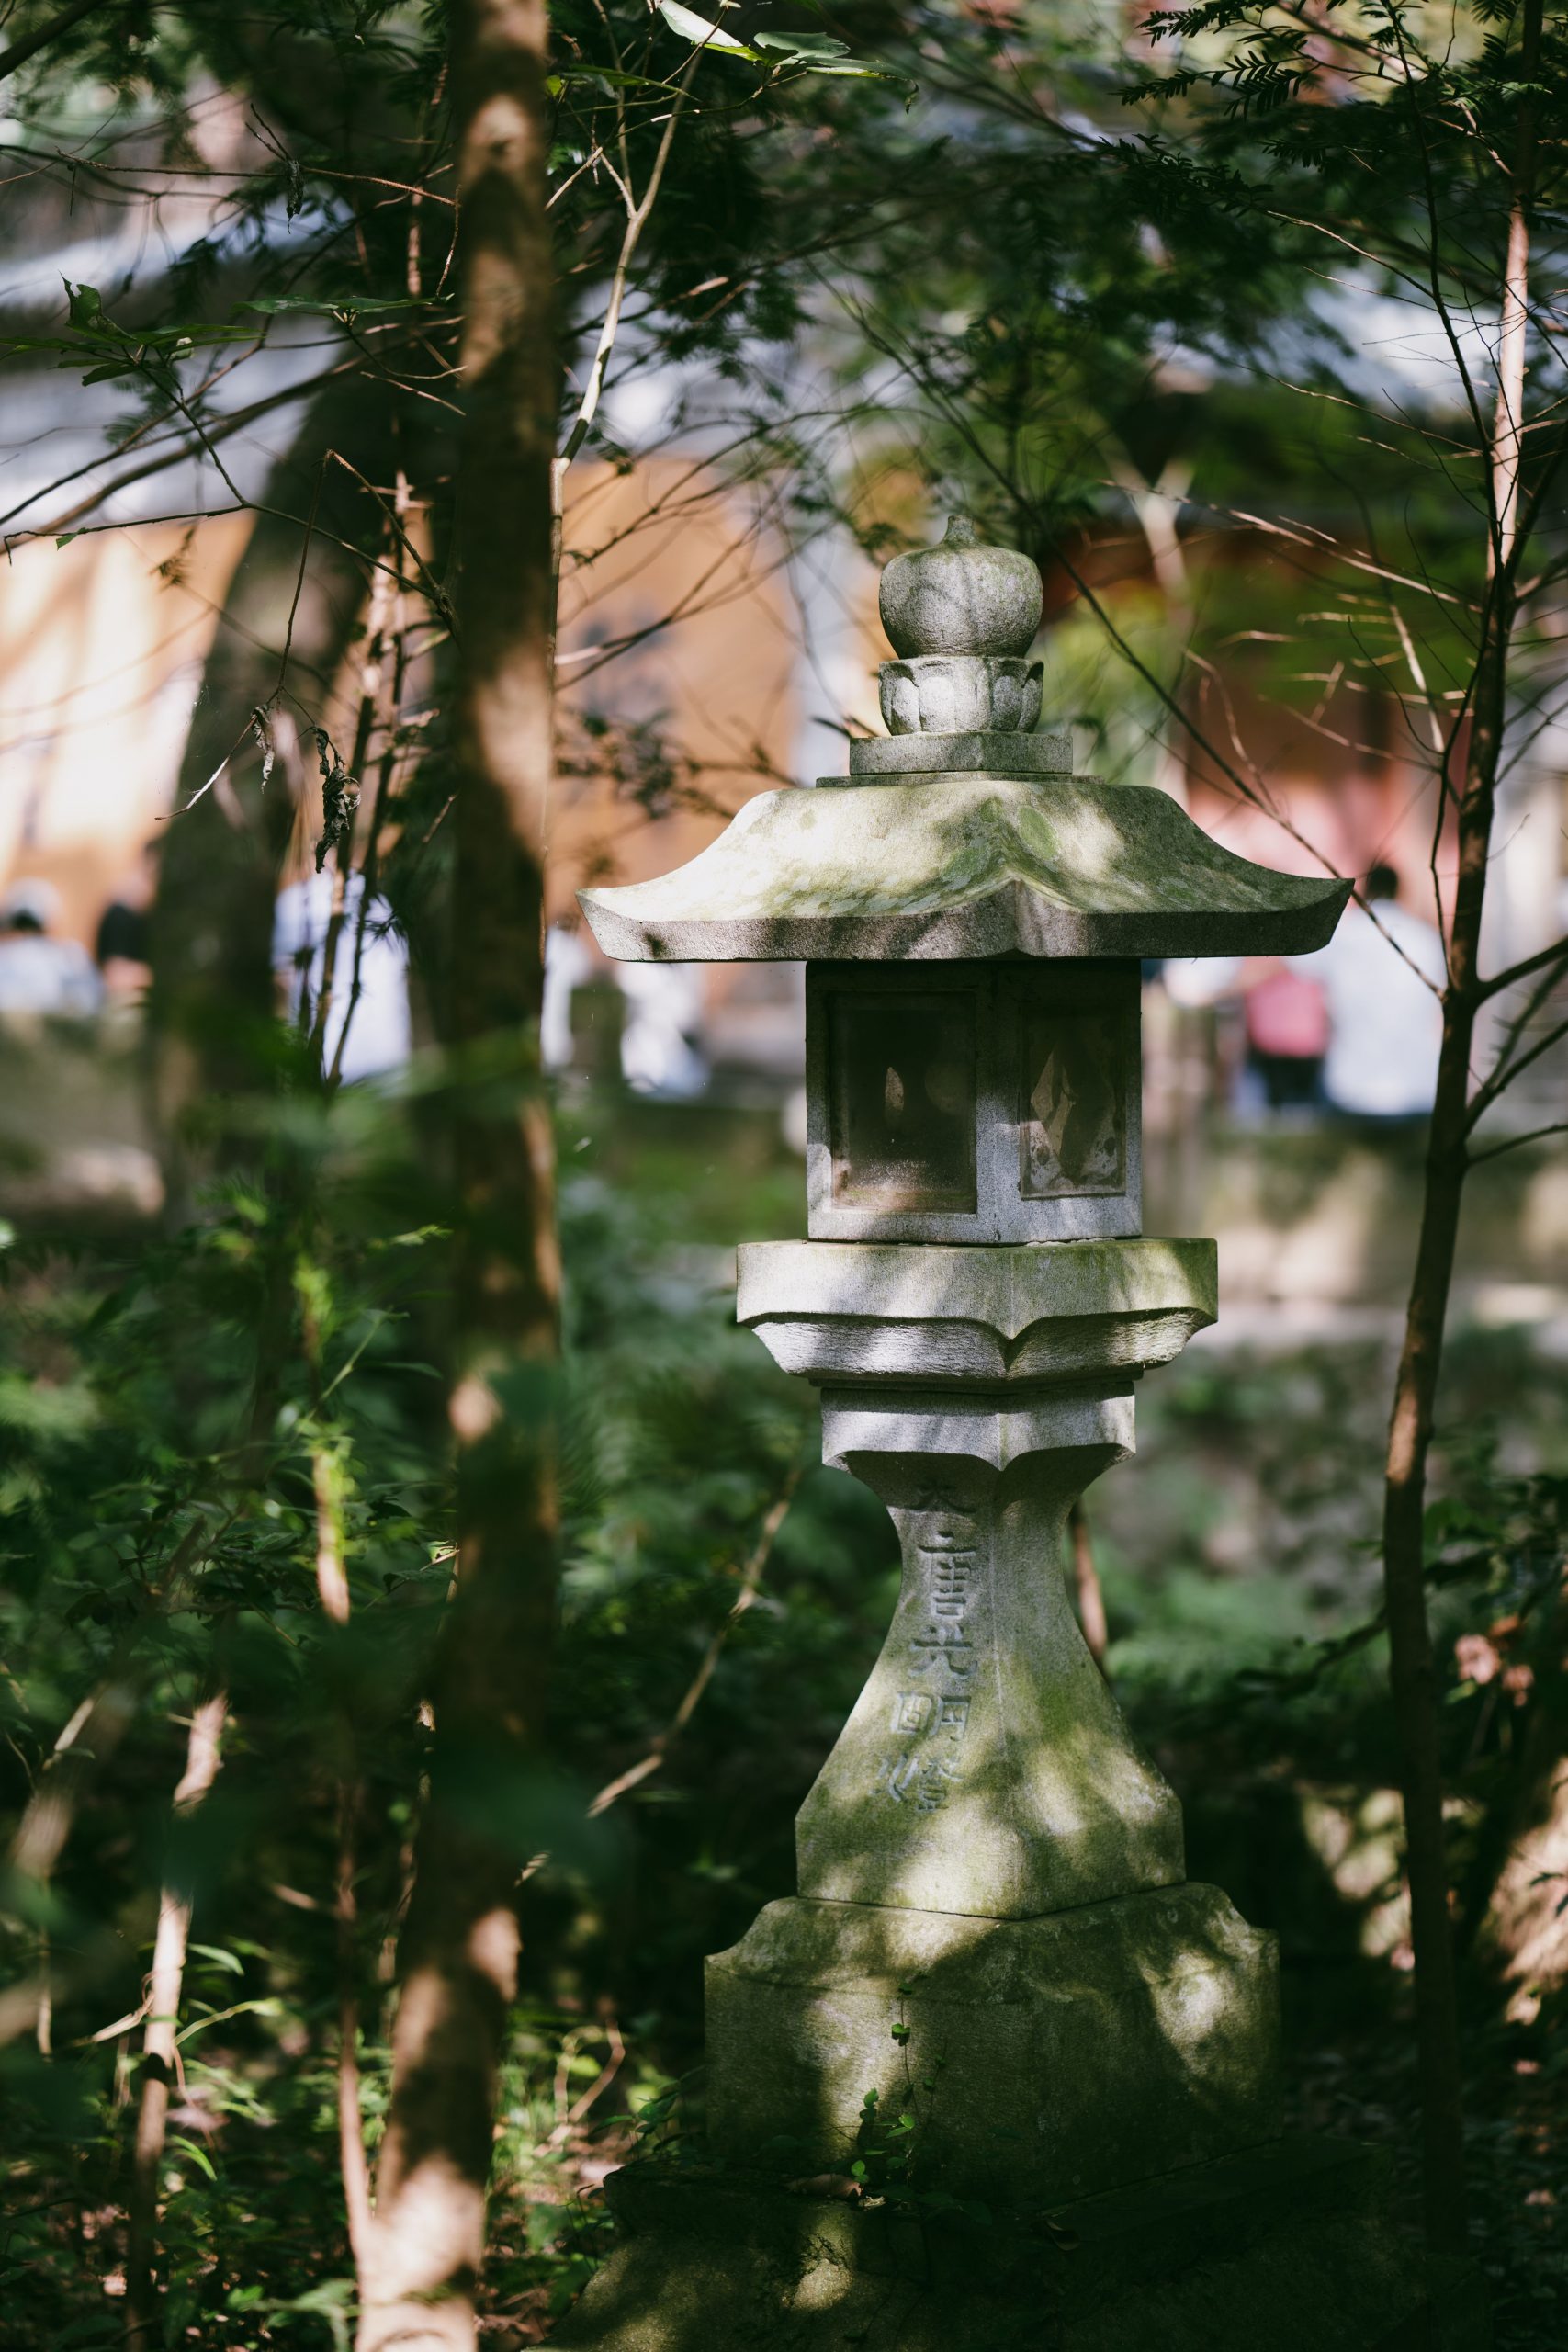
3. Embrace Age with a Moss-Covered Japanese Stone Lantern
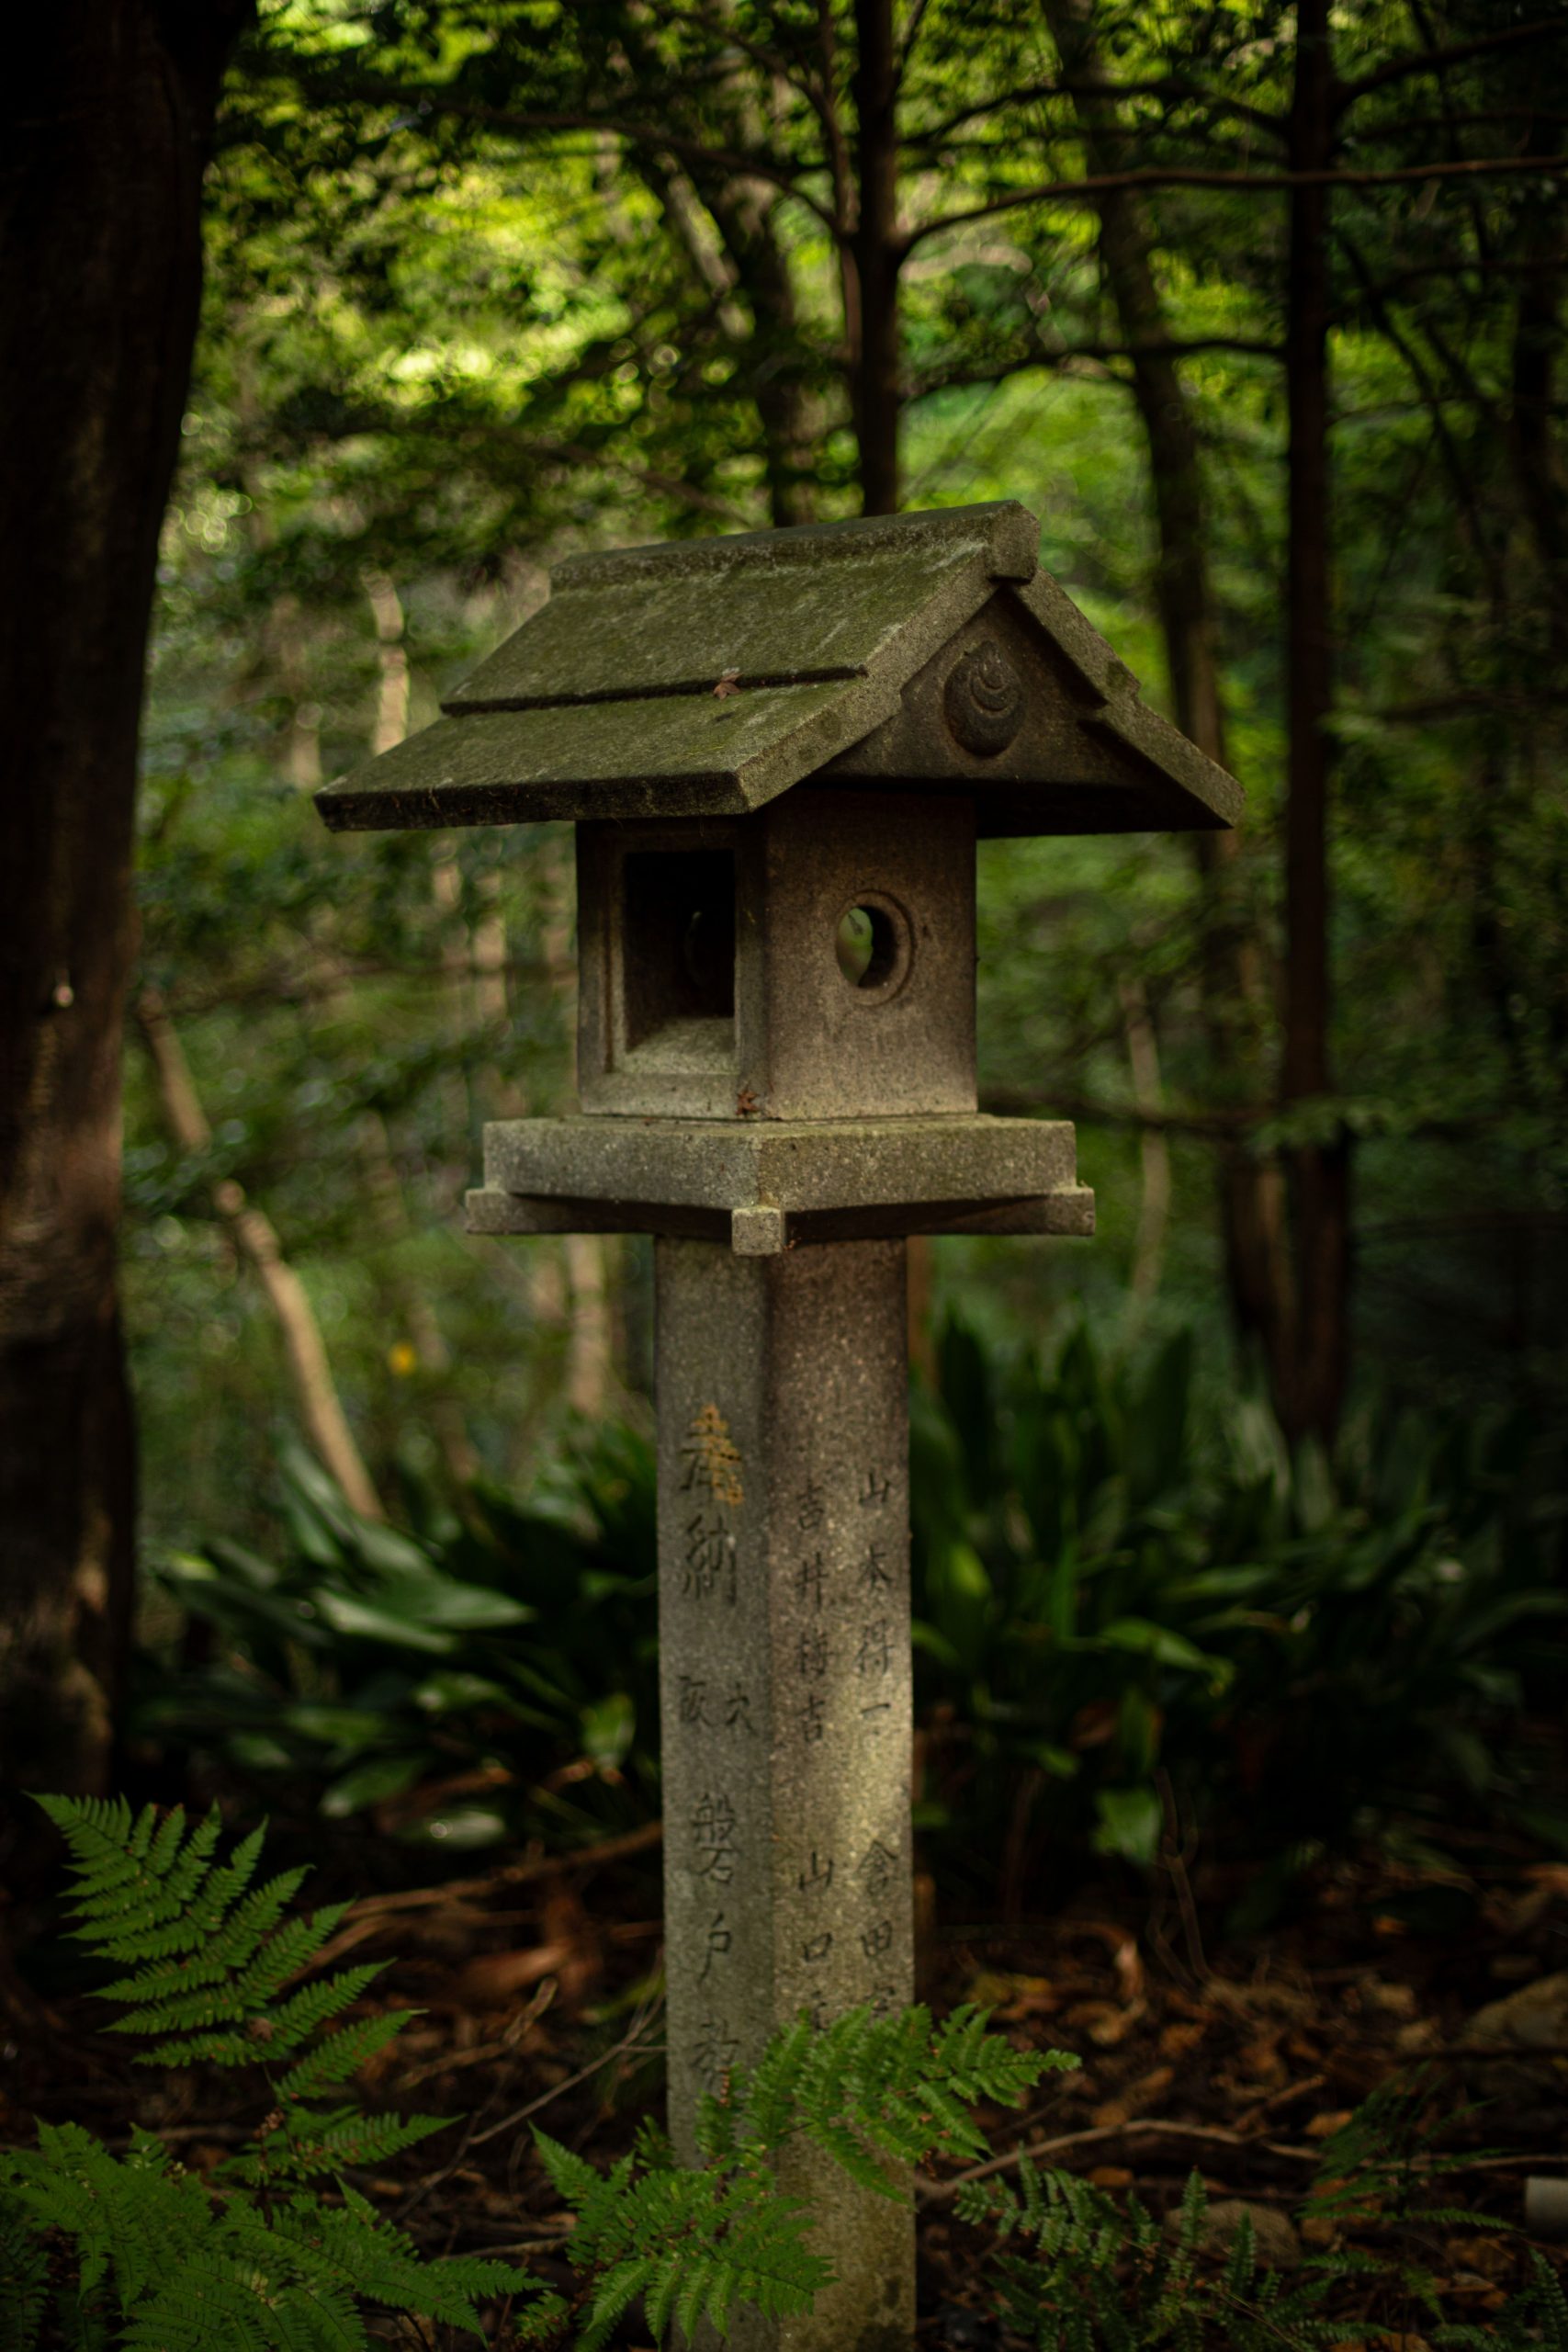
that gives this lantern its profound character is the moss. Without it, this would be a beautiful but standard stone garden feature. The vibrant green growth climbing its sides tells a story of time, patience, and nature reclaiming its space. It transforms the lantern from a man-made object into an integral part of the garden’s ecosystem. The carved characters on the pillar add to the sense of history, but it’s the living moss that makes it feel truly ancient and serene.
🧹 Maintenance Reality
A moss-covered look doesn’t happen overnight, and maintaining it is a gentle art. This style thrives in shady, damp locations. You can encourage moss growth by painting a slurry of blended moss, buttermilk, and a little sugar onto the stone. However, be aware that this can also attract insects and potentially hold moisture against the stone, which can accelerate wear in very cold climates. If you prefer a cleaner look, you’ll need to scrub the lantern with a stiff brush and water annually to keep the growth at bay.
4. Feature a Tall Pagoda Lantern with a Gridded Window
You can encourage a beautiful, aged moss effect on a new stone lantern. This method takes a few weeks to show results and works best in a shaded, moist area of your garden. It’s a fantastic way to make a new piece feel like it’s been there for decades.
- Gather a clump of healthy moss from another part of your yard (or a friend’s!).
- In a blender, combine the moss with 1 cup of buttermilk or plain yogurt and 1 tablespoon of sugar. Blend until you have a thick, paintable paste.
- Using a paintbrush, apply the mixture to the areas of your stone lantern where you want moss to grow. Focus on crevices and north-facing sides.
- Lightly mist the lantern with a spray bottle of water every few days to keep the area damp.
Time estimate: 20 minutes to prepare and apply. Cost: Under $5.
💡 Designer Tip
A tall, substantial lantern like this needs breathing room. This idea works best in a garden space of at least 150 square feet, where it won’t overwhelm the other plantings. It’s designed to be a focal point, not a subtle accent. For it to feel properly scaled, it needs to be surrounded by lush, medium-height foliage, like the ferns shown here. In a very small garden or on a narrow patio, it would feel cramped and out of proportion. For smaller spaces, consider the more delicate hanging lanterns in Idea #1.
5. Mix Materials with a Stone Lantern and Wooden Grid
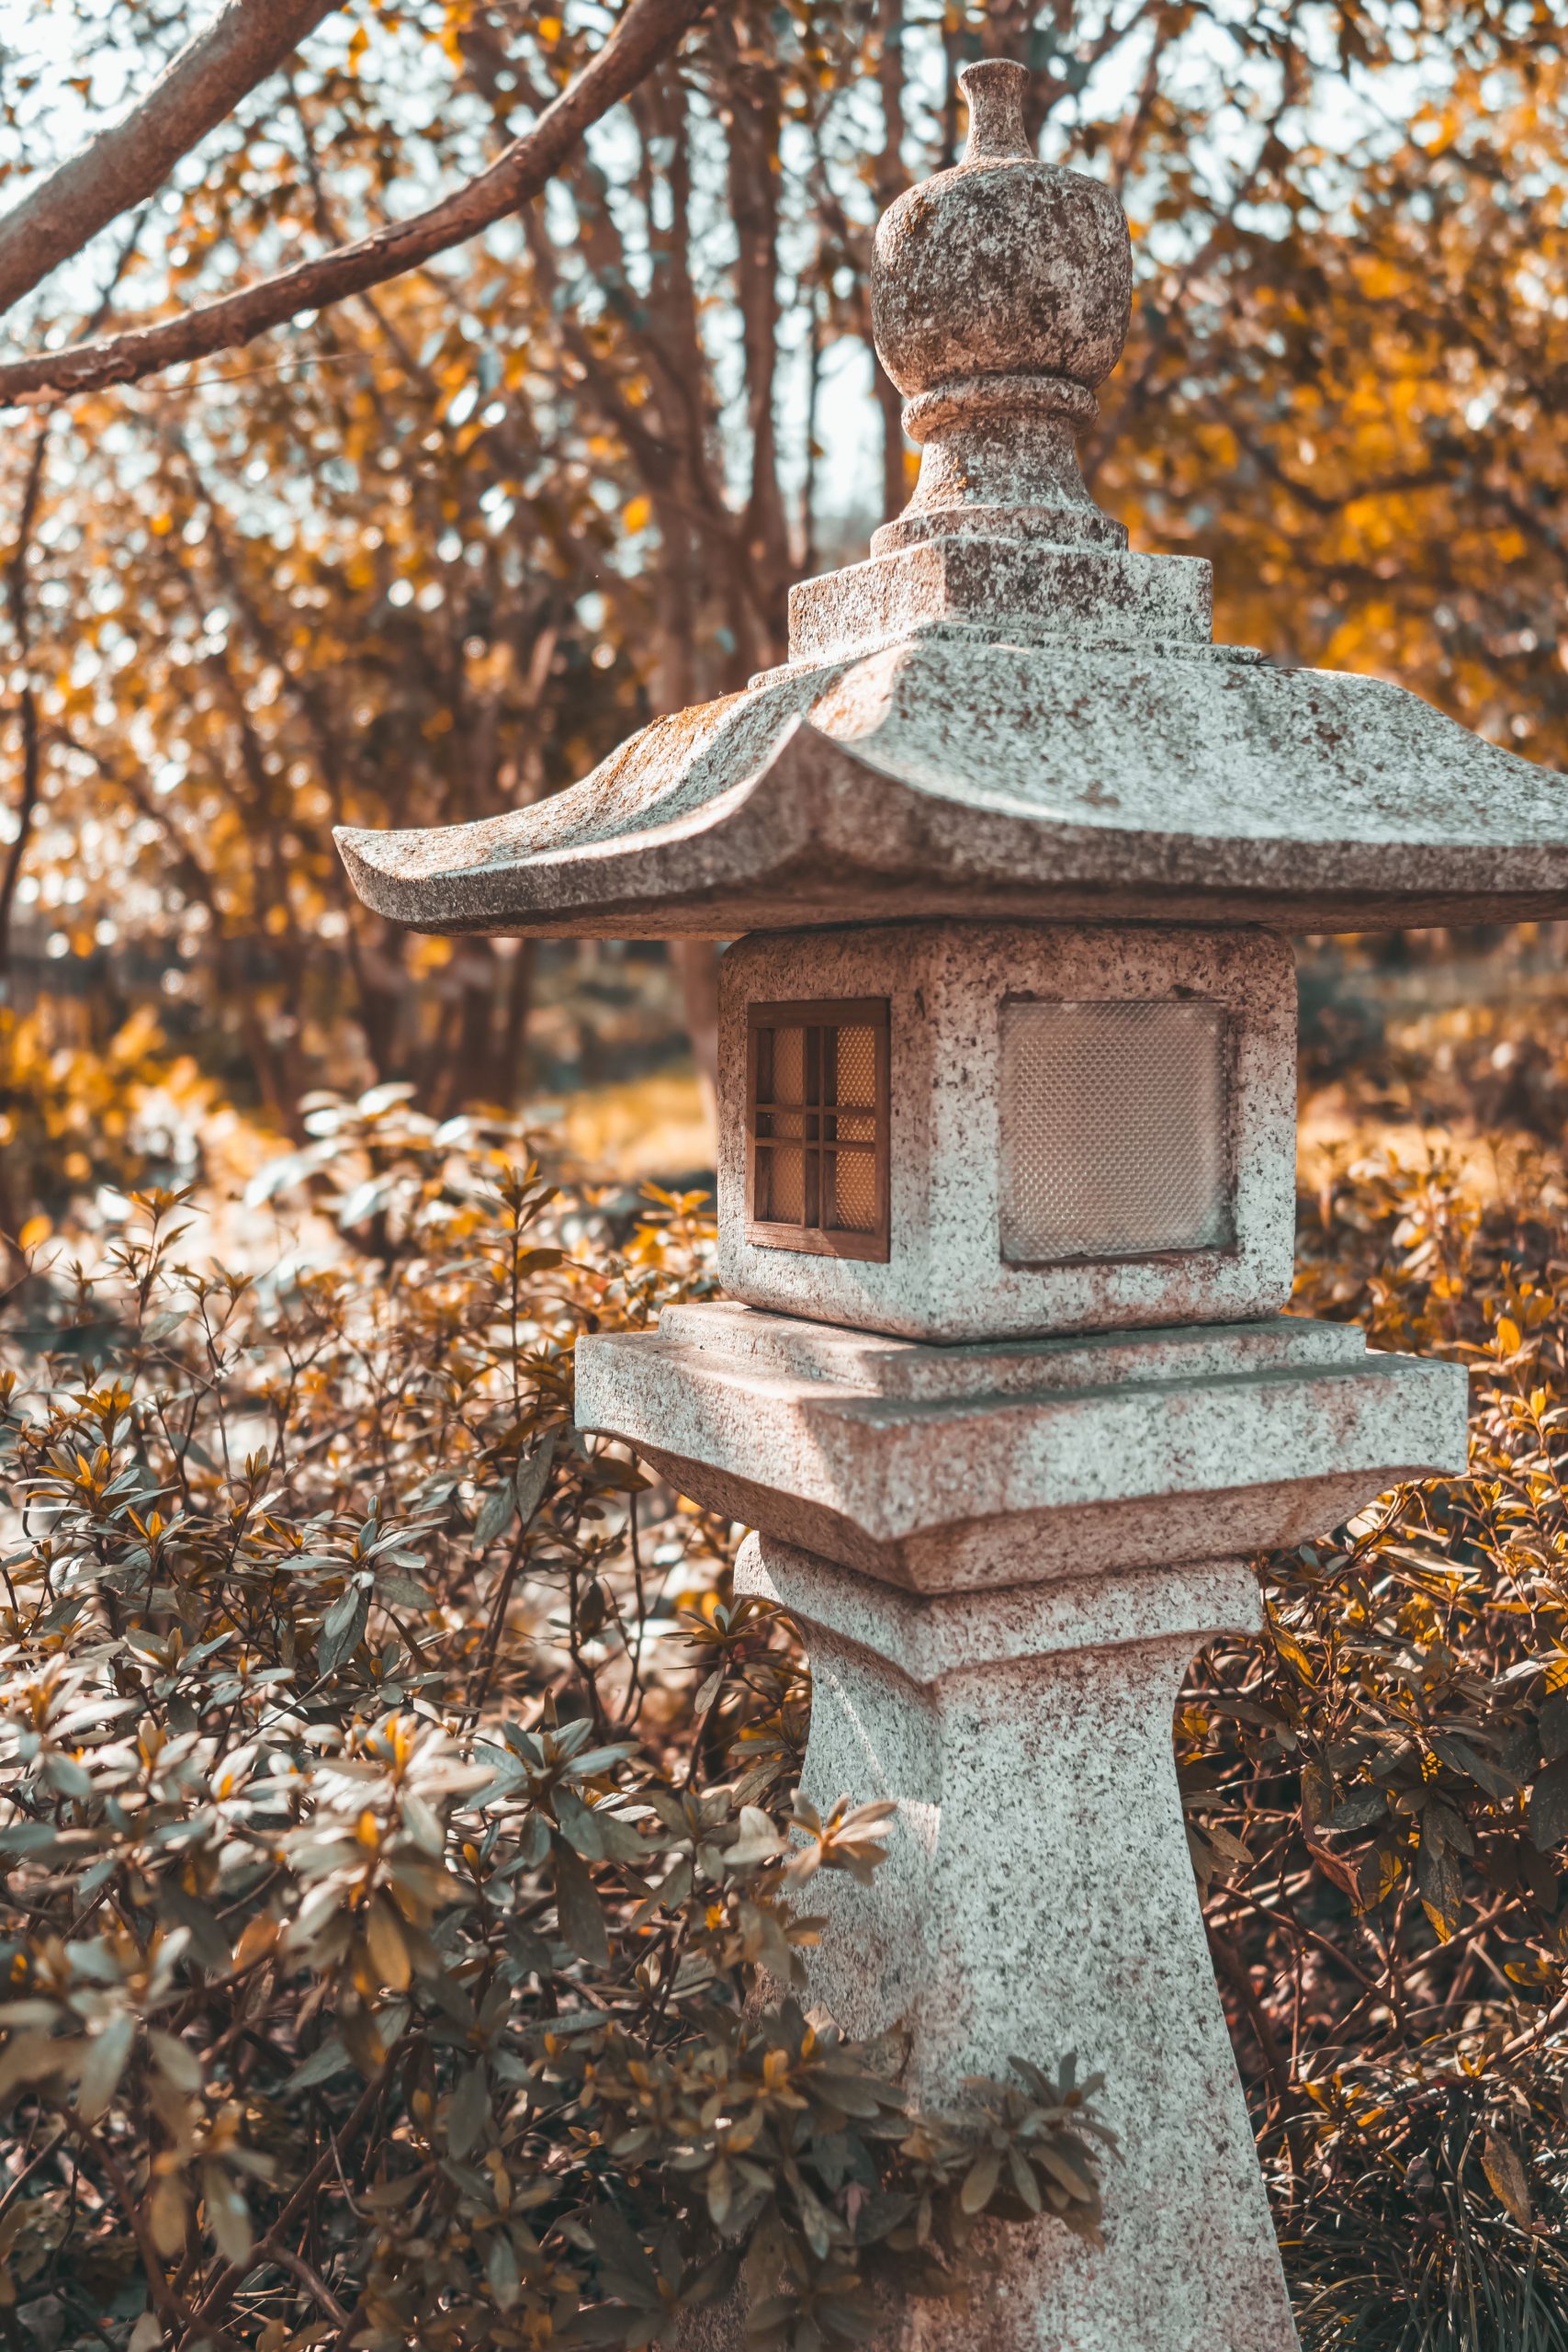
This design’s quiet beauty comes from its sophisticated mix of textures. You have the cool, weathered gray stone of the main body, the warm, natural grain of the wooden grid window, and the smooth, slightly opaque quality of the frosted glass panel. Each material brings a different sensory element, creating a rich, layered look. This is a masterful touch that elevates the lantern from a simple garden light to a piece of art. The contrast with the soft, dense foliage in the background makes it pop. Compare this to the all-stone version in Idea #3 to see the difference.
🎯 What Makes It Work
Authentic hand-carved stone lanterns can be a serious investment. To get this look for less, focus on the material mix. Start with a more affordable cast concrete lantern from a big-box garden center (around $80-$150). Then, create your own wooden grid insert using small balsa wood strips from a craft store, stained to a warm brown. For the frosted panel, a can of frosted glass spray paint ($10) on a small pane of acrylic plastic works wonders. You capture the essence—the mix of stone, wood, and diffused light—for a fraction of the price.
6. Showcase a Carved Inscription on a Mossy Stone Lantern
While the overall shape is beautiful, it’s the engraved inscription on the base that makes this lantern feel personal and unique. It suggests a story or a dedication, transforming a decorative object into a meaningful marker. Even if the characters are unreadable to you, they add a layer of human intention and history that the moss and stone alone can’t convey. It’s the detail that draws your eye in and invites you to look closer, sparking curiosity.
🔥 Trending Context
There’s a growing desire for outdoor spaces that feel like personal sanctuaries, not just manicured yards. This look taps right into that. We’re moving away from generic decor and toward pieces that feel special and tell a story. An engraved lantern, whether the script is ancient or a custom modern carving, feels personal. It’s part of a larger trend in design called ‘narrative placemaking,’ where every element in a space contributes to a personal or historical story, making the environment feel uniquely your own.
7. Create a Focal Point with a Classic Zen Lantern
The single most important element here is restraint. In a world of more-is-more, this approach is about the power of a single, perfectly placed object. The lantern isn’t competing for attention; it *is* the attention. By surrounding it with a simple, uniform texture like the lush green moss, your eye has nowhere else to go. It forces a moment of contemplation. Removing the lantern would leave you with a lovely patch of green, but adding it creates a destination for the eye and a purpose for the space.
📏 Scale Guide
This composition is a masterclass in the Zen design principle of ‘Shibui’—a term for simple, unobtrusive beauty. It works because of three things: a monochromatic color scheme (shades of green and grey), a focus on natural materials (stone and moss), and a clear focal point. The lantern provides a strong, grounding element that anchors the entire scene, preventing the texture of the moss from feeling chaotic. It’s the perfect balance of human-made structure and natural wildness.
8. Add a Pop of Autumn Color with a Layered Stone Pagoda
When styling a serene, monochromatic space like this one (mostly grays and greens), a tiny splash of a single, high-contrast color can have a huge impact. Those two fallen yellow leaves might be accidental, but they are doing major design work. They break the uniformity and draw your eye. You can replicate this intentionally by planting a single small bush that turns a brilliant color in the fall, or even by artfully placing a few colorful ceramic objects near the base of the lantern for seasonal interest.
💸 Get This Look For Less
A ground cover of small pebbles or rocks looks fantastic and is very low-maintenance, but it can be a real pain if you have a lot of deciduous trees overhead. Raking leaves off a stone-covered surface is much more difficult than raking a lawn. You’ll likely need to use a leaf blower (which can send your pebbles flying) or pick them out by hand to keep the area looking clean. It’s a trade-off: you get great texture and drainage, but leaf season becomes a more hands-on chore.
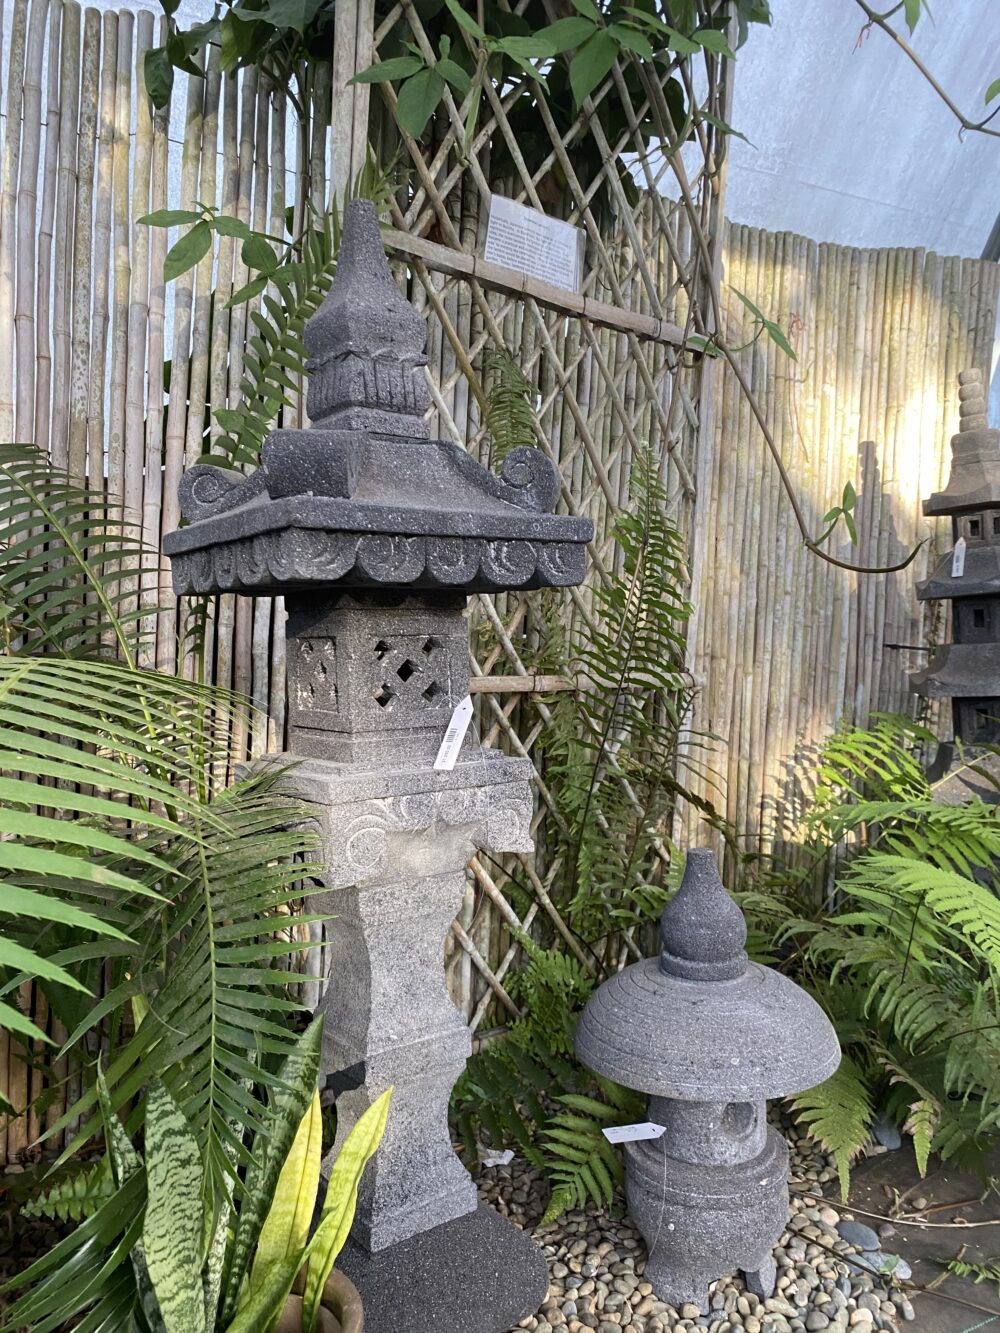
9. Group Different-Sized Japanese Lanterns for a Collected Look
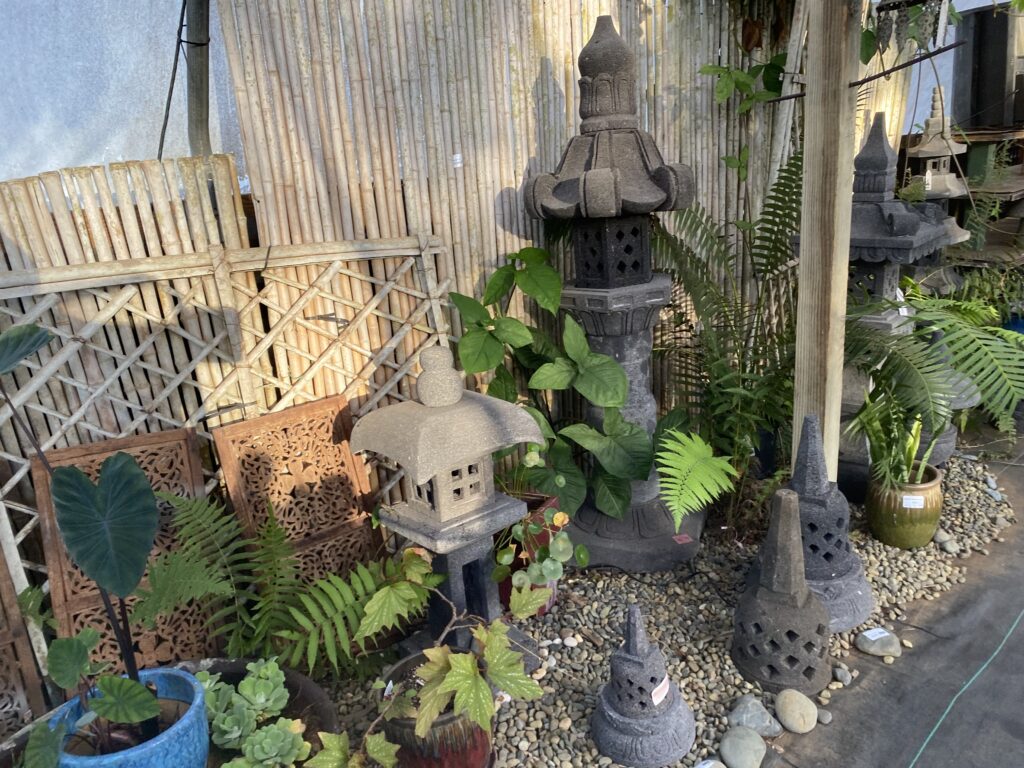
This curated look is all about a balanced ratio: 40% stone features (the two lanterns), 40% lush greenery (the ferns), and 20% background texture (the bamboo screens). The key is variation within the stone elements—one tall and slender, one short and stout. This creates a dynamic relationship that feels more interesting than a matched pair. The same logic applies to the bamboo: a solid wall for privacy and a lighter lattice for visual depth. It’s a formula for creating a layered, thoughtfully designed garden corner.
✅ Before You Start
This arrangement is perfect for a smaller, defined area like a side yard, a patio corner, or an entryway garden, roughly in the 50-100 square foot range. The grouping creates a dense, rich vignette that provides a lot of visual interest without requiring a huge footprint. The use of a bamboo screen background helps to define the space and block out any distracting views, making it feel like its own self-contained world. For a more open lawn, try spreading the lanterns out, like in Idea #10.
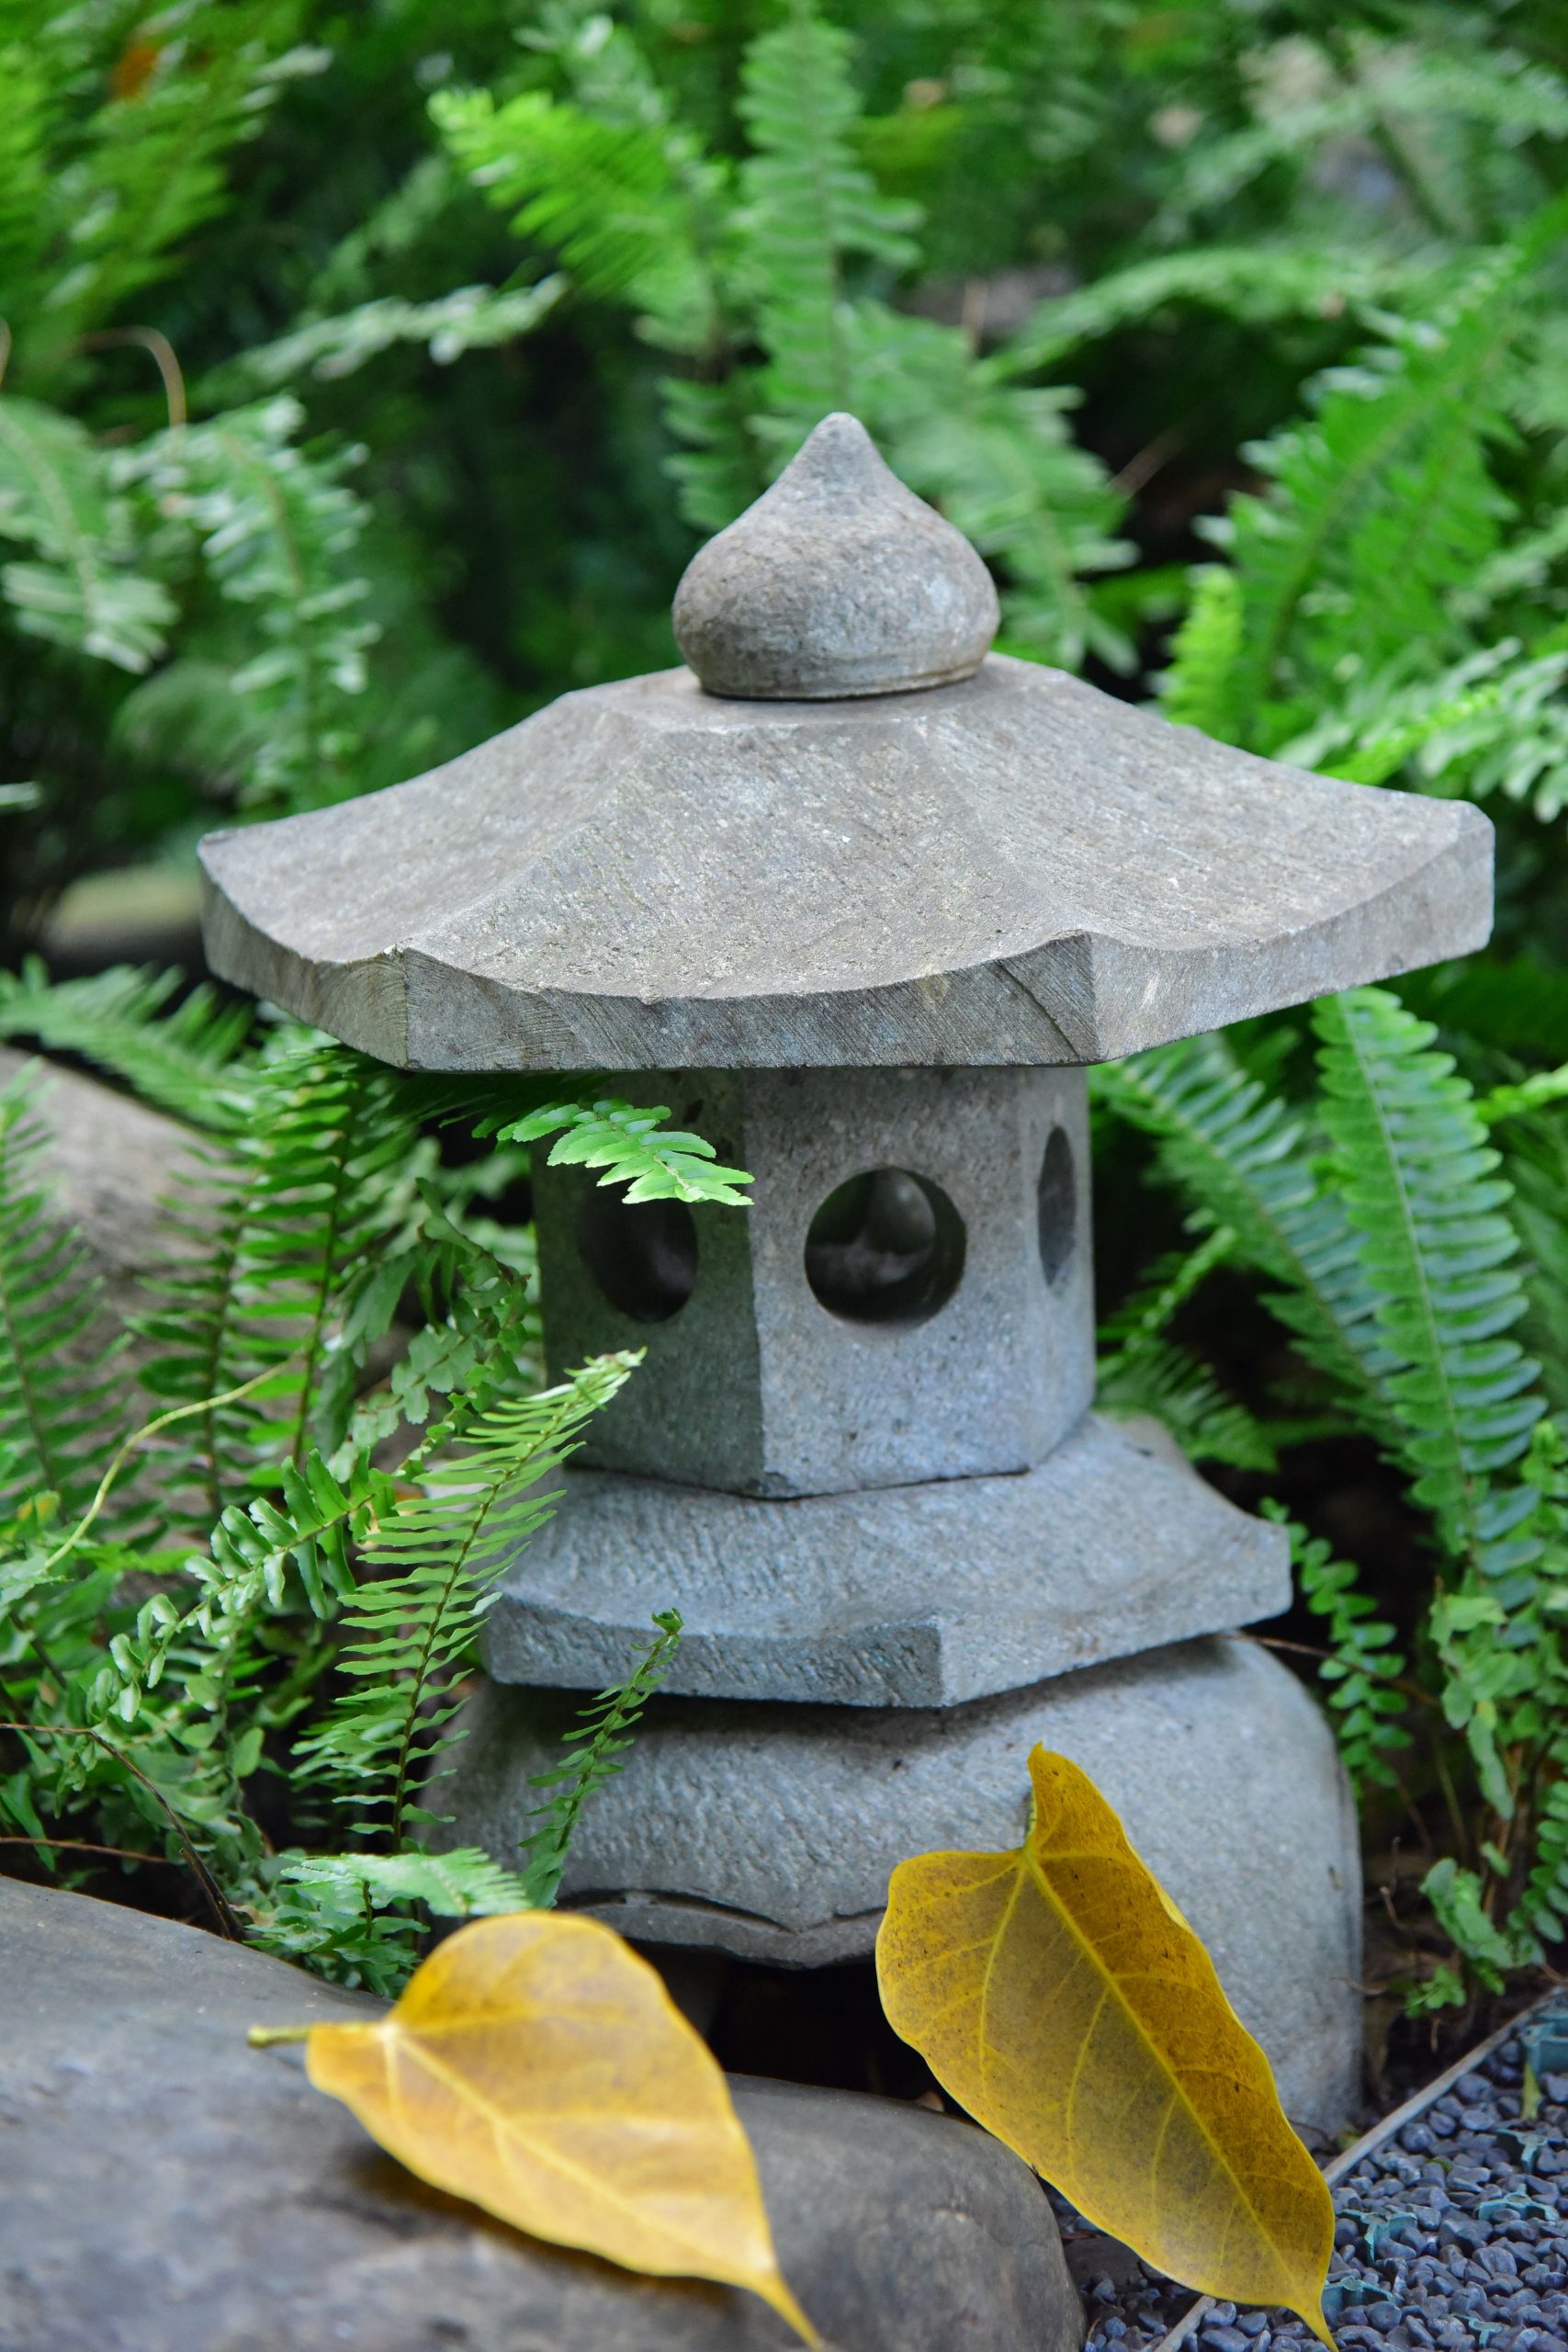
10. Place a Single Tiered Stone Lantern Amidst Fallen Leaves
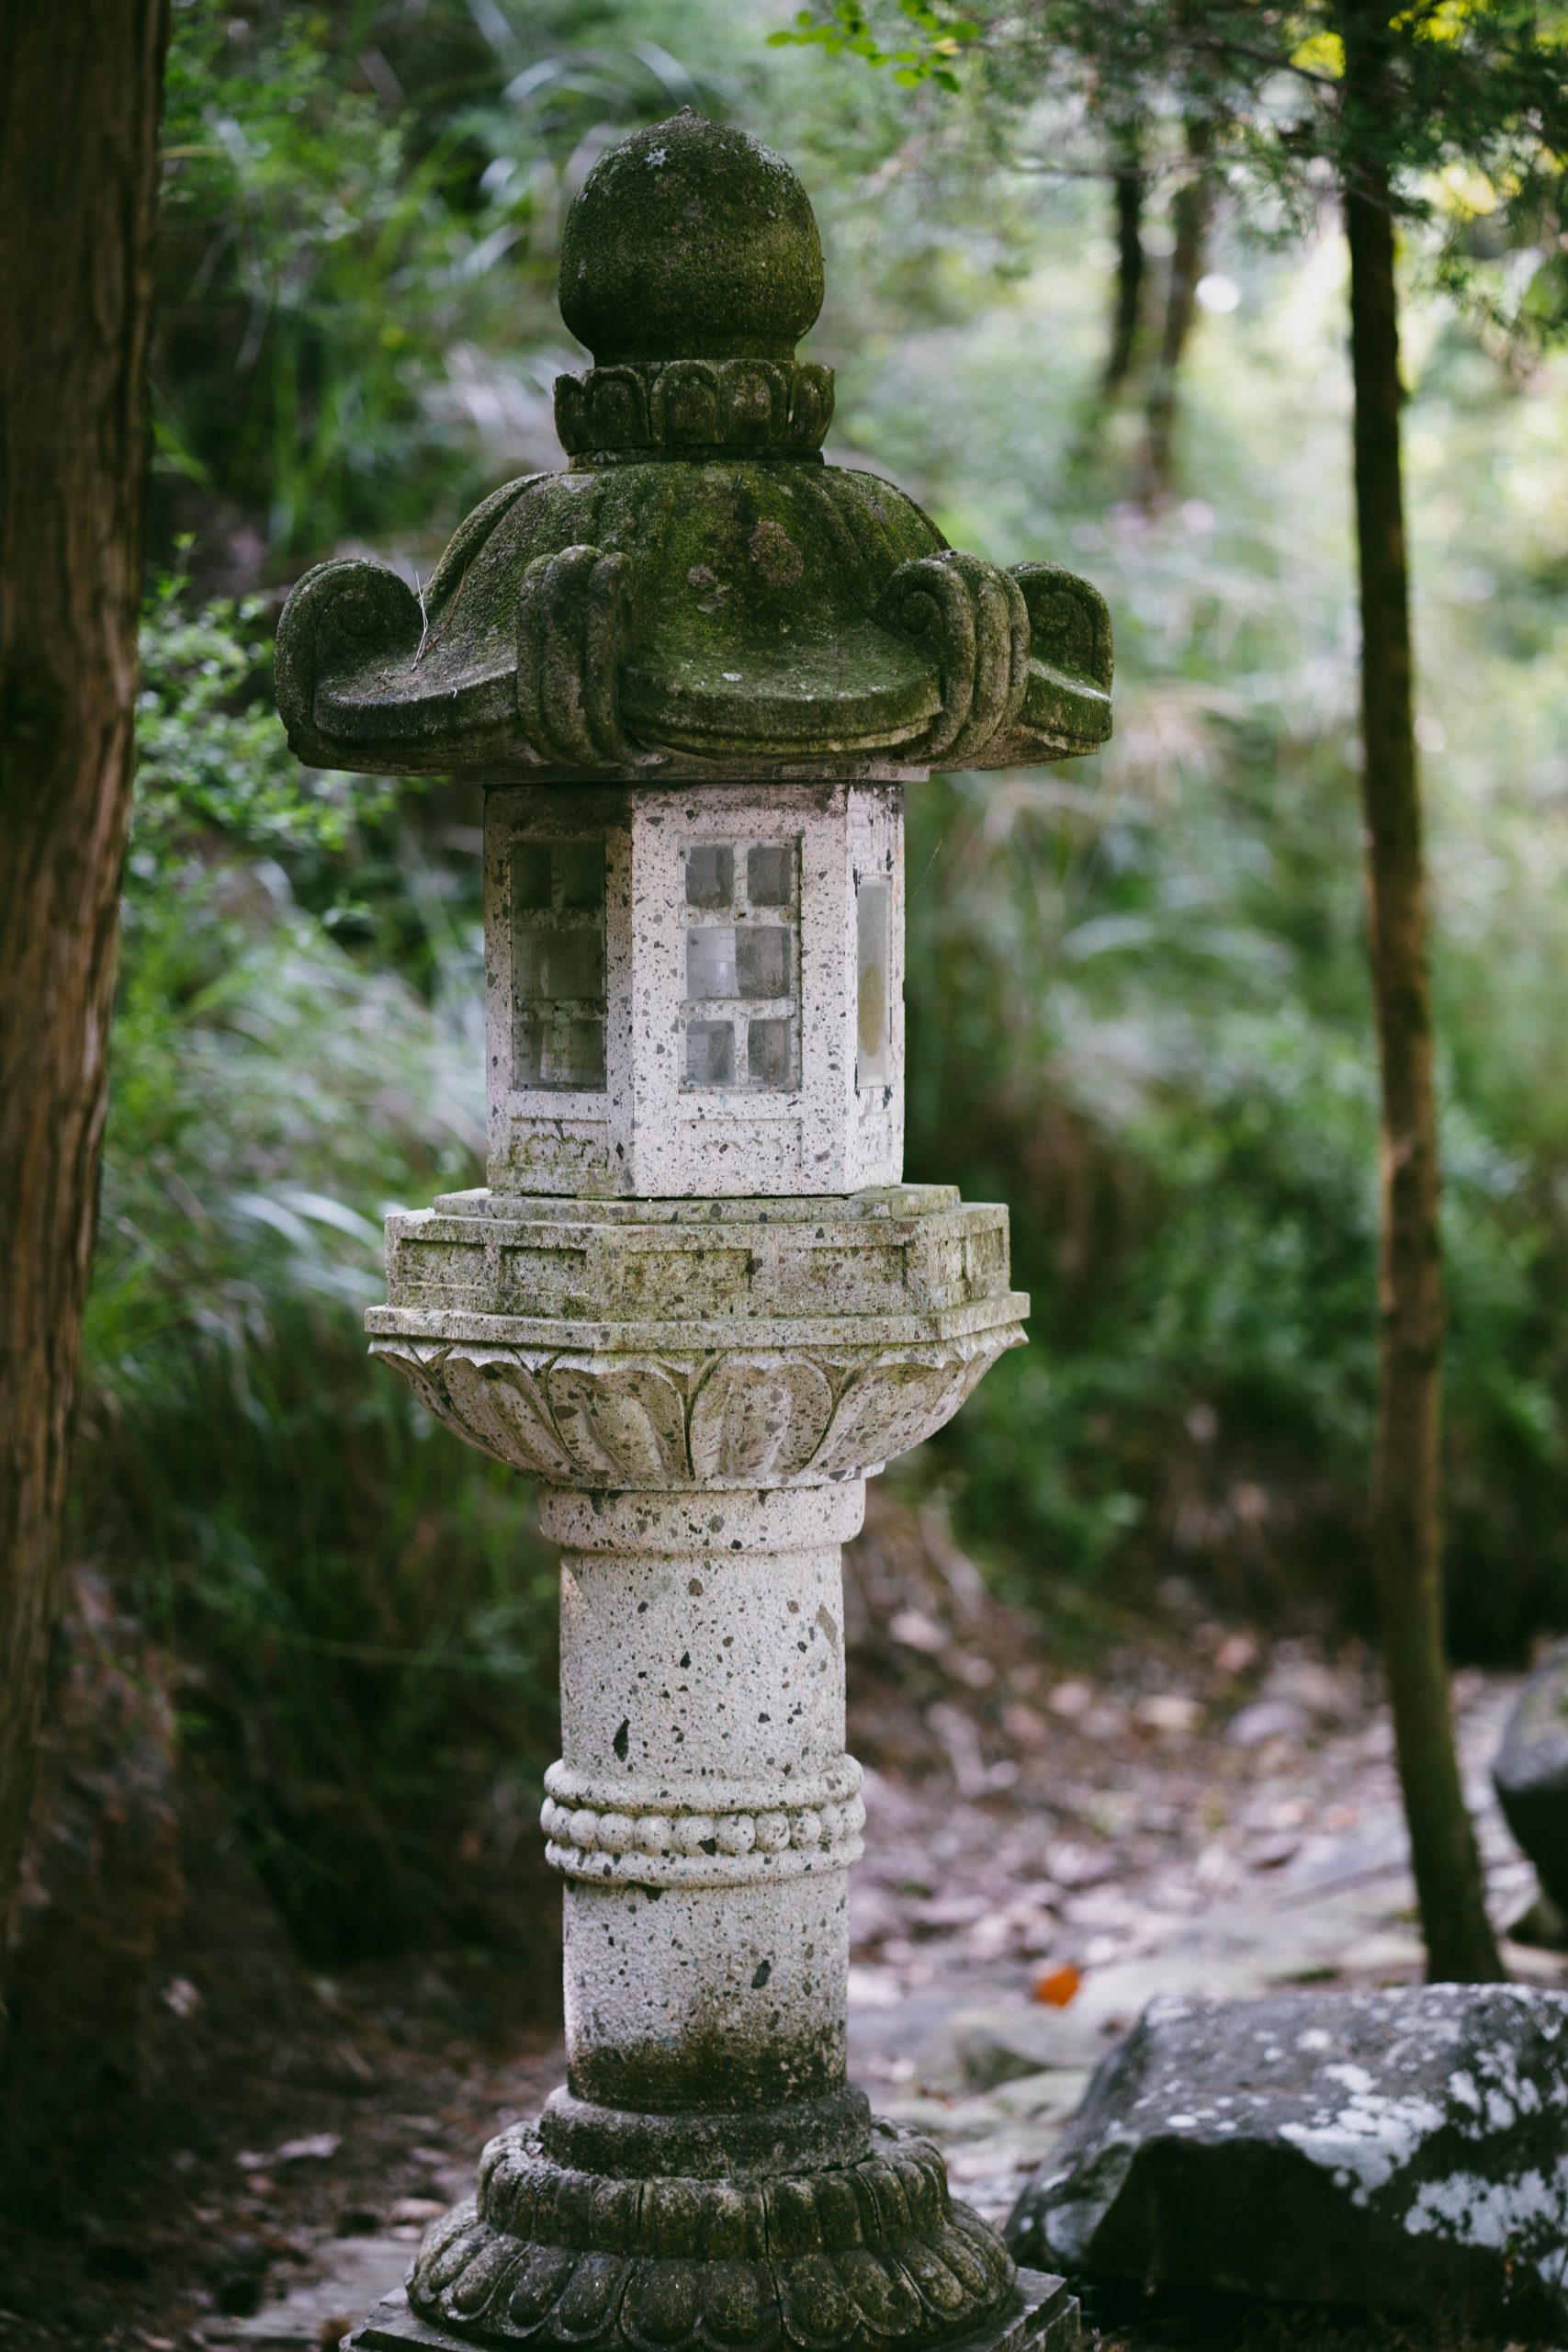
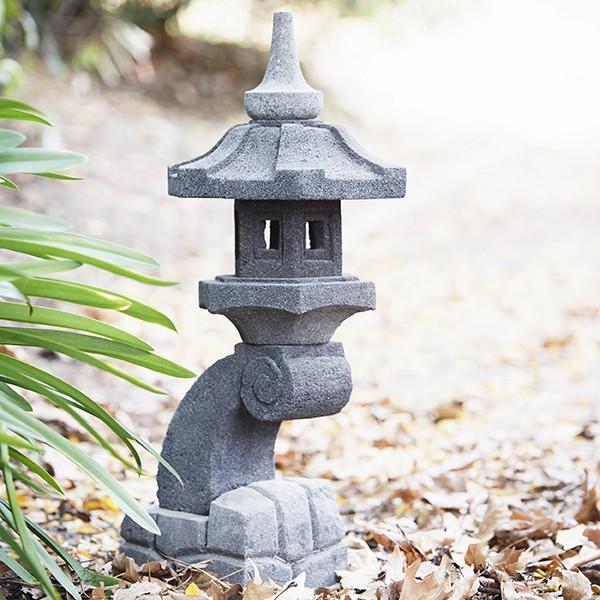
This composition feels so natural and peaceful because the lantern isn’t presented as a pristine object on a perfect pedestal. It’s sitting right in the middle of a natural cycle, surrounded by fallen leaves. This small detail makes the scene feel authentic and lived-in, rather than staged. The lantern feels less like a new addition and more like a permanent feature that has witnessed the changing of seasons. The contrast between the permanent, heavy stone and the light, transient leaves is what makes it poetic. It’s a great example of wabi-sabi, the Japanese aesthetic of finding beauty in imperfection. For a similar but more curated feel, see Idea #8.
🔧 How-To Brief
While letting leaves gather around the base of a lantern looks romantic, it can cause issues. A thick layer of damp leaves can promote mold and mildew growth on the stone, leading to discoloration. It can also become a cozy home for slugs and other insects that you might not want in your garden. To get the look without the problems, allow a light scattering of leaves, but be sure to clear away any thick, wet piles that stay for more than a few days, especially during rainy seasons.
11. Create a Garden Vignette with Stacked Lanterns and Bamboo
The single element that pulls this entire look together is the bamboo. It serves multiple, critical functions: the tall screen in the back provides privacy and a clean, natural backdrop, while the diamond-lattice trellis in front adds a layer of architectural detail. Without the bamboo, the stone lanterns and plants would feel like a random assortment. The bamboo defines the space, provides texture, and reinforces the Asian-inspired aesthetic. It’s the unifying thread that makes this a cohesive and intentional design. The texture is a great counterpoint to the more formal arrangements seen in Idea #8.
💰 Budget Breakdown
When creating a layered look like this, think in terms of foreground, mid-ground, and background. The bamboo screen is your background. The larger plants and taller lanterns are your mid-ground. The river stones and smaller lanterns/plants are your foreground. Arranging elements on these three planes creates a sense of depth and makes the space feel much larger and more immersive than it actually is. Don’t be afraid to let plants overlap the lanterns slightly—it makes the composition feel more natural and integrated.
12. Get a Rustic Vibe with a Stone Lantern on a Rusted Metal Base
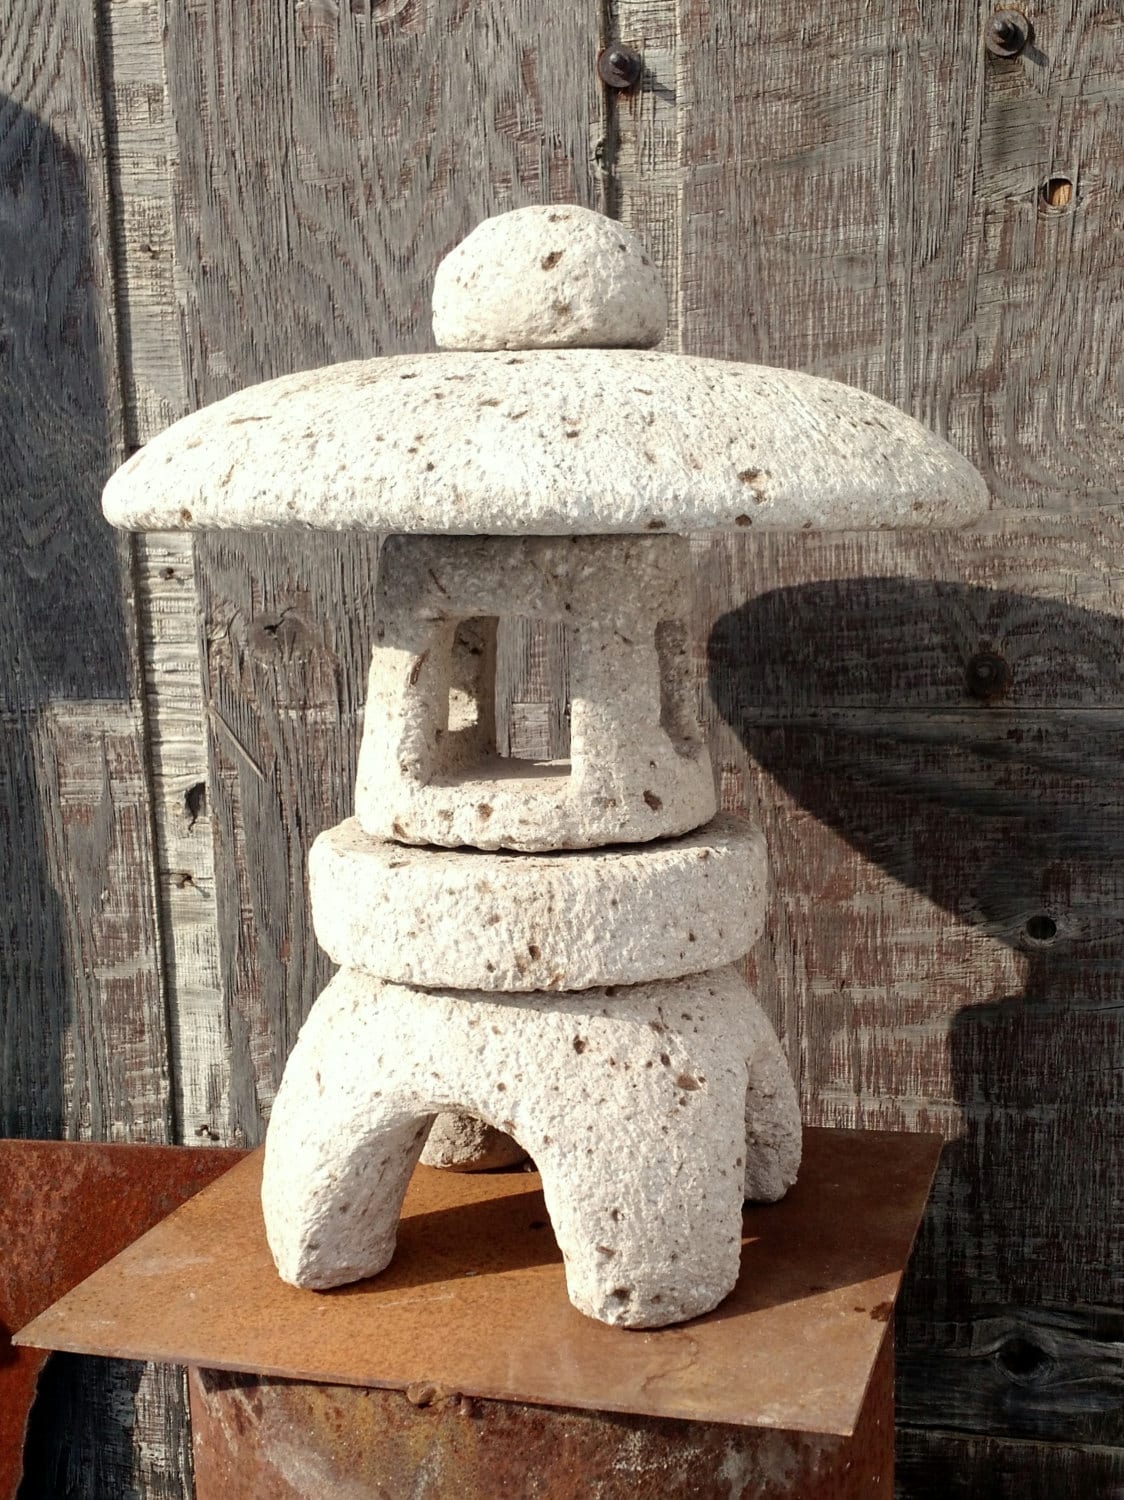
This look is a masterclass in texture mixing for a rustic aesthetic. The rough, off-white stone of the lantern contrasts beautifully with the flaky, warm orange of the rusted sheet metal. Both of those textures are then set against the deep grain of the weathered wood planks. None of these surfaces are smooth or perfect, and that’s the entire point. It’s the combination of different types of imperfection—pitted stone, corroded metal, splintered wood—that creates such a rich, cohesive, and authentically rustic feel.
⭐ The One Thing
While rusted metal (like Corten steel or intentionally weathered pieces) is a fantastic look, be mindful of where the rust can spread. When it rains, water running off the rusted surface will contain rust particles that can, and will, stain lighter-colored surfaces below it, like concrete patios, light-colored pavers, or decking. In this photo, the lantern is sitting on a full metal sheet, but if you place a rusty object on a porous surface, be prepared for some permanent orange runoff stains.
13. Mount a Traditional Black Lantern on a Rough-Hewn Stone Pillar
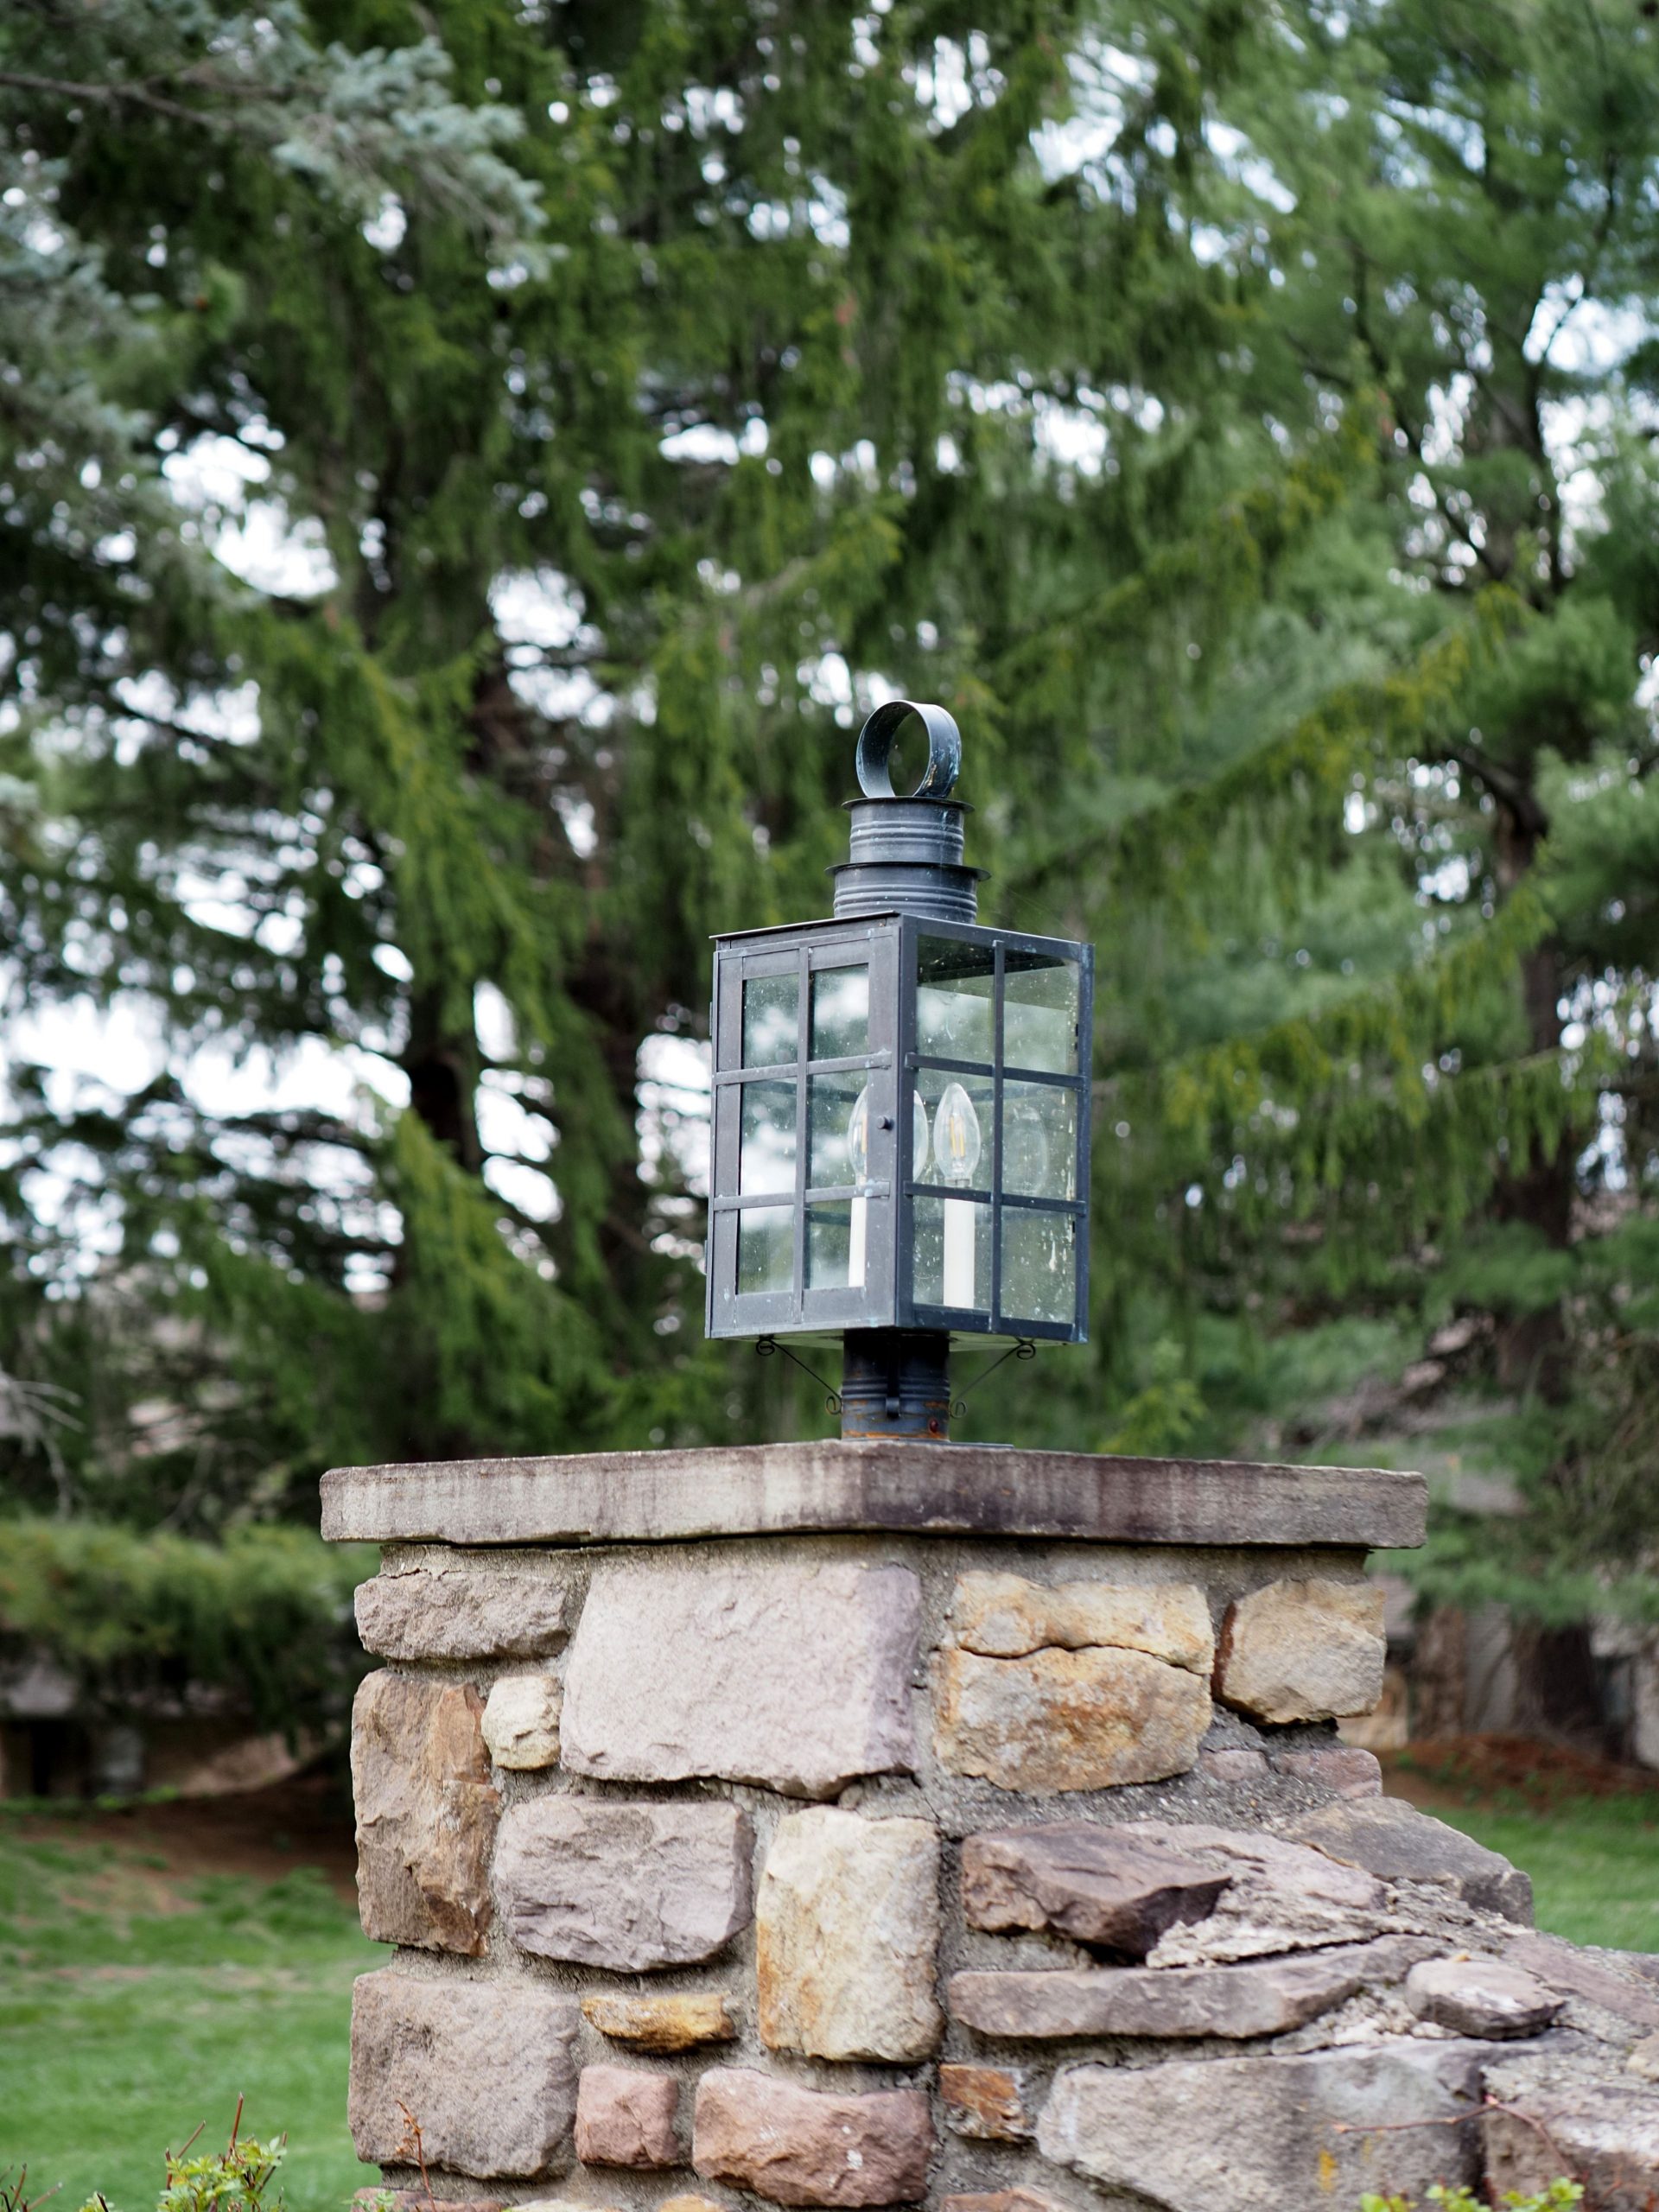
The formula for this timeless, substantial look is simple: 80% rustic mass + 20% classic detail. The pillar, built from large, irregular, rough-hewn stones, provides the visual weight and a strong connection to the natural landscape. The classic, dark metal lantern with its clear glass and traditional shape, provides the clean, finishing detail. This combination works so well because the refined lines of the lantern keep the ruggedness of the stone from looking sloppy, and the stone keeps the lantern from feeling too formal.
⚠️ Real Talk
A full-stone pillar built by a mason is a significant expense. To achieve this look on a DIY budget, you can use a pressure-treated wood post (4×4 or 6×6) as your core and clad it with a stone veneer product. These veneers are made from thin pieces of real or manufactured stone designed to be applied to a flat surface with mortar. This gives you the authentic look and texture of a stone pillar for a fraction of the cost and labor. You can find veneer panels at most home improvement stores, with prices starting around $8-$15 per square foot.
14. Combine a Carved Wood Post with an Ornate Bronze Lantern
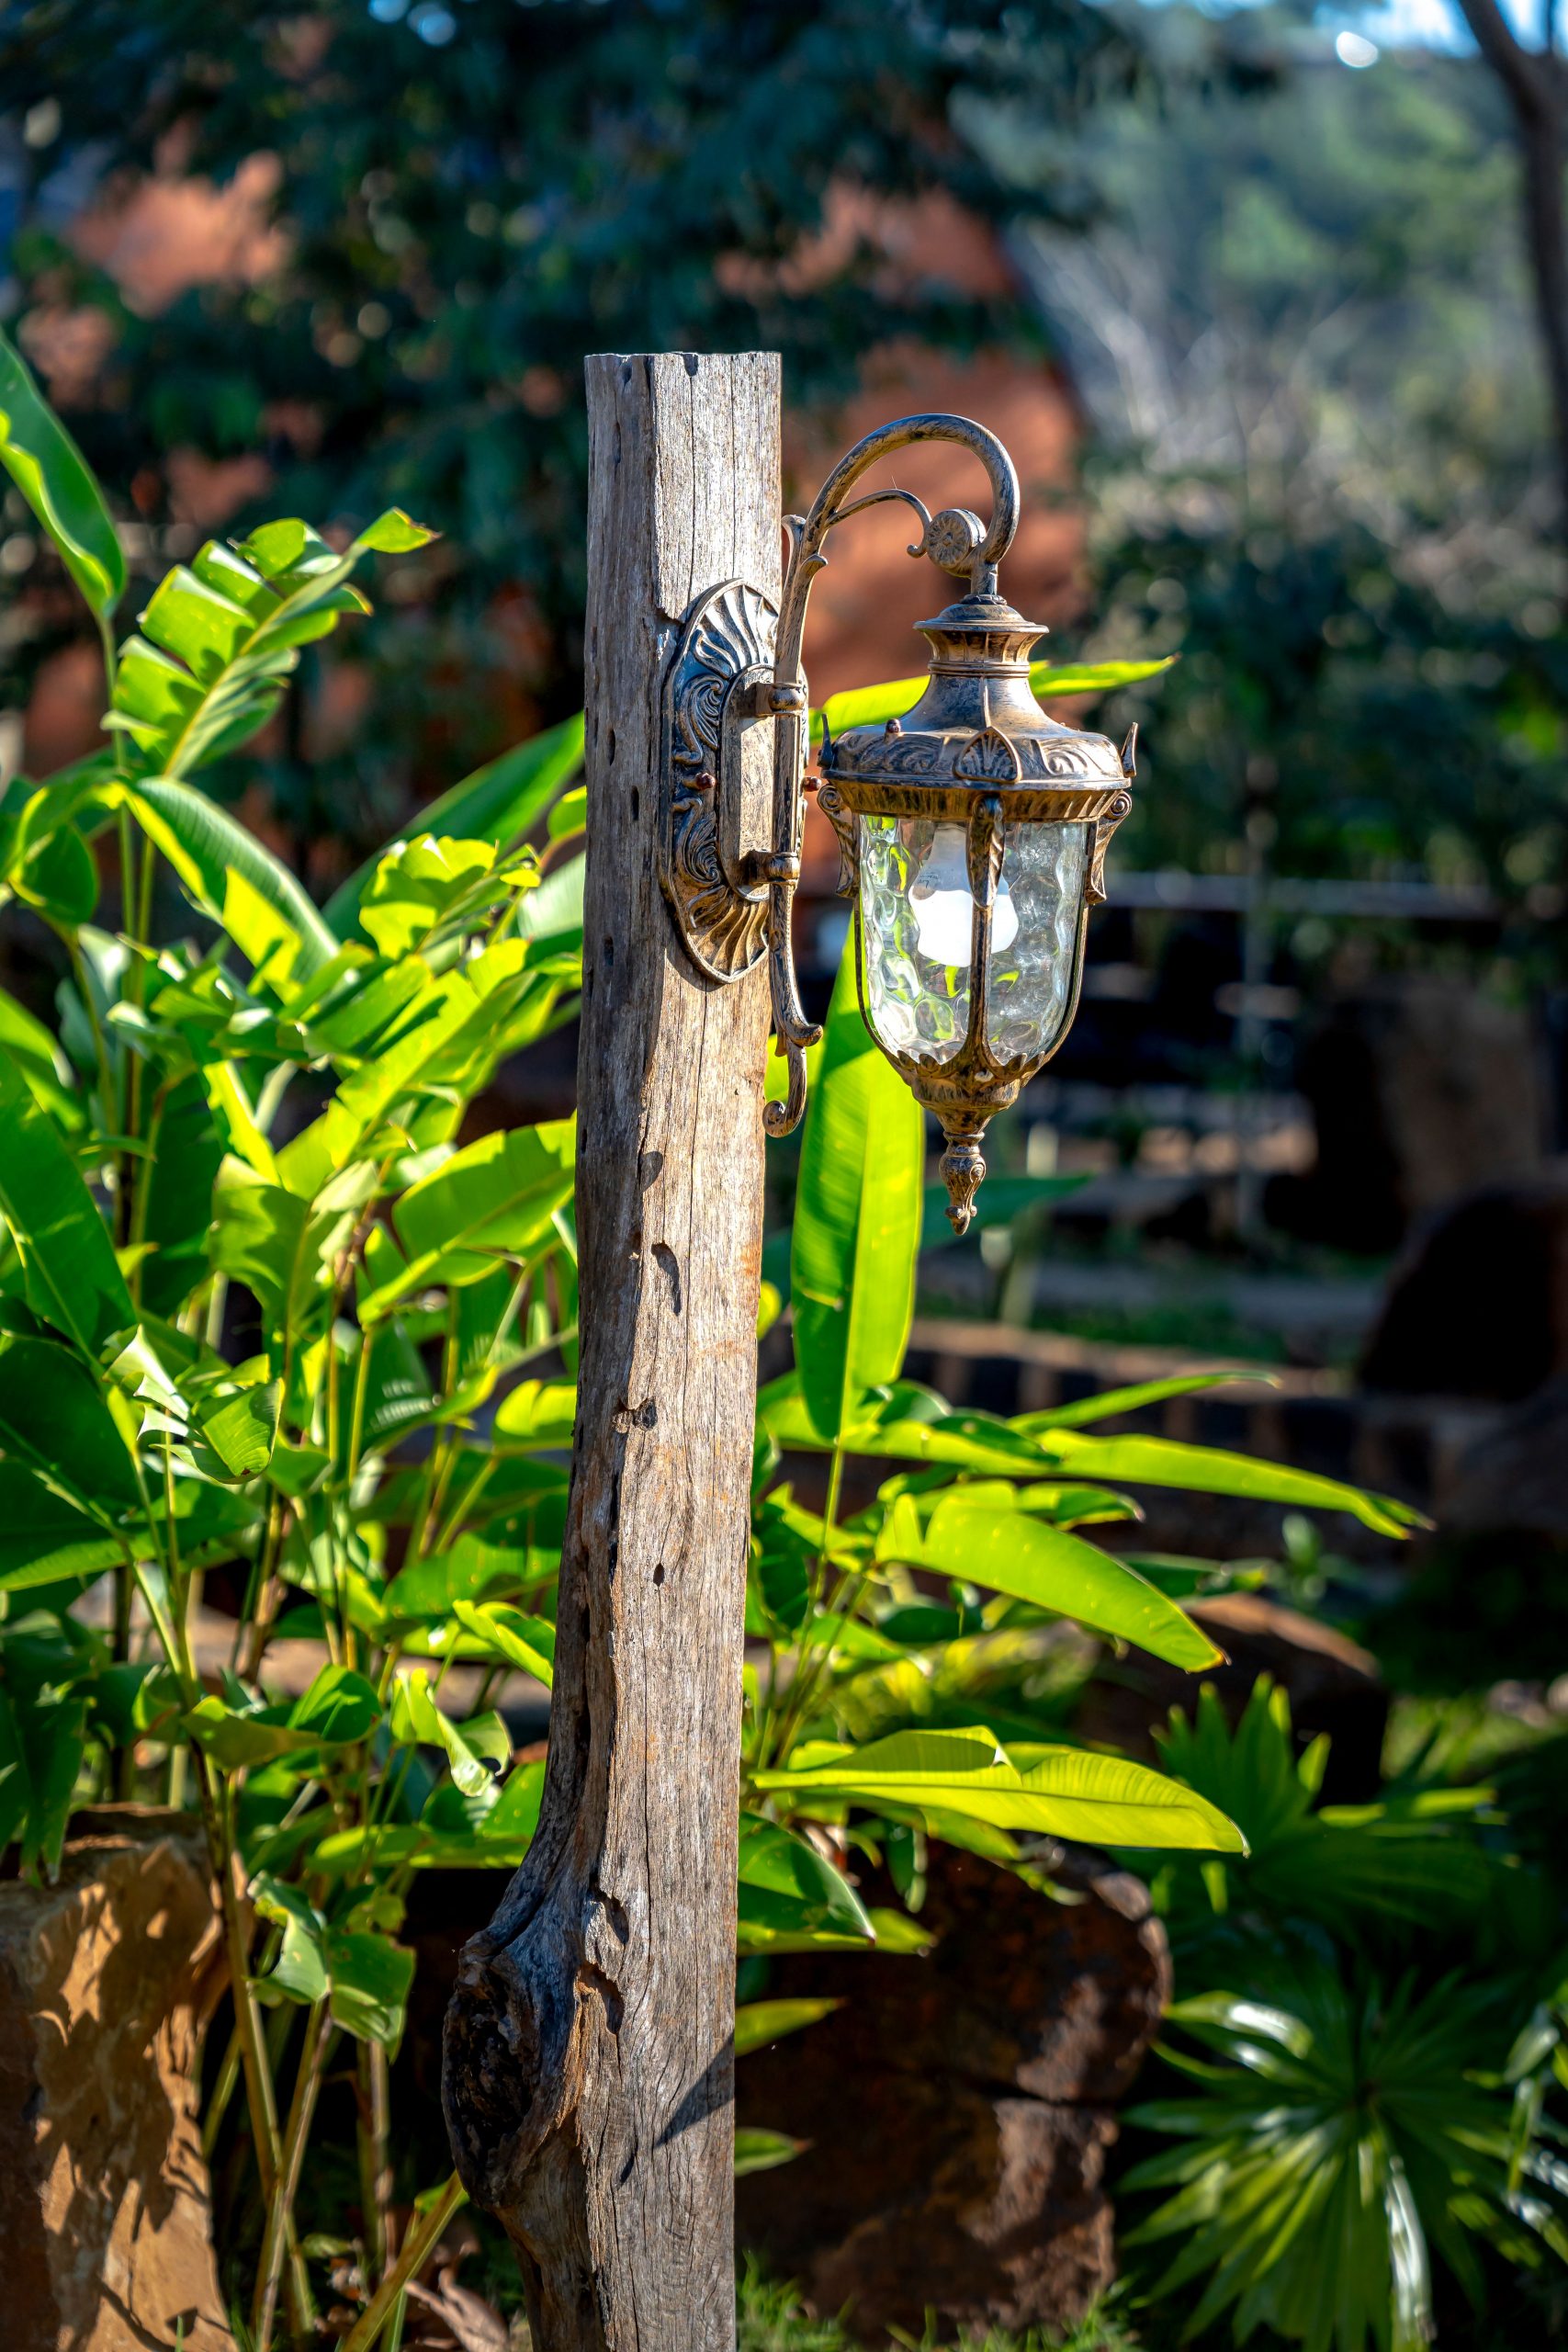
The magic here is the texture of the wooden post. A smooth, perfectly finished post wouldn’t have nearly the same impact. It’s the deep grooves, the rough surface, and the visible grain that make this feel special. It has a story. The warm, ornate bronze of the lantern complements this ruggedness perfectly, creating a look that is both rustic and refined. The post isn’t just a functional support; it’s a character-defining element of the entire design.
📐 Style Math
You can give a standard cedar or pressure-treated wood post a more rustic, aged look with a few simple steps. This works best on a new, unfinished post before installation.
- First, distress the wood. Use a hammer, a chain, or the head of a screw to create some dents, dings, and divots. Focus on the corners and edges.
- Next, use a wire brush to go over the entire surface, moving with the grain. This will pull out the softer wood and enhance the grain texture.
- Apply a dark wood stain, letting it soak in.
- Once dry, lightly sand the high spots to create a slightly weathered, two-tone effect.
- Seal with an outdoor-rated matte polyurethane to protect it from the elements.
Time estimate: 2-3 hours (plus drying time). Cost: ~$30 for stain and sealer.
15. Create a Garden Hub with a Lamp Post and Hanging Planters
Before installing a permanent lamp post, there are a few crucial things to check off your list to ensure it’s a success and not a headache.
- Check Local Codes: Before you dig, call 811 to have underground utilities marked. Also, check if your city has rules about the height or brightness of outdoor lighting.
- Plan Your Power: Will this be a traditional hardwired light or a solar-powered one? Hardwiring requires a licensed electrician and trenching for the cable. Solar is easier but depends on the post getting at least 6-8 hours of direct sunlight.
- Test Your Soil: Dig a test hole. Is the ground soft soil, or is it full of rocks and roots? This will determine how difficult it will be to dig the 18-24 inch deep hole needed for the concrete footing.
🧹 Maintenance Reality
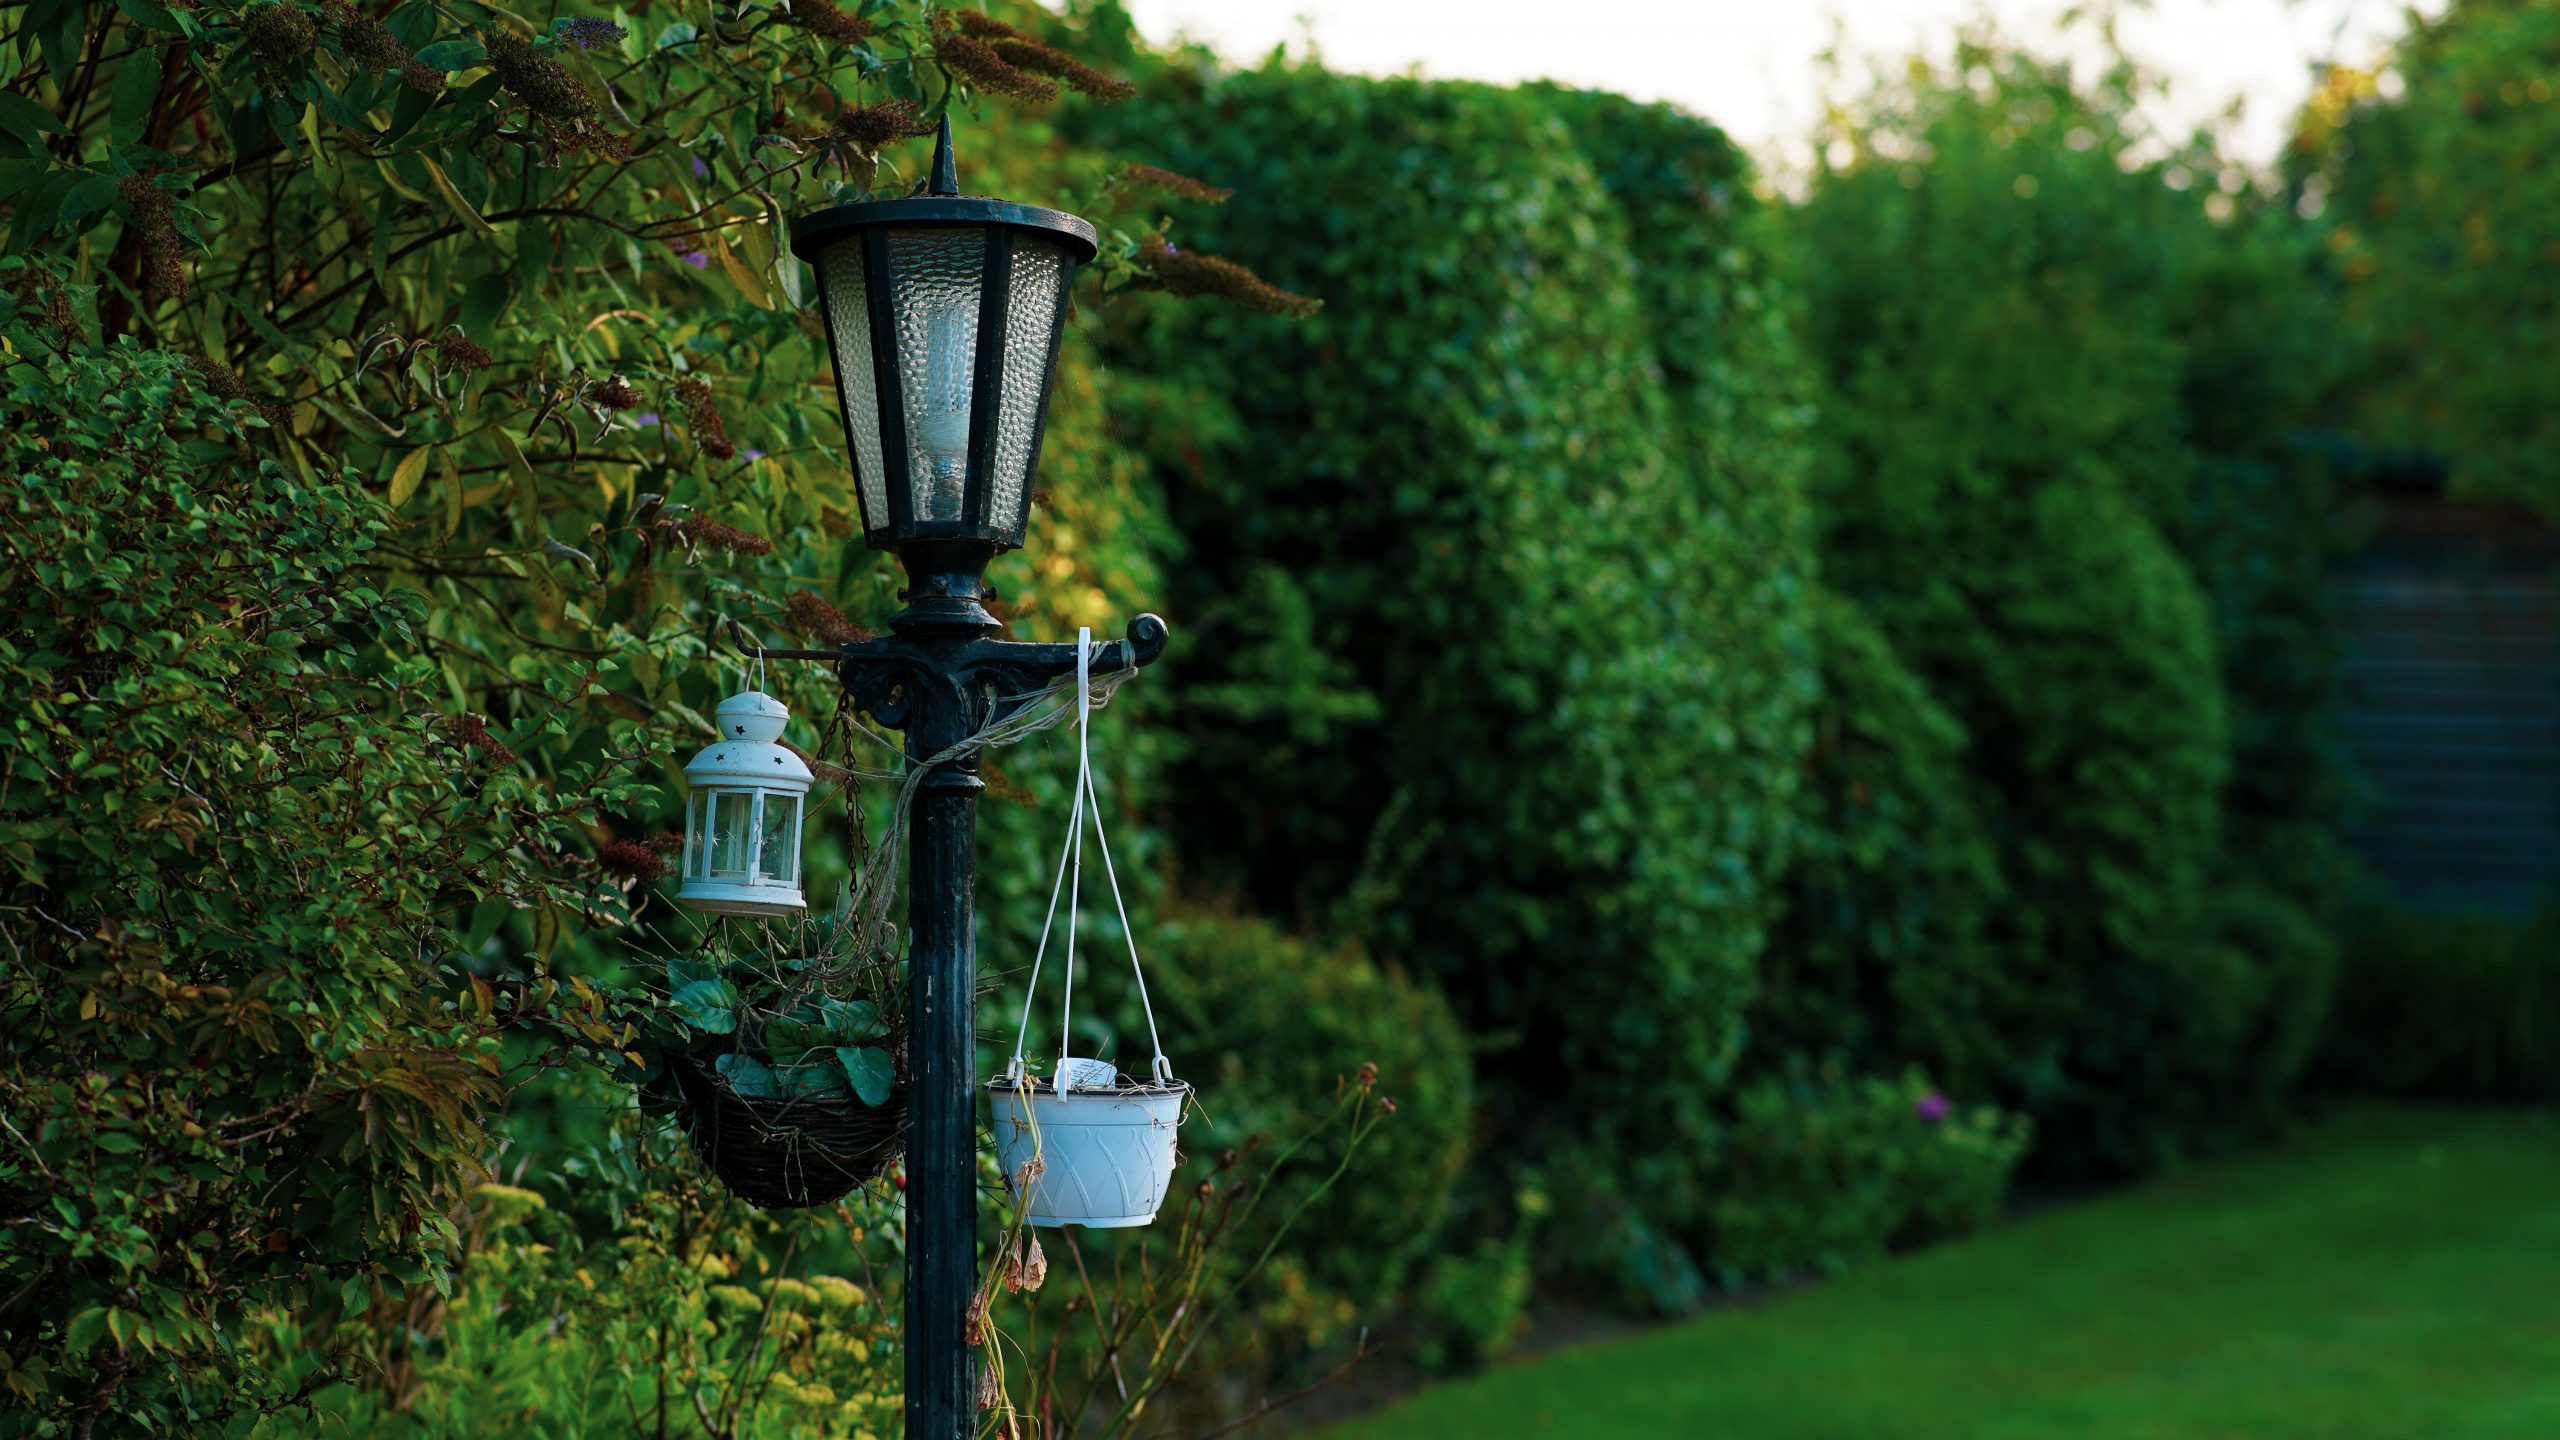
This setup works so well because it creates a multi-functional ‘hub’ in the garden. It’s not just a light source; it’s also a vertical planter. This technique, called ‘stacking functions,’ is a great way to add a lot of interest to a small area. The black cast iron post provides a strong, classic vertical line, while the hanging planters and the white lantern add softer, more decorative elements at different heights, making the composition dynamic and full of life.
16. Style a Rustic Centerpiece with Edison Bulb Lanterns
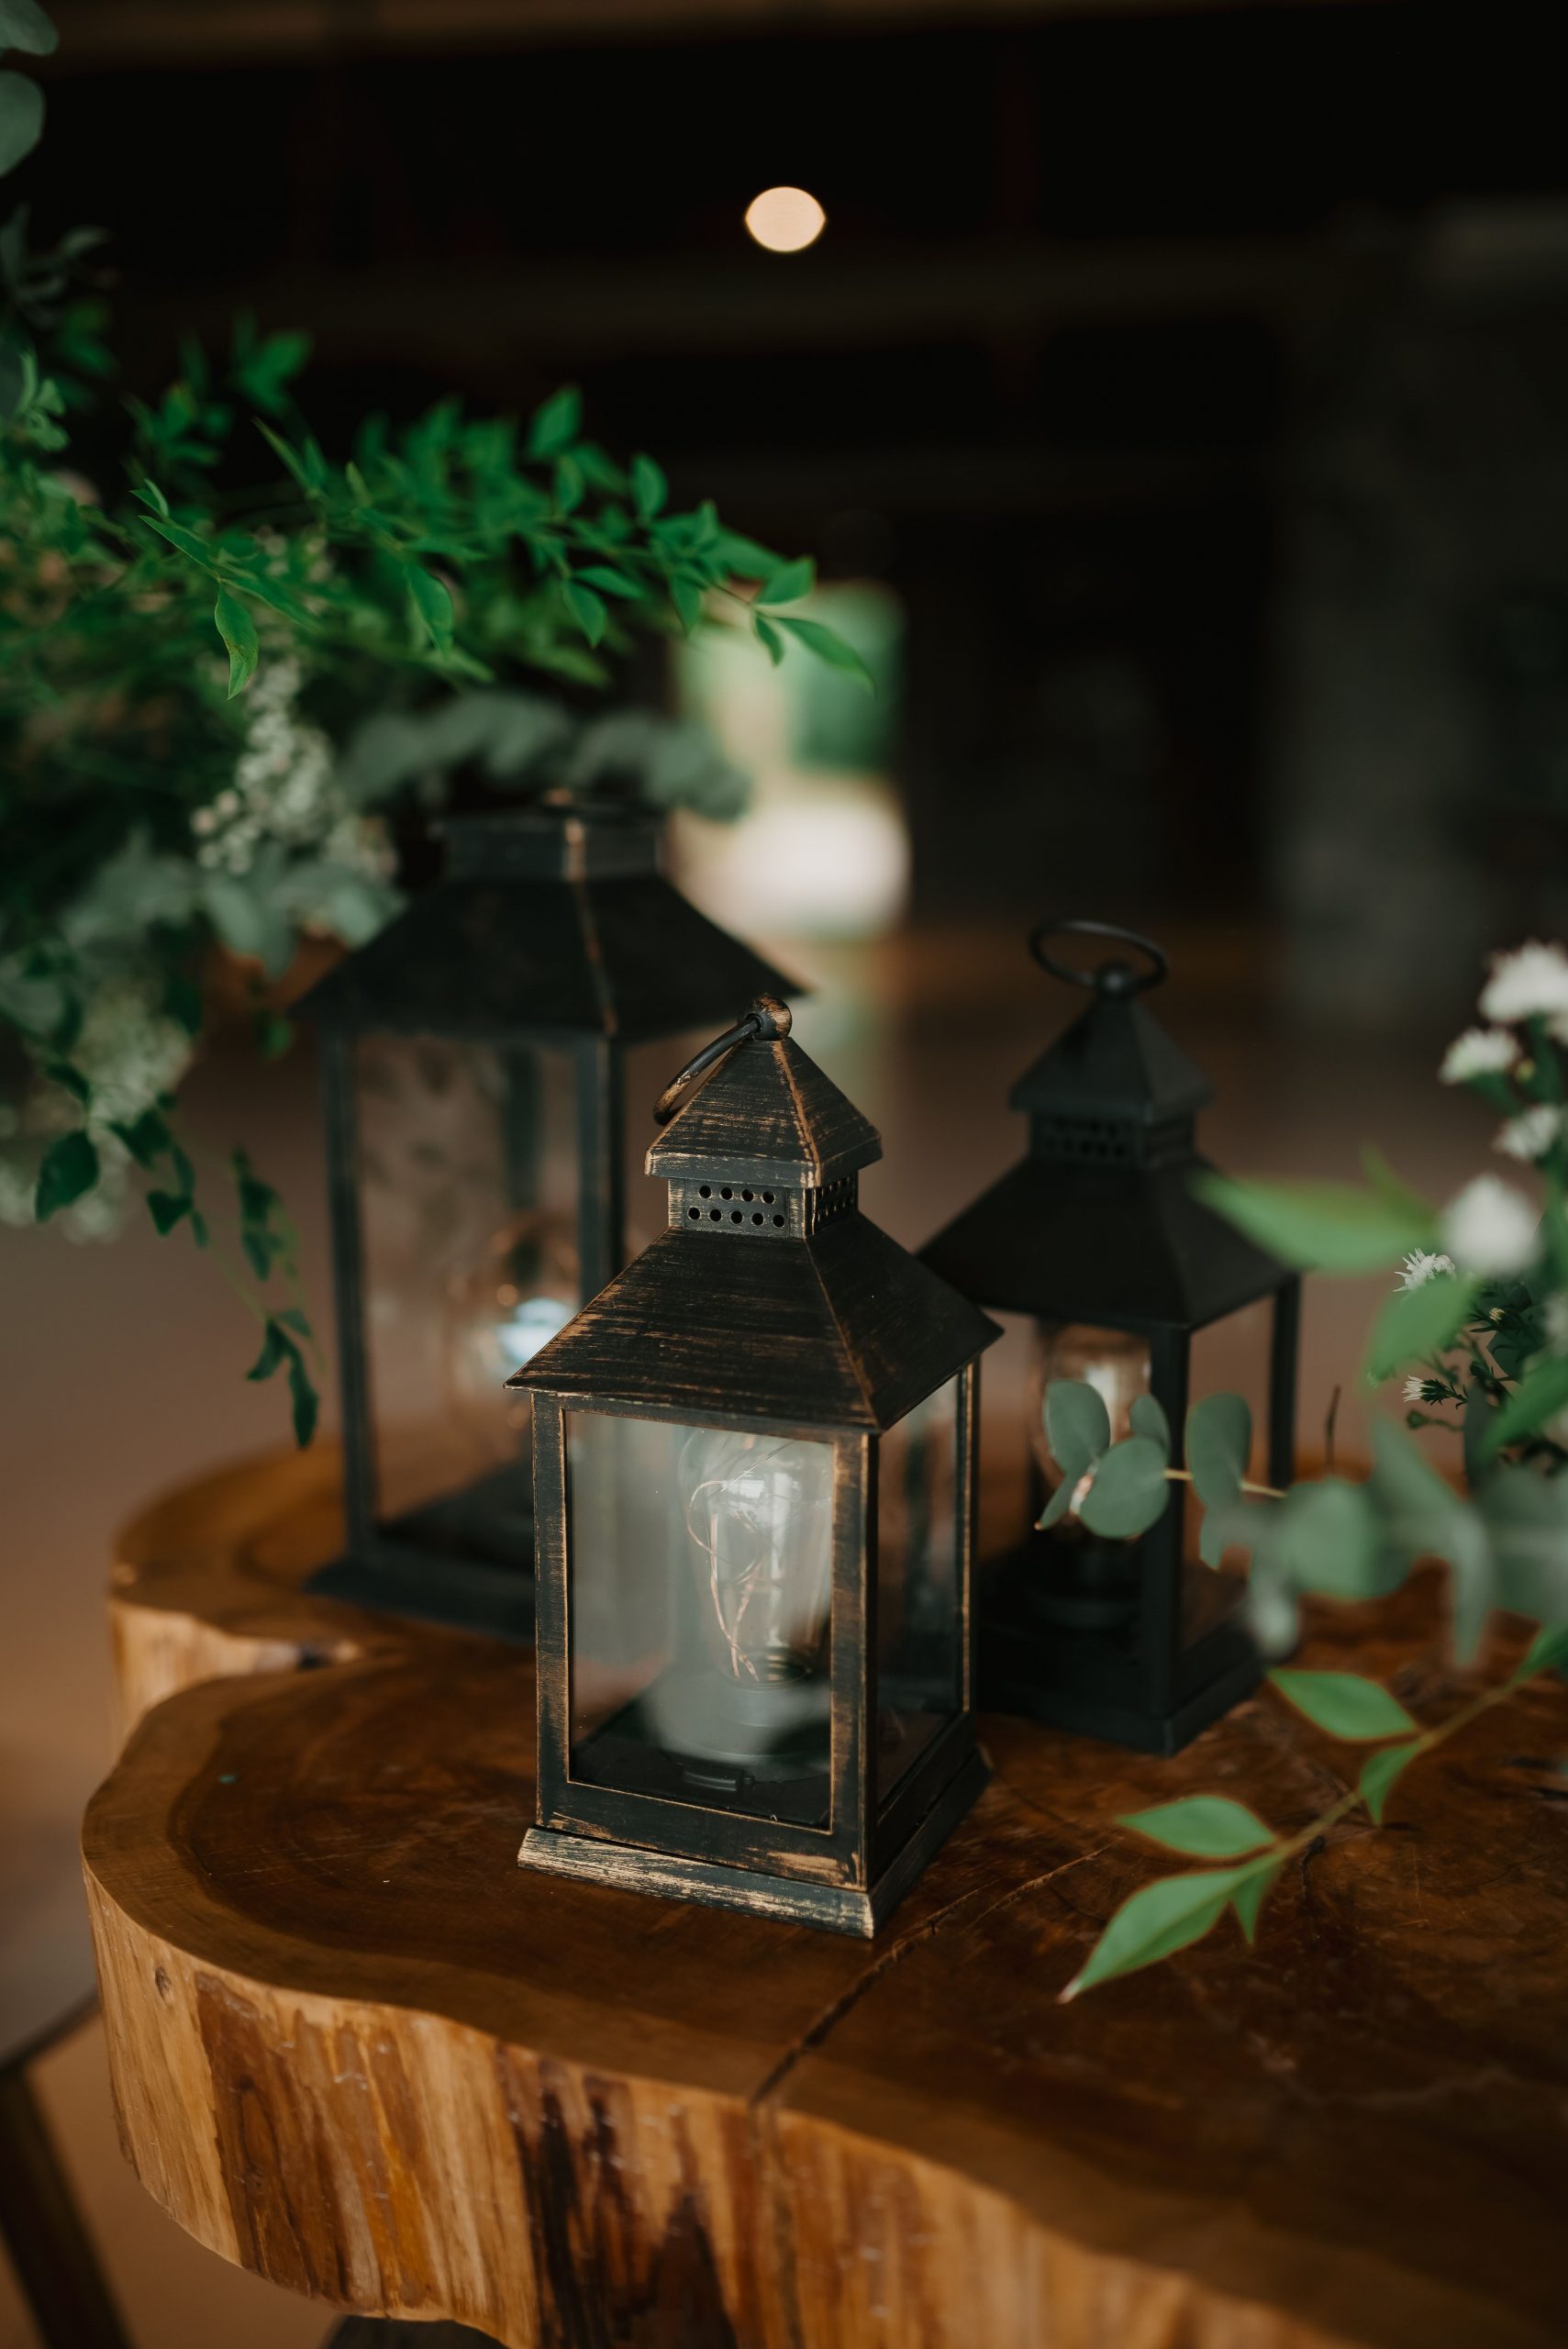
When creating a centerpiece like this, the key to a natural, effortless look is imperfection. Notice how the green foliage isn’t perfectly arranged; it’s tucked in and around the lanterns in a way that feels organic. The tiny white flowers are scattered, not in a neat bunch. The live-edge wood slab is asymmetrical. Resist the urge to make everything perfectly symmetrical and centered. A little bit of randomness makes the arrangement feel more authentic and inviting.
💡 Designer Tip
Here’s a rough estimate to recreate this charming centerpiece for a patio table or outdoor event.
- Main Furniture (Live-edge wood slab): $40 – $150
- Lighting (Set of 3 metal lanterns with fairy lights): $50 – $120
- Decor/Accessories (Faux or real foliage and flowers): $15 – $40
- TOTAL: $105 – $310
Budget alternative: Find a fallen log or thick branch for free, use glass jars instead of lanterns, and fill them with inexpensive solar-powered fairy light strings from Amazon or Walmart. Total cost: Under $40.
17. Light a Stone Pathway with Woven Solar Lanterns
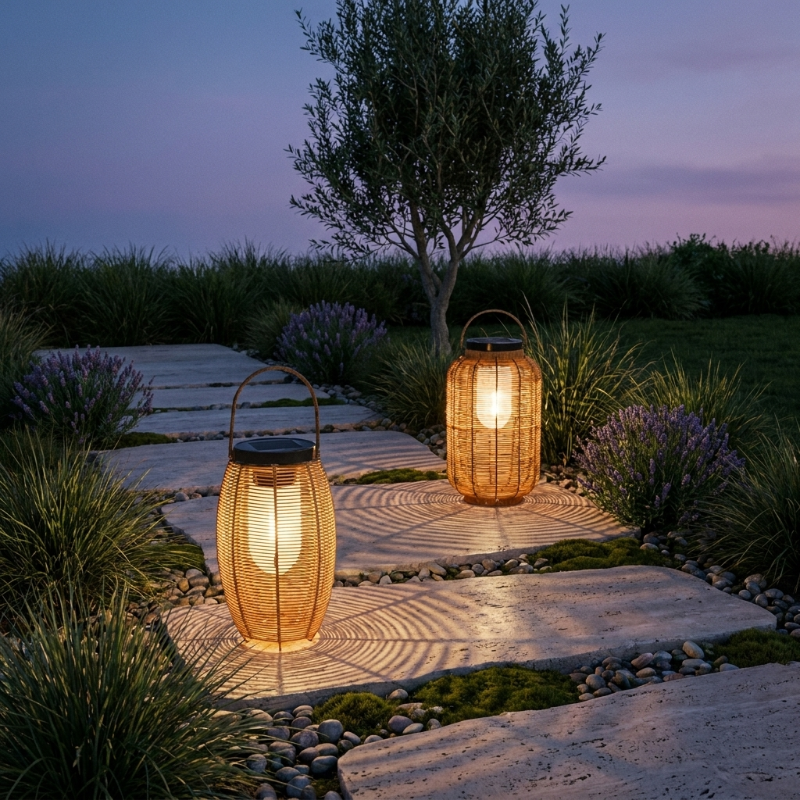
The single element that makes this scene so captivating is the pattern of light cast by the lanterns. The woven texture doesn’t just look good on the lantern itself; its main purpose is to project that beautiful, intricate pattern onto the stone pathway. It turns a simple walkway into a dynamic piece of art. Without that projected light, they would just be pleasant glowing orbs. But with it, they actively transform the ground they illuminate, creating an experience rather than just providing light. For another great example of projected patterns, see Idea #23.
🎯 What Makes It Work
Solar lights are wonderfully convenient, but their performance is entirely dependent on their placement. The lanterns here have small solar panels on top, which means they need direct overhead sun for several hours a day to charge fully. If you want this look for a shady part of your garden or a covered patio, you will be disappointed. The glow will be dim and won’t last long into the evening. Always check the sun exposure in the exact spot you plan to place solar lights before you buy them.
18. Craft an Enchanting Wall with Air Plant Chandeliers
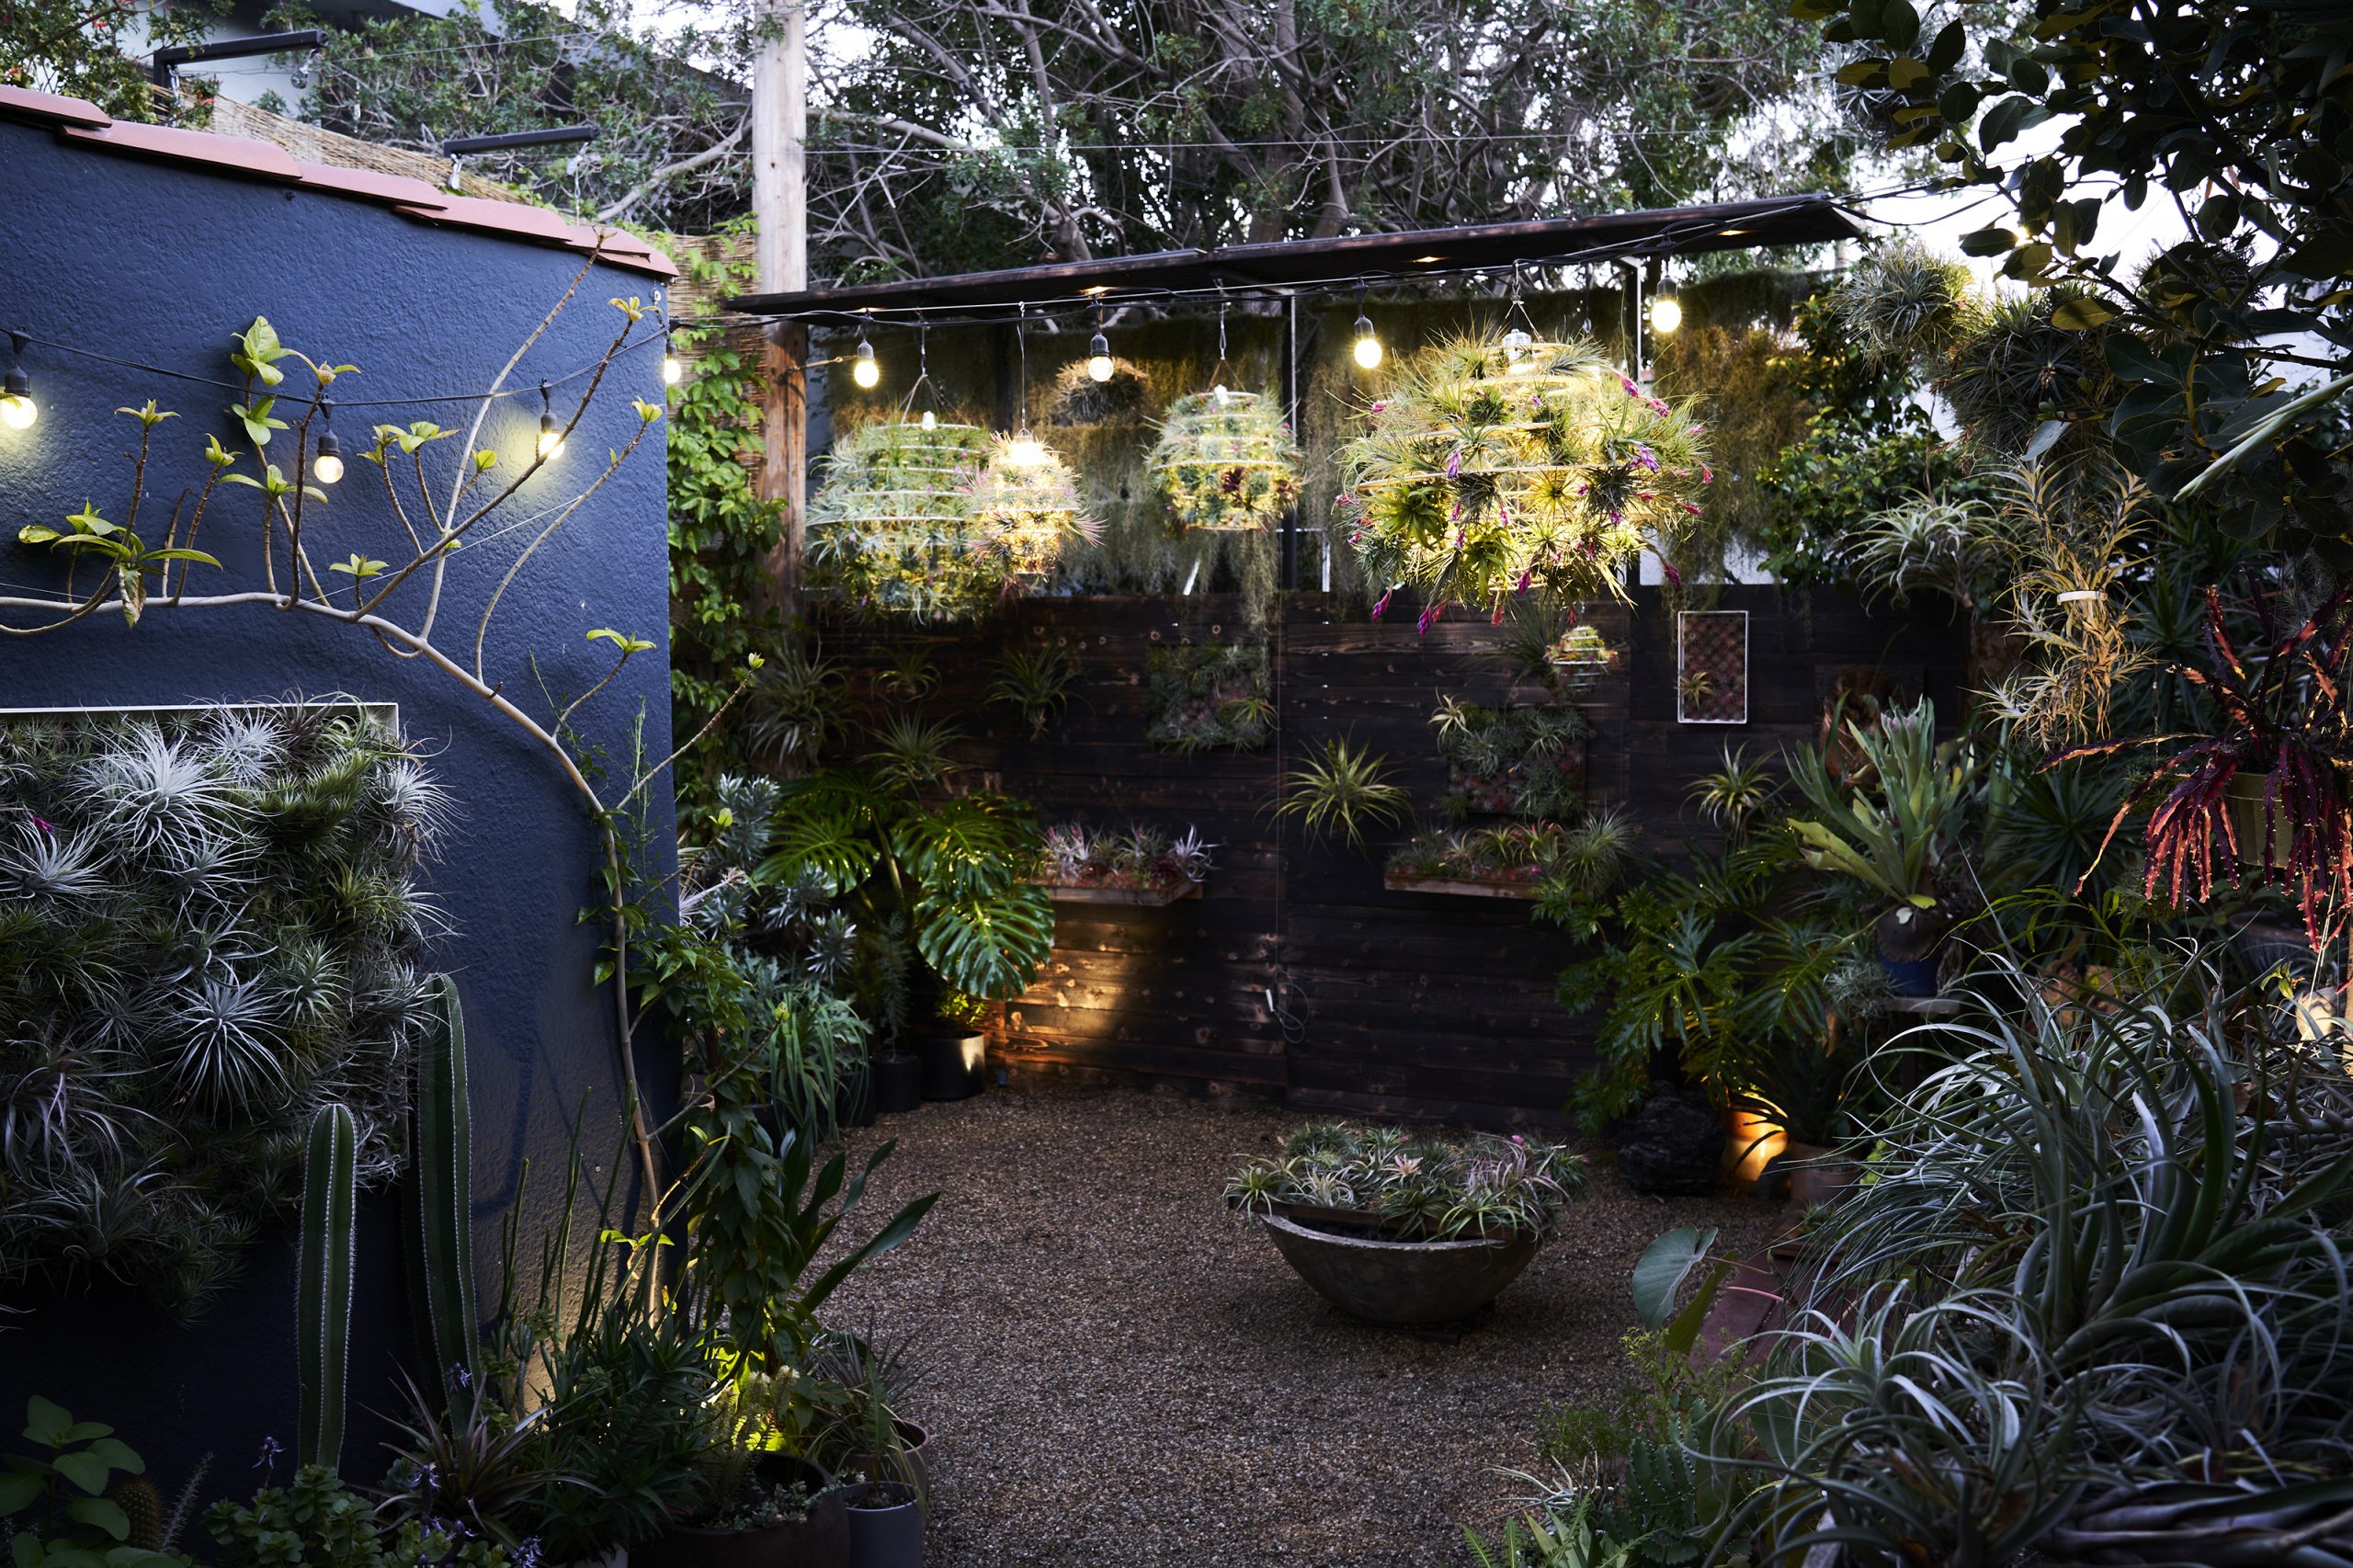
This magical look is a careful balance of hard and soft surfaces. The formula is approximately 50% wall texture (the dark blue stucco and dark wood planks) + 30% living elements (the abundance of air plants) + 20% ambient light (the chandeliers and string lights). The dark, solid walls provide a dramatic backdrop that makes the delicate green plants and the warm lights pop. The gravel floor adds another layer of texture that grounds the whole scene. It’s the contrast between the rough walls and the living plants that makes it so enchanting.
🔥 Trending Context
This idea is brilliant for narrow or awkward outdoor spaces, like a side return, a long narrow balcony, or the wall of a garage. It uses vertical space to create a huge impact without taking up valuable floor area. The minimum width for this to feel immersive rather than cluttered is about 5-6 feet. This gives you enough space to walk past the wall and appreciate the effect without feeling cramped. You also need a ceiling or overhead structure from which to hang the lights and chandeliers.
19. Achieve a Serene Glow with a Traditional Japanese Stone Lantern
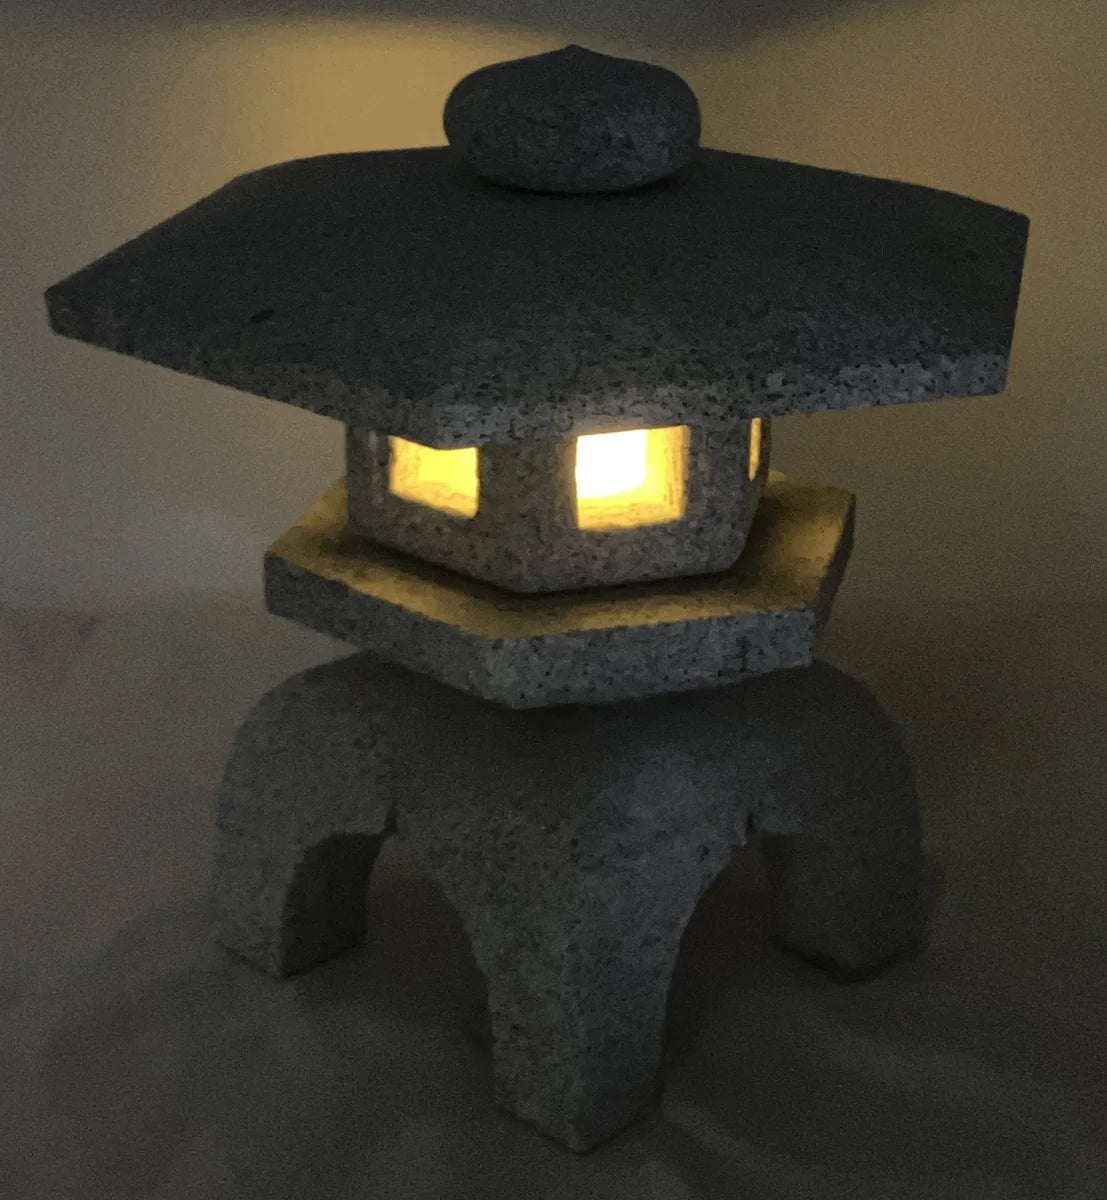
To get this beautiful, warm glow, the key is the lightbulb’s color temperature. You’re not looking for a bright, white, functional light. You need a bulb with a very low color temperature, somewhere between 2200K and 2700K. This range produces the warm, amber, candle-like hue that feels serene and traditional. Many ‘vintage’ or ‘Edison’ style LED bulbs fall into this range. A standard ‘daylight’ LED bulb (5000K+) would create a harsh, cold light that would completely ruin the tranquil mood.
📏 Scale Guide
The design creates a sense of peacefulness through the use of soft, indirect light. The light source is shielded within the lantern’s chamber, so you don’t see the harsh glare of a bare bulb. Instead, the light is diffused through the window-like openings, casting a soft glow on the lantern itself and the immediate surroundings. The visible gold stripe is a clever touch; it catches the light and reflects it, adding another layer of warmth and complexity. The upward curve of the roof also helps to bounce light down, enhancing the effect.
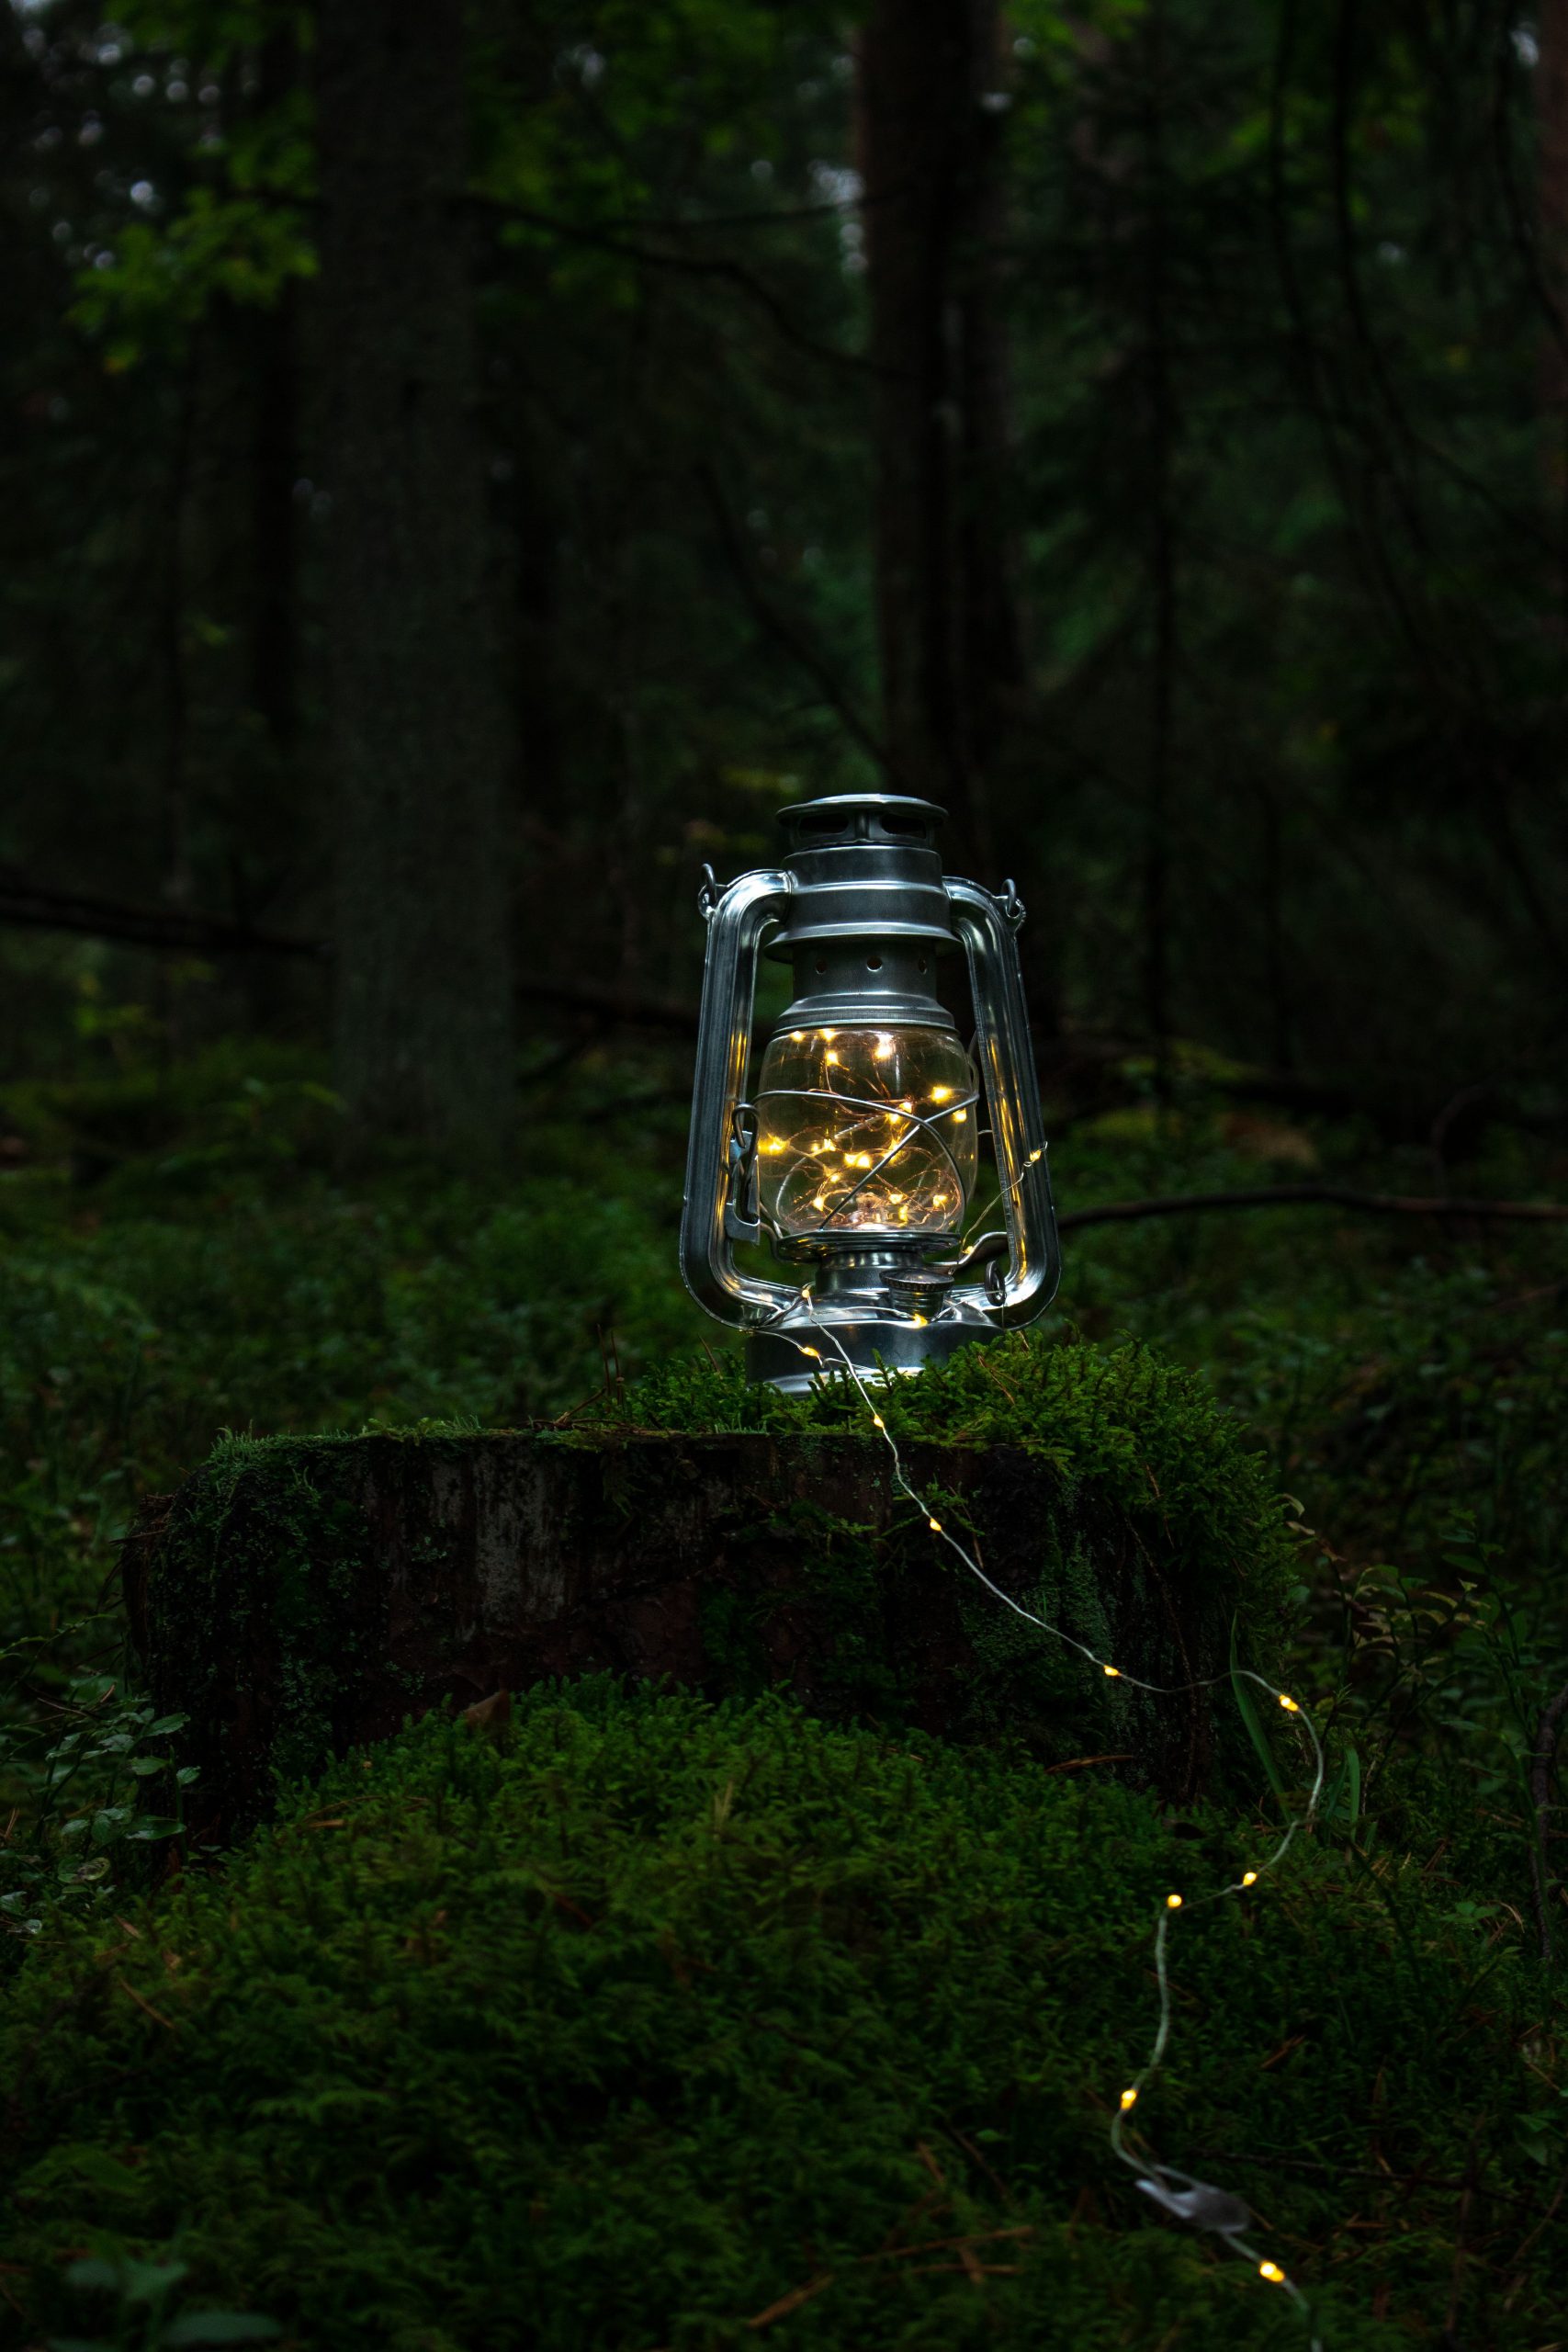
20. Create a Magical Forest Scene with a Fairy Light Lantern
This enchanting look is incredibly easy and affordable to recreate. You can find simple metal and glass lanterns at craft stores like Michael’s or even at Walmart or Target for $15-$30. The key ingredient is the copper-wire fairy lights (or firefly lights), which are available on Amazon for as little as $5-$10 for a battery-operated set. Find a mossy log or stump in your yard (or use a large piece of firewood), stuff the lantern with the lights, and you’ve created a magical little vignette for under $40. It’s a perfect project for a garden party or a whimsical touch for a summer evening. For a slightly different take, see how they’re used in Idea #22.
💸 Get This Look For Less
There’s something deeply nostalgic and enchanting about this scene. It doesn’t feel designed; it feels discovered. As if you were walking through the woods at dusk and stumbled upon a little bit of magic left behind by a forest fairy. The placement on the mossy, imperfect stump is crucial. It connects the man-made object (the lantern) to the natural world in a way that feels gentle and story-like. It’s a reminder that the best garden decor sometimes creates a feeling or a narrative, rather than just filling a space.
21. Use Woven Basket Lanterns for a Cozy Patio Glow
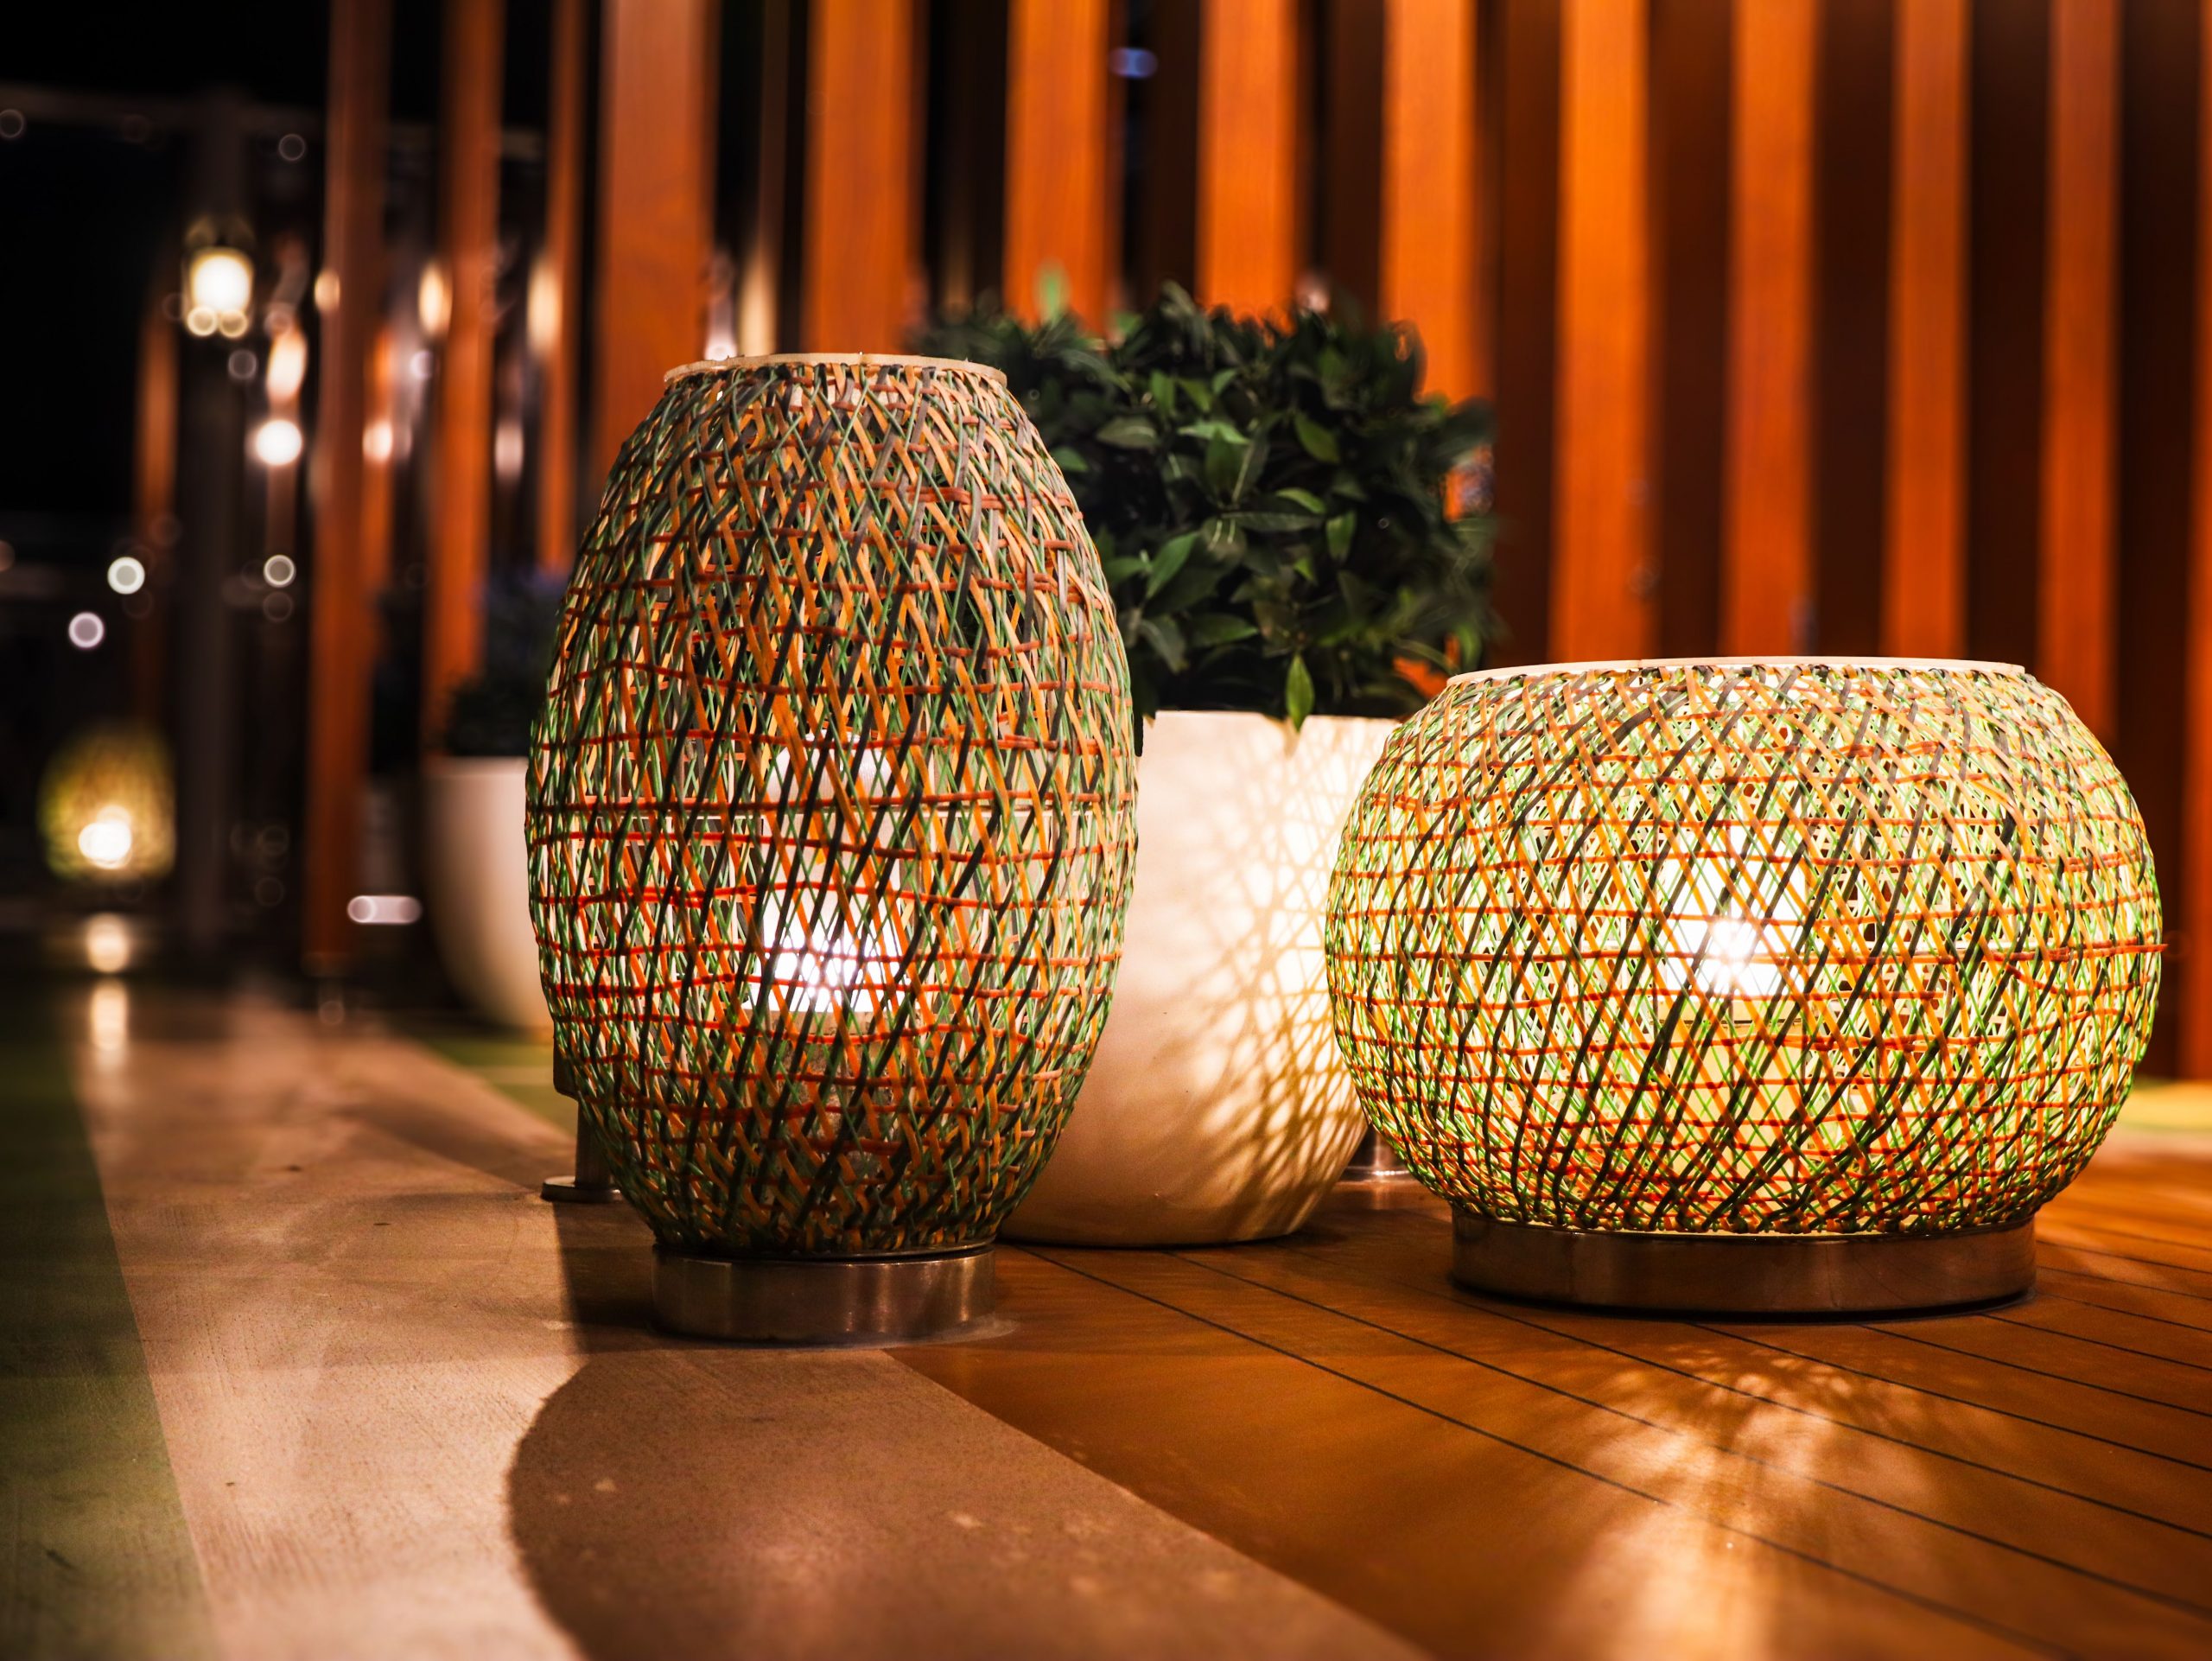
What makes this scene so inviting is the texture of the lanterns. They aren’t just sources of light; they are beautiful, tactile objects in their own right. The woven material, with its mix of colors, adds a layer of warmth and craft that you wouldn’t get from a simple glass or metal lantern. Even when unlit during the day, they serve as decorative baskets that enhance the cozy, bohemian vibe of the space. The light filtering through the weave creates a soft, dappled effect that plastic or glass simply can’t replicate.
✅ Before You Start
Natural woven materials like rattan, wicker, or seagrass look amazing, but they are not made to withstand the elements 24/7. To keep these lanterns looking good, they should be used in a covered, protected area like a covered porch or brought indoors when not in use. Direct sun will cause the colors to fade and the fibers to become brittle over time. Rain and morning dew will lead to mildew and rot. Think of them as decor you bring out for the season or for specific occasions, not as permanent, all-weather fixtures.
22. Style a Zen Corner with a Pierced Stone Japanese Lantern
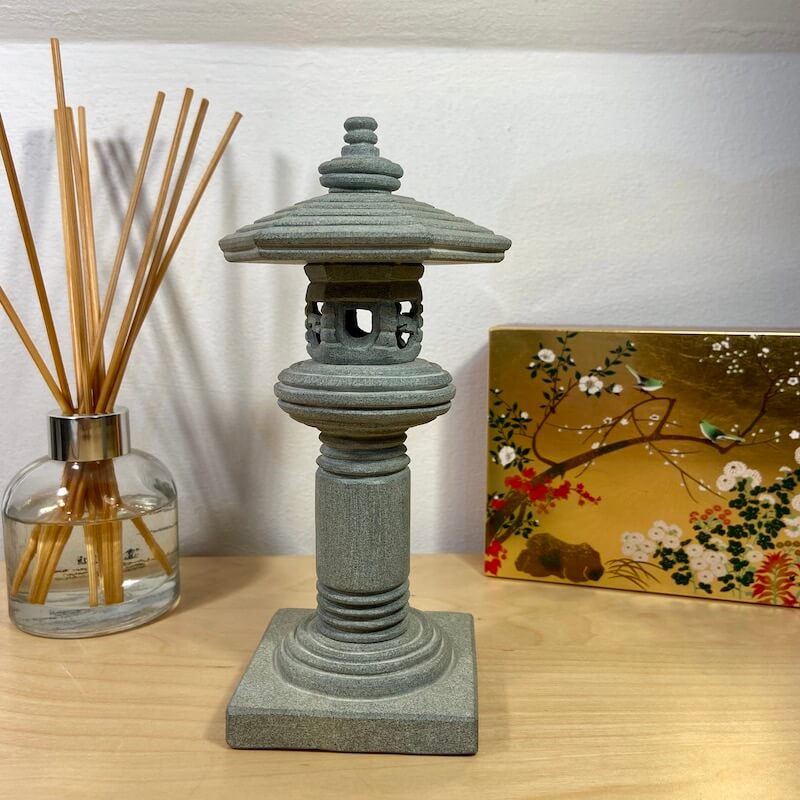
This arrangement feels so calm and composed because it adheres to the ‘Rule of Threes,’ a classic design principle. You have three main objects: the tall lantern, the lower reed diffuser, and the golden artwork. They vary in height and shape, creating a visually interesting but balanced grouping. The composition is asymmetrical, which feels more natural and less rigid than a perfectly centered arrangement. The limited, neutral color palette (gray, light wood, gold) ties everything together into a cohesive, serene vignette.
🔧 How-To Brief
While this is a beautiful Japanese-style lantern, its placement here suggests it’s being used indoors as a decorative object, not as an outdoor garden light. The light wood surface it’s sitting on and the presence of a reed diffuser and framed art are cues for an interior setting. Many of these stone lanterns are heavy but not massive, and people do bring them inside for a touch of Zen decor. Just be aware that real stone is porous and can scratch or transfer moisture to furniture, so always use a protective mat or felt pads underneath.
23. Get a Cozy Autumn Look with a White Lantern and Fairy Lights
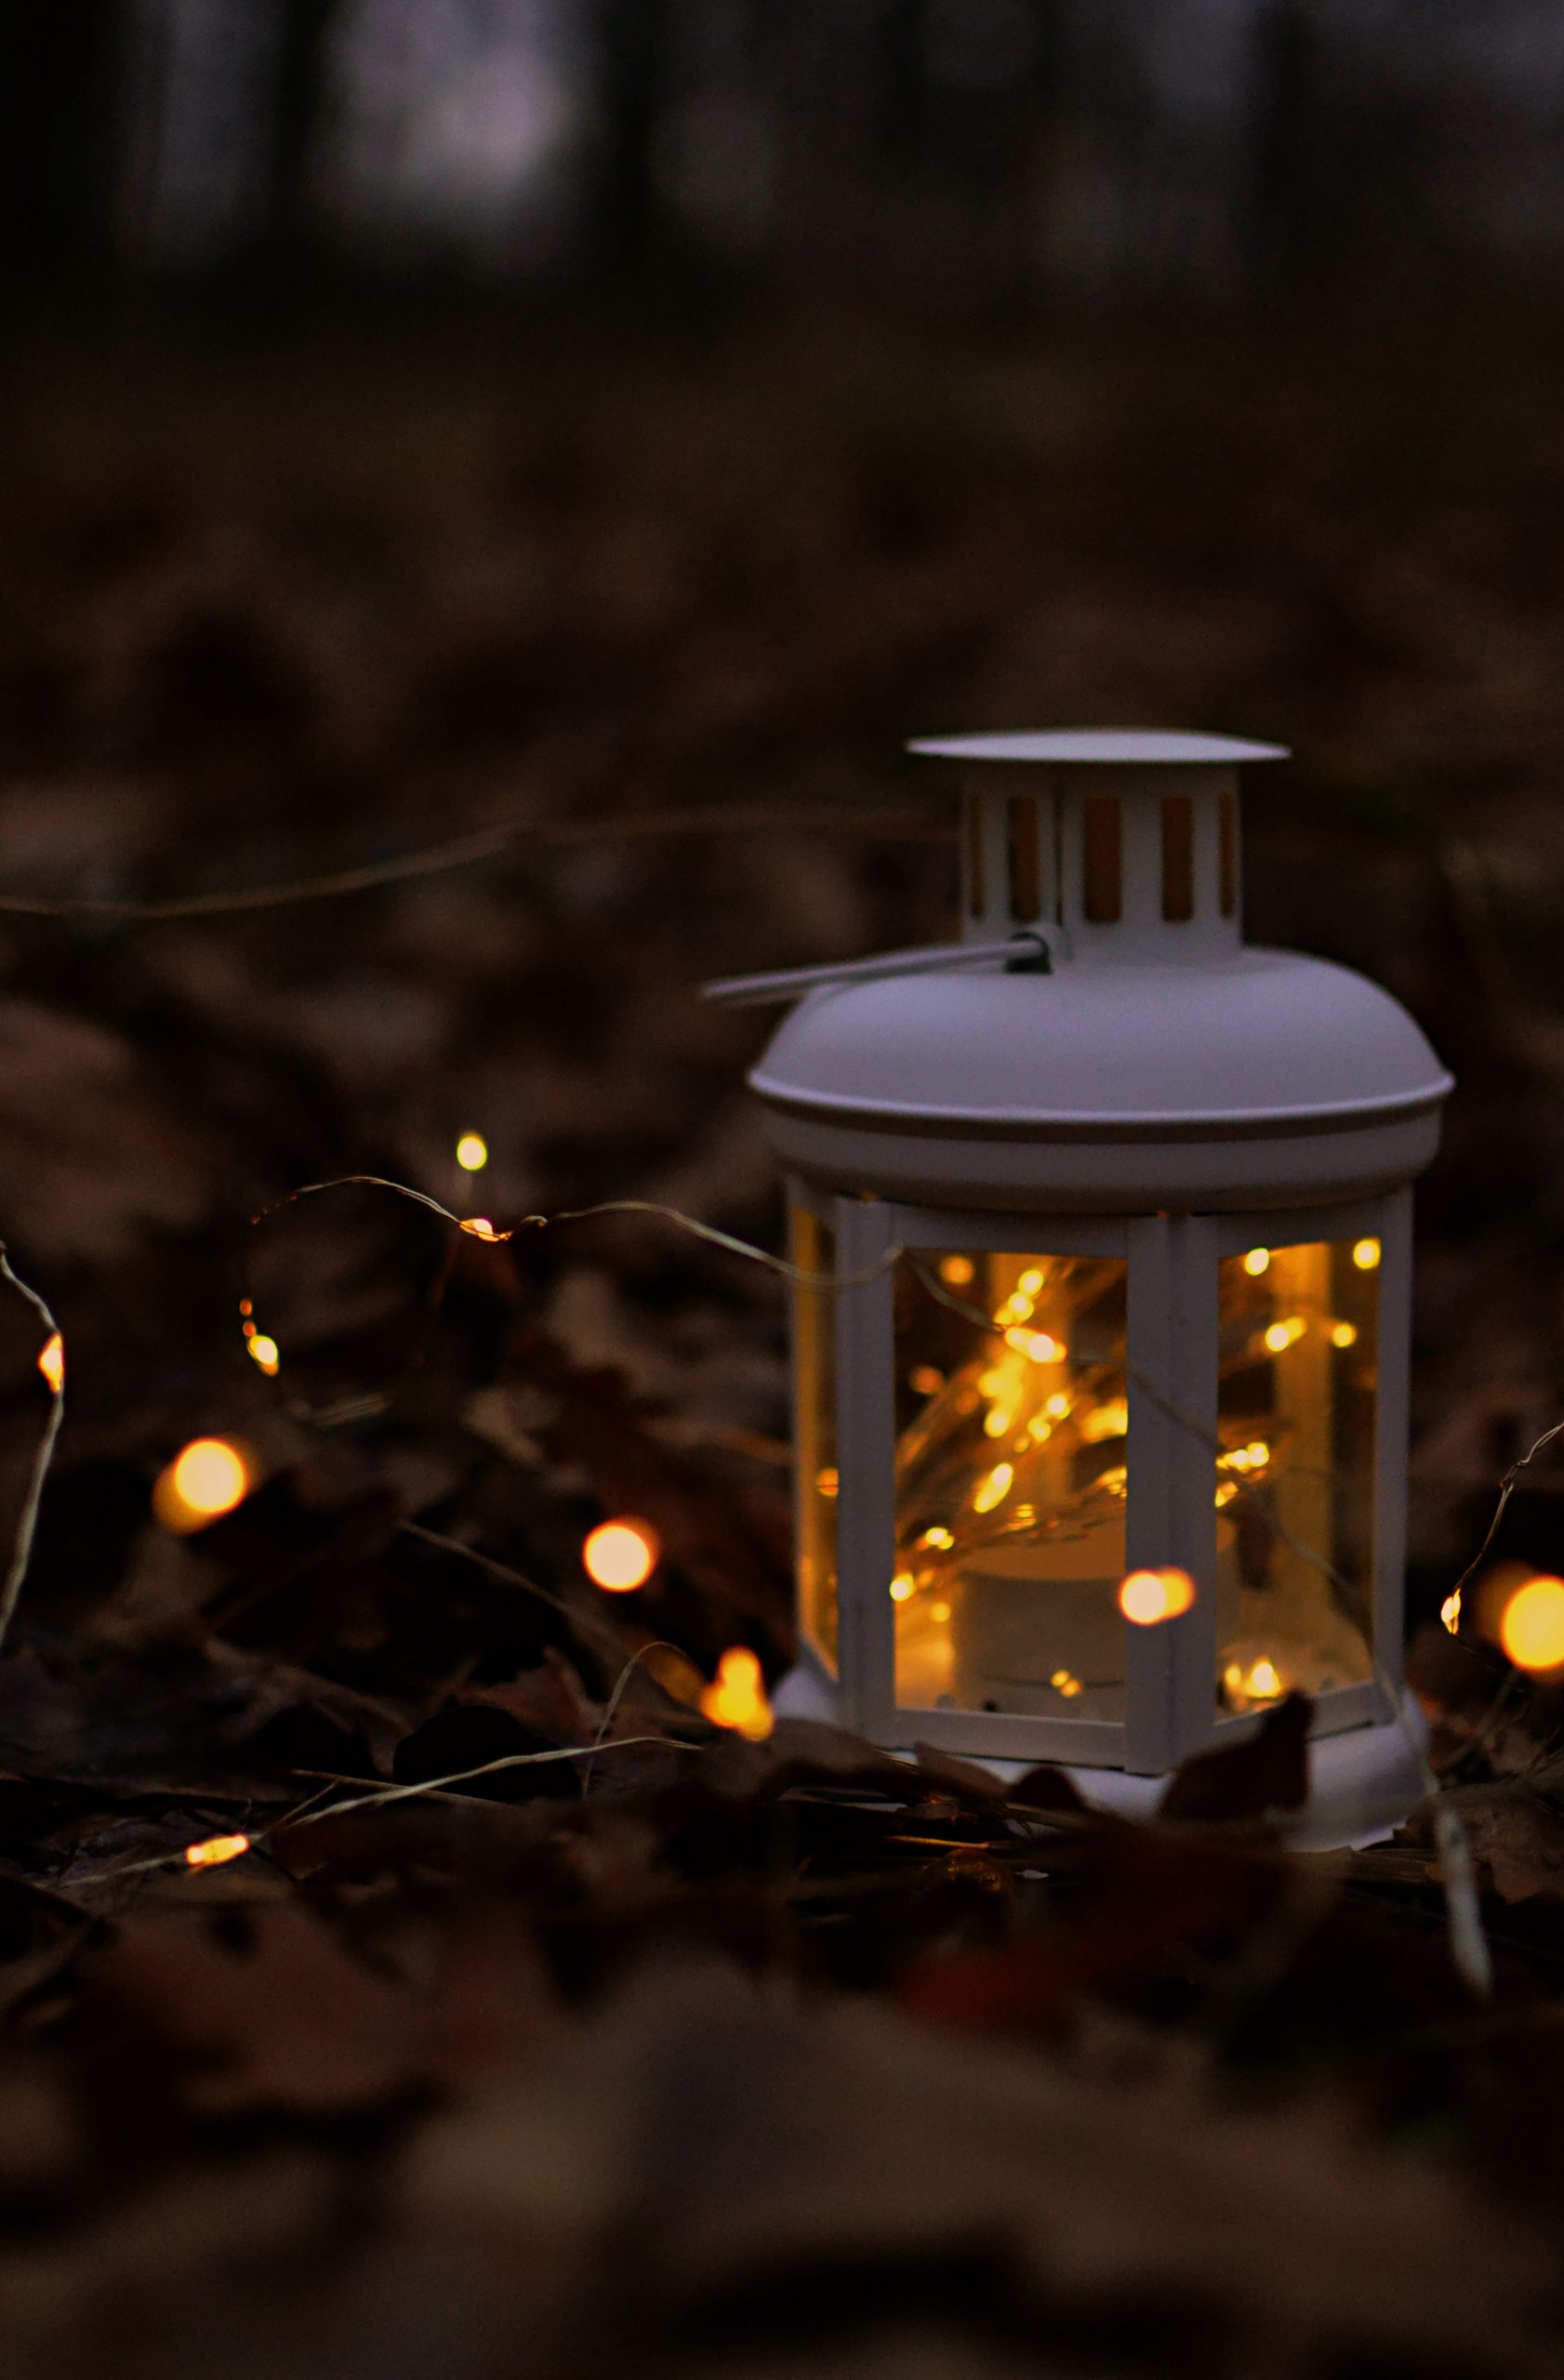
This magical glowing-embers effect is simple to achieve for an evening gathering. It’s a temporary, high-impact decoration perfect for an autumn night.
- Start with a clean, empty lantern. A white one provides a great neutral canvas.
- Gently coil a string of warm white, battery-powered fairy lights and place them inside the lantern. Let the battery pack hang out the back.
- Gather a bag of dry, dark autumn leaves from your yard.
- Create a ‘nest’ of leaves on a flat, stable surface like a patio table or stone step.
- Place the lantern in the center of the nest.
- Drape a second string of fairy lights loosely over the lantern and among the surrounding leaves to complete the look.
Time estimate: 10 minutes. Cost: $20-$50, depending on the lantern.
💰 Budget Breakdown
This heartwarming style is a simple recipe: 60% cozy light source (the illuminated lantern and extra fairy lights) + 40% natural autumn texture (the dark, dry leaves and bare branches). The key is the overwhelming warmth of the lights against the cool, dark backdrop. The white of the lantern acts as a reflector, bouncing the fairy light around and amplifying the glow. You could change the lantern color, but the formula of a bright, contained light source nestled in dark, rustic scatter remains the same.
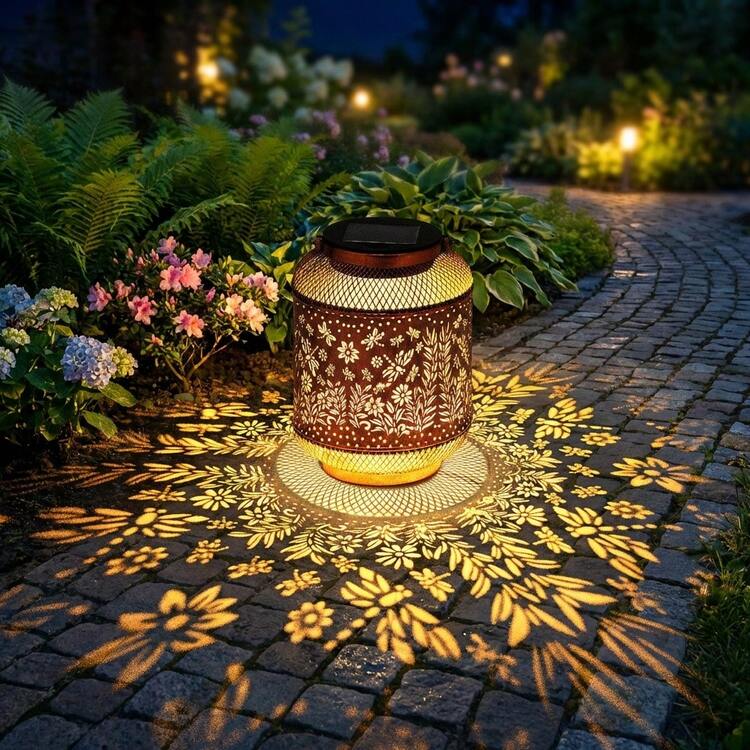
24. Cast Floral Shadows with a Cut-Out Solar Lantern
The single most captivating feature of this lantern is not the object itself, but the intricate floral shadows it casts upon the stone path. The lantern is a tool for creating art with light. During the day, it’s a pleasant bronze-colored cylinder, but at night, it transforms the ground around it into a magical, patterned carpet. This dynamic quality—the ability to project beauty beyond its own form—is what makes it a truly special piece of garden decor. A similar effect with a different style can be seen in Idea #16.
⭐ The One Thing
This lantern’s design is brilliant because it understands its purpose is twofold. First, the cut-out pattern is aesthetically pleasing on the object itself. Second, and more importantly, the pattern is designed to be ‘read’ as a projection. The warm yellow light provides high contrast against the dark night, making the shadows crisp and clear. The choice to place it on a flat, plain surface like the stone pavers is intentional—it provides the perfect canvas for the light show. On a busy, textured surface like grass or mulch, the effect would be lost.
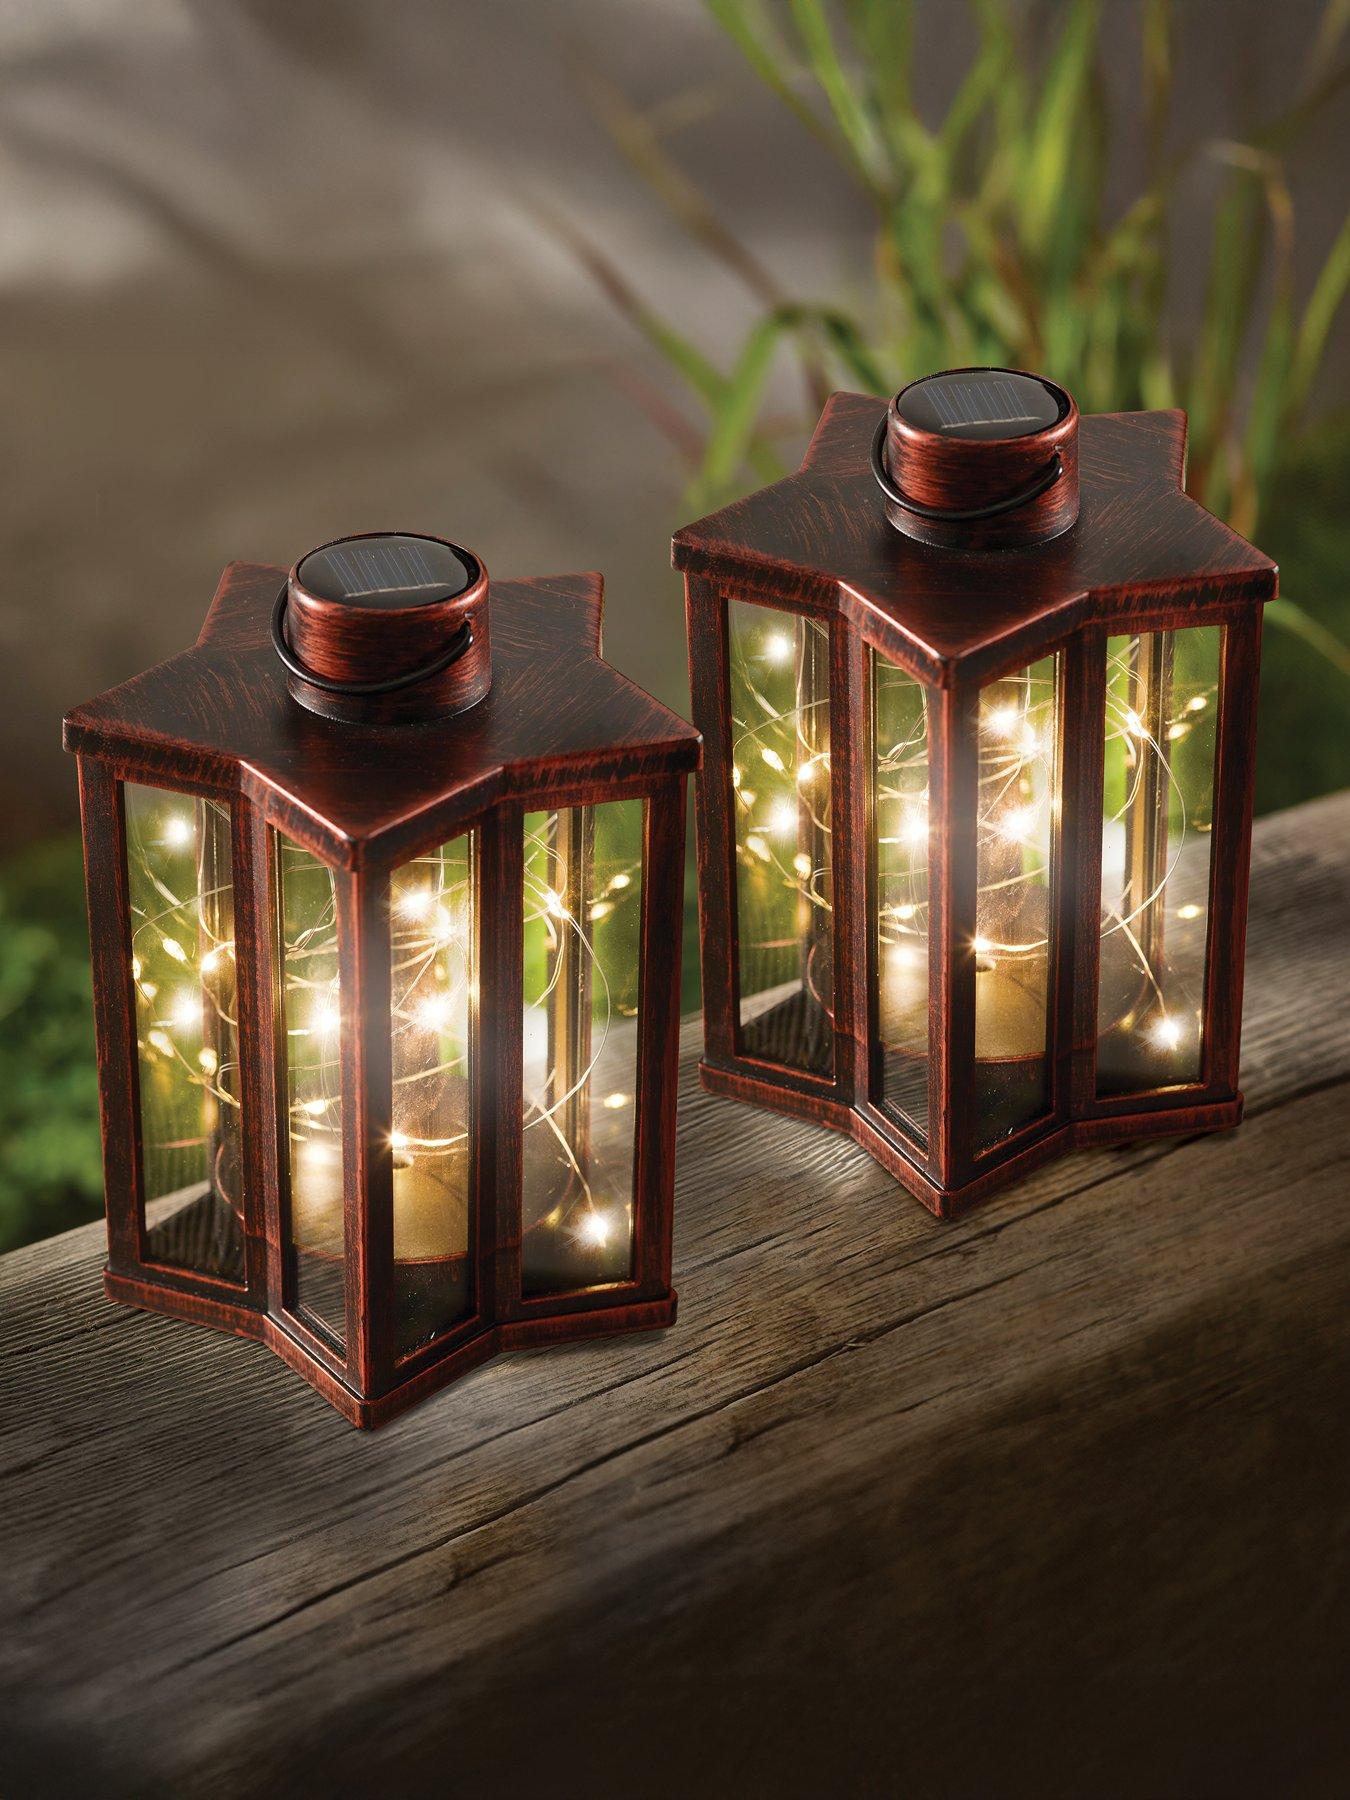
25. Use Star-Shaped Solar Lanterns for a Festive Glow
When using multiple decorative lanterns, grouping them in twos or threes creates a more intentional and impactful display than scattering them individually. Placing two identical lanterns right next to each other, as shown here, creates a sense of symmetry and abundance. The warm glow is concentrated, making a stronger statement. This technique works especially well for creating a focal point on an outdoor table, a porch step, or marking the entrance to a pathway.
⚠️ Real Talk
While these specific star-shaped lanterns with a copper finish are gorgeous, you can get a similar festive, starry vibe on a smaller budget. Look for paper star lanterns from places like IKEA or online party supply stores, which often sell for $5-$15. They aren’t weatherproof, so they are for temporary use on a clear night. You can illuminate them with battery-powered LED puck lights or fairy lights. For a more permanent solar option, look for star-shaped string lights and wrap them around a tomato cage or a DIY wire frame to create a three-dimensional star form.
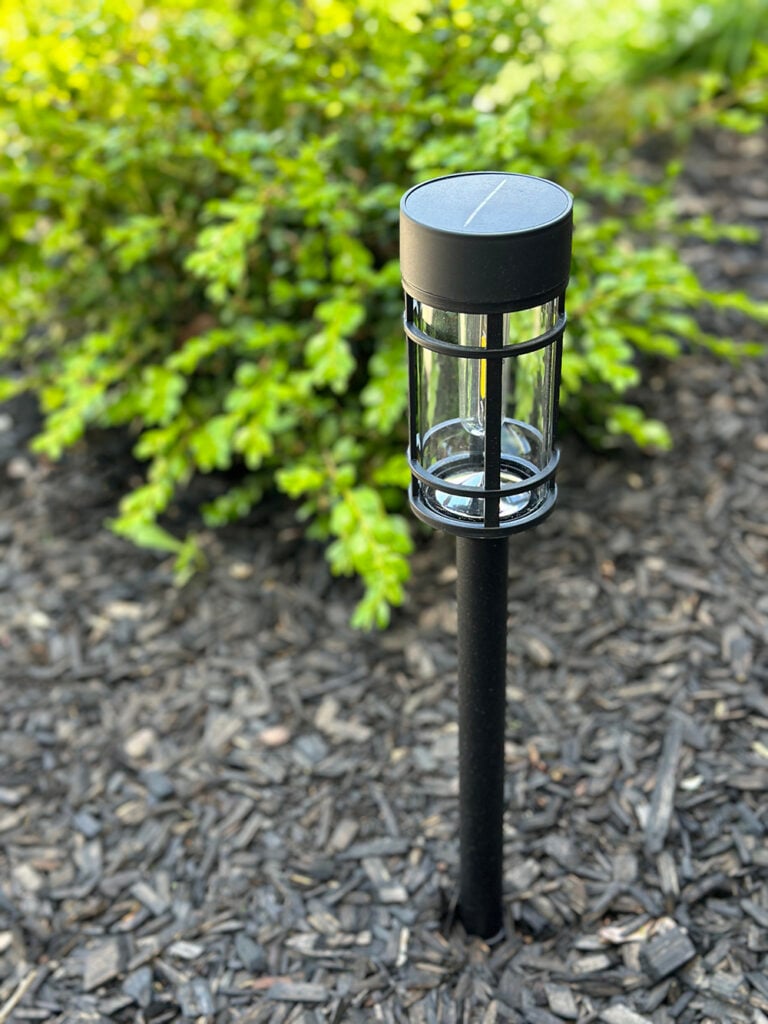
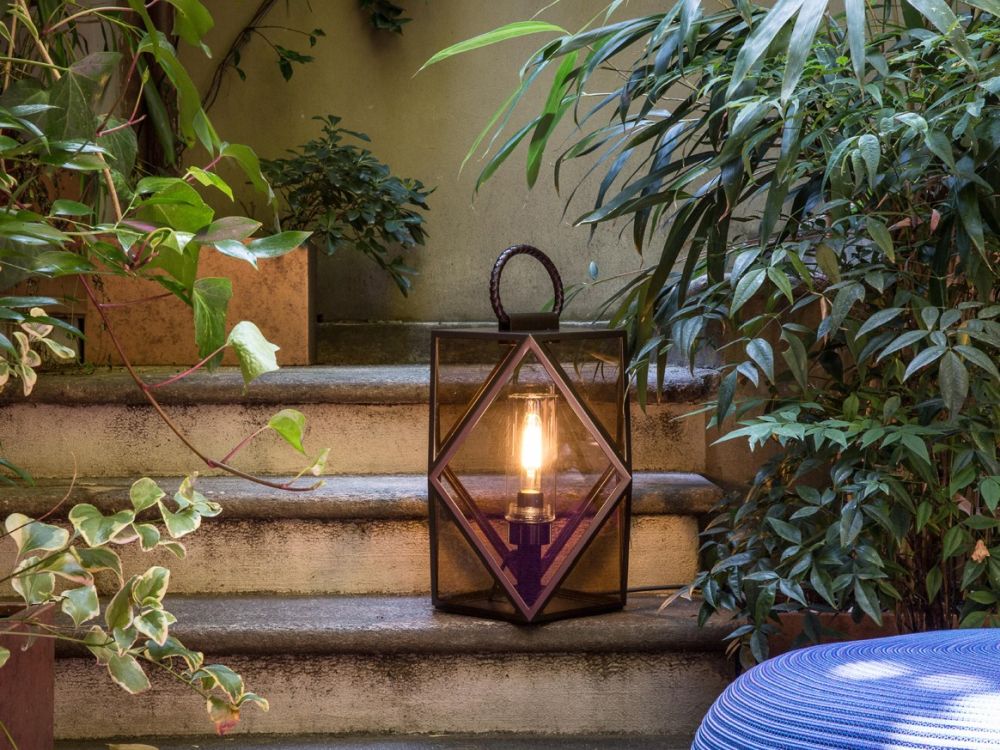
26. Go Modern with a Sleek, Black Solar Garden Stake
This design feels so clean and contemporary because of its strong, simple geometry and monochromatic color scheme. The stake is a perfect cylinder, the top is a clean disc, and the finish is a uniform matte black. This minimalism is emphasized by placing it in the equally monochromatic black wood chip mulch. The only contrast comes from the vibrant green foliage behind it, making the plant’s organic shape and color pop. It’s lighting that is confident in its simplicity. This offers a great modern alternative to the more ornate feel of the lantern in Idea #28.
📐 Style Math
Solar lights are wonderfully low-maintenance, but they aren’t ‘no-maintenance’. The most important task is to keep the solar panel on top clean. A layer of dust, pollen, or bird droppings can significantly reduce the panel’s ability to charge the battery. About once a month, or whenever you notice it looking dusty, simply wipe the panel with a soft, damp cloth. In an area with a lot of trees, you may also need to clear away fallen leaves or debris that could cover the panel and block the sun.
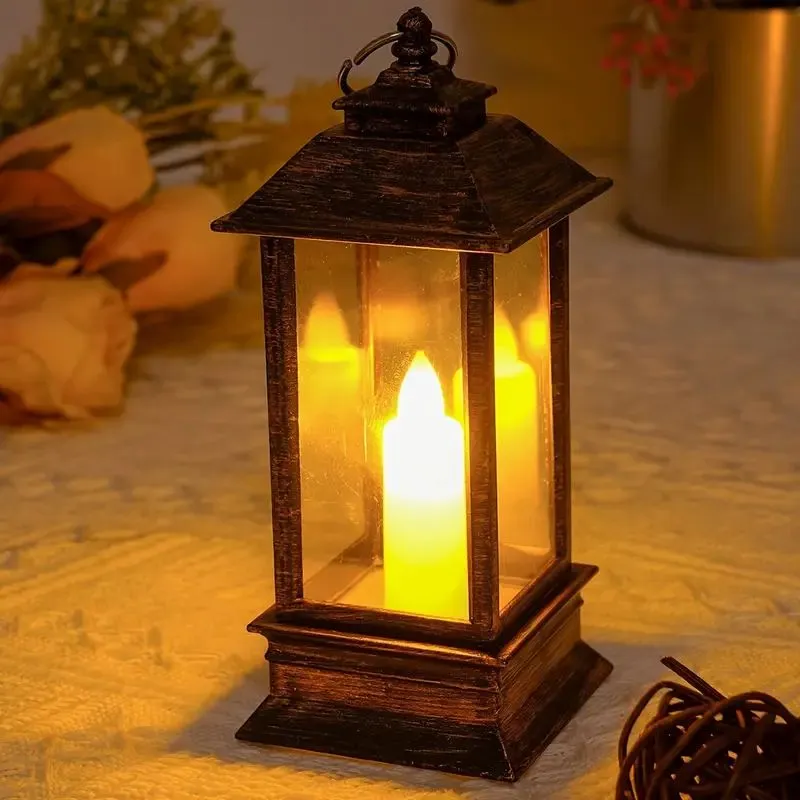
27. Add Vintage Charm with a Distressed Bronze LED Lantern
The key to this lantern’s charm is the flickering LED candle. A simple, static light would be nice, but the flicker is what sells the illusion of a real flame. It mimics the gentle, dynamic movement of candlelight, creating a sense of life and warmth that is instantly cozy and inviting. This small technological detail elevates the lantern from a simple decorative box to an ambient mood-setter. It provides all the vintage atmosphere of a real candle with none of the worry about fire or wind.
🧹 Maintenance Reality
Small, decorative lanterns like this are fantastic for creating ambiance, but they are not effective for functional illumination. This lantern will cast a warm, inviting glow on the table it’s sitting on, but it will not light up a pathway, illuminate a set of stairs, or help you see your way across the patio. Think of it as a decorative accessory, like a candle, rather than a utility light. You’ll need larger, more powerful fixtures for any areas that require light for safety and navigation.
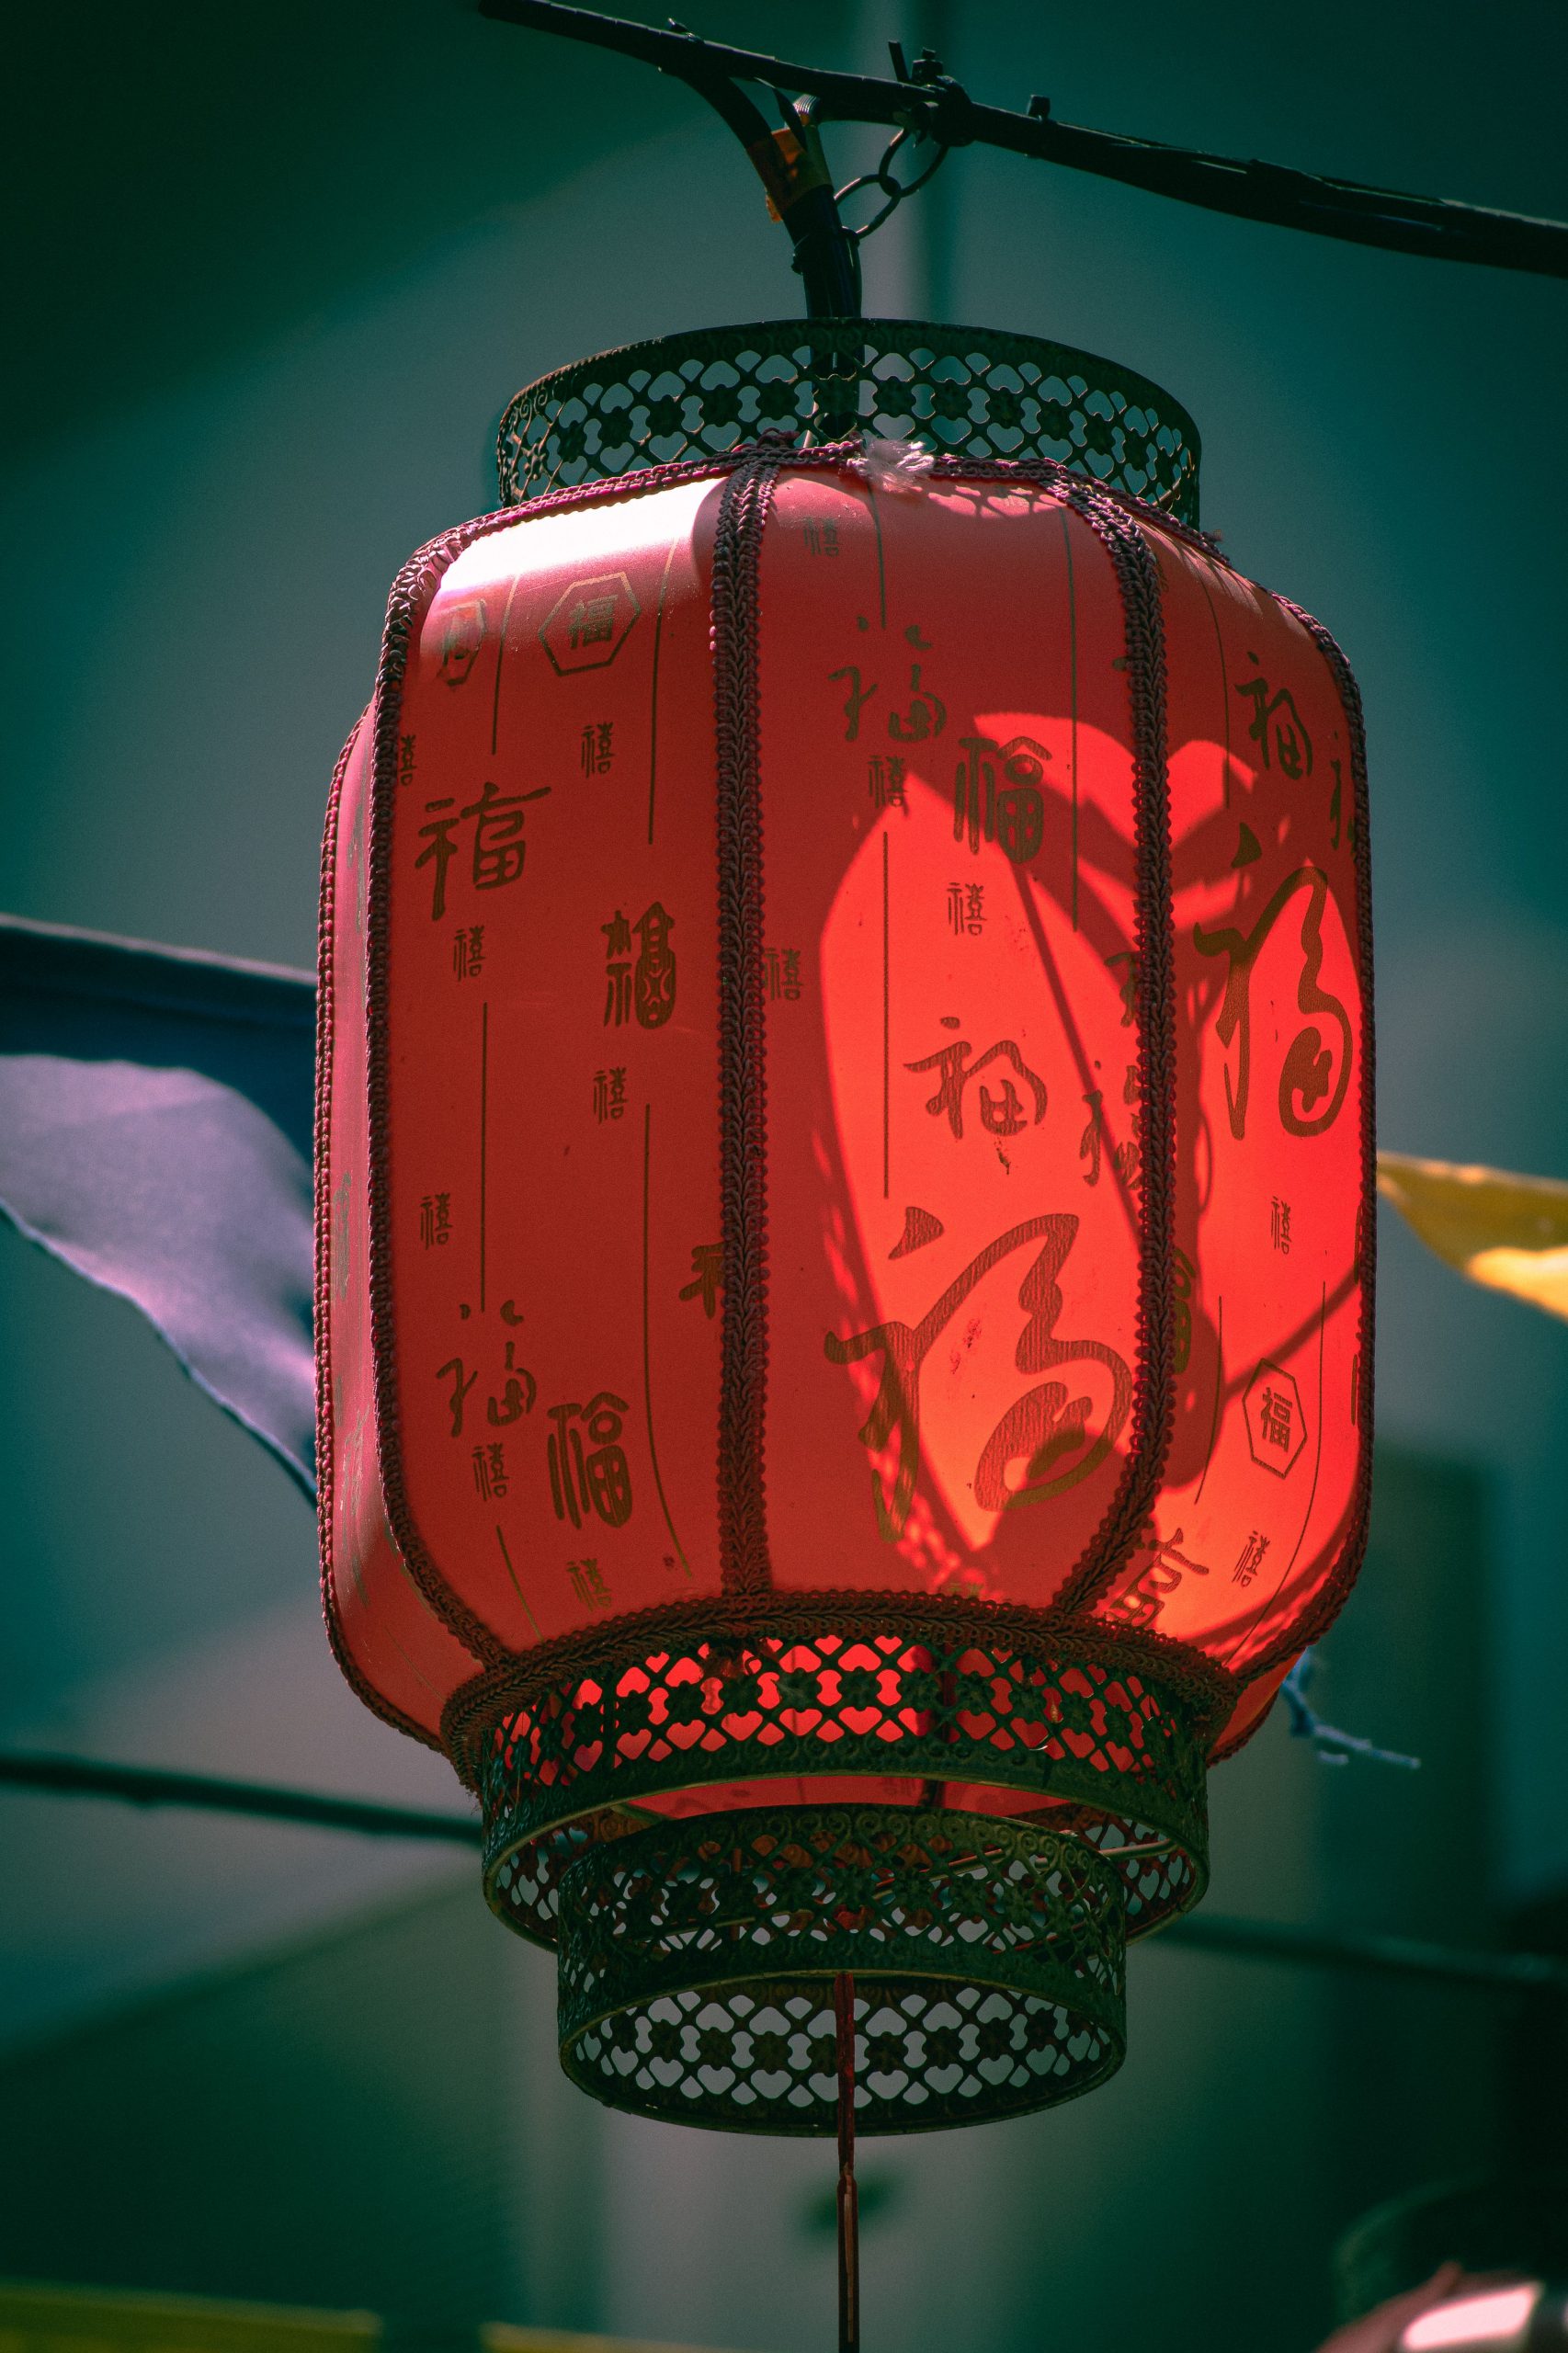
28. Make a Statement with a Red and Gold Hexagonal Fabric Lantern
Recreating a highly ornate, traditional piece like this often involves sourcing from specialty importers, but you can assemble a similar vibe with some creativity. Here’s an estimated breakdown for a DIY version.
- Main Structure (Plain fabric lantern, e.g., from a paper lantern store): $20 – $50
- Decorative Elements (Gold fabric paint for script, stencils): $15 – $25
- Hardware (Pre-made laser-cut wood or metal embellishments from a craft store): $20 – $40
- TOTAL: $55 – $115
Budget alternative: Start with a simple red paper lantern ($10) and use a gold Sharpie or paint pen to draw on your own designs. Add black paper cutouts for the top and bottom. The look is less ornate but still captures the festive red-and-gold spirit for under $20.
💡 Designer Tip
This lantern is visually powerful due to its use of high-contrast, complementary colors. The vibrant, warm red of the fabric panels makes the metallic gold script pop. Both of these warm tones are then framed by the dark, cool-toned metalwork, which grounds the design and adds a layer of intricate detail. The play of light is also key; the way the sunlight illuminates some panels to a bright, glowing red while others remain in shadow adds depth and dimension to the hexagonal form.
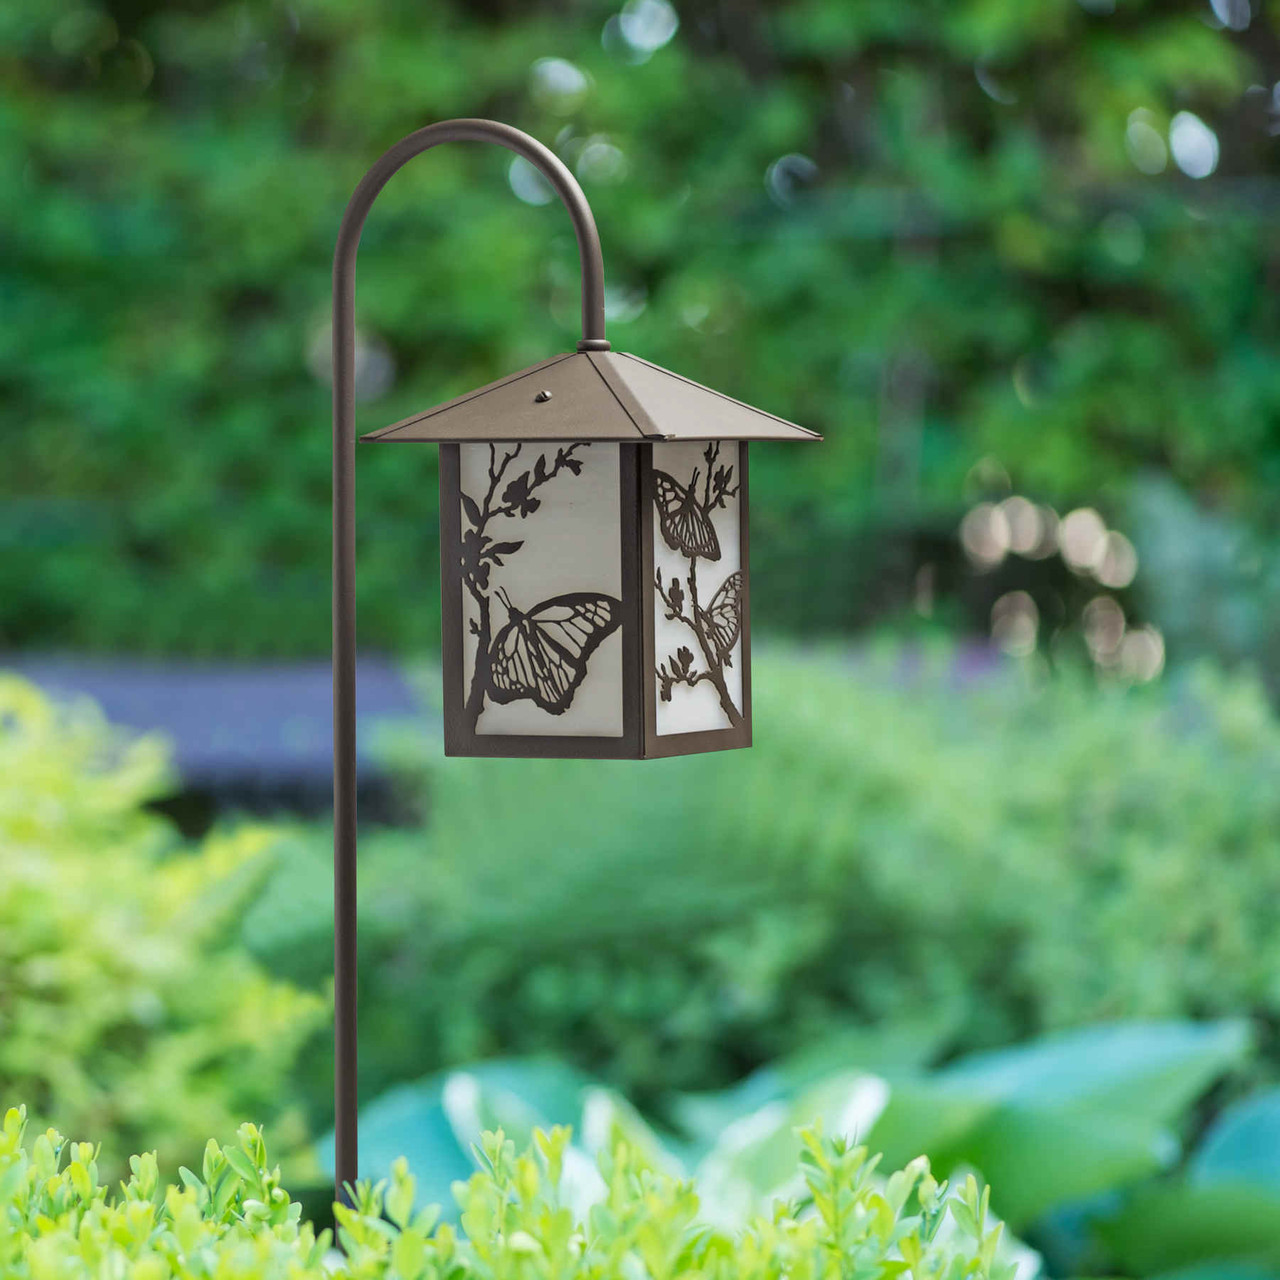
29. Choose a Modern Geometric Lantern with an Edison Bulb
This contemporary look follows a clear formula: 50% clean geometry (the sharp lines of the metal frame) + 30% warm vintage glow (the amber-tinted glass and Edison bulb) + 20% natural texture (the surrounding stone and foliage). The combination of a modern, almost industrial frame with a nostalgic light source is what makes it feel so current. It’s a blend of hard and soft, new and old. You could swap the amber glass for clear glass for a more purely industrial look, or change the frame to a warmer brass for a more retro feel.
🎯 What Makes It Work
This style is hugely popular right now because it perfectly blends two major design trends: the clean lines of modernism and the cozy, warm aesthetic often called ‘vintage industrial.’ People want homes that feel clean and uncluttered, but not cold or sterile. The Edison bulb, with its visible filament and warm-toned light, brings a sense of history and character that prevents the sharp, geometric frame from feeling too stark. This is a much more modern and clean-lined approach than the rustic look in Idea #24.
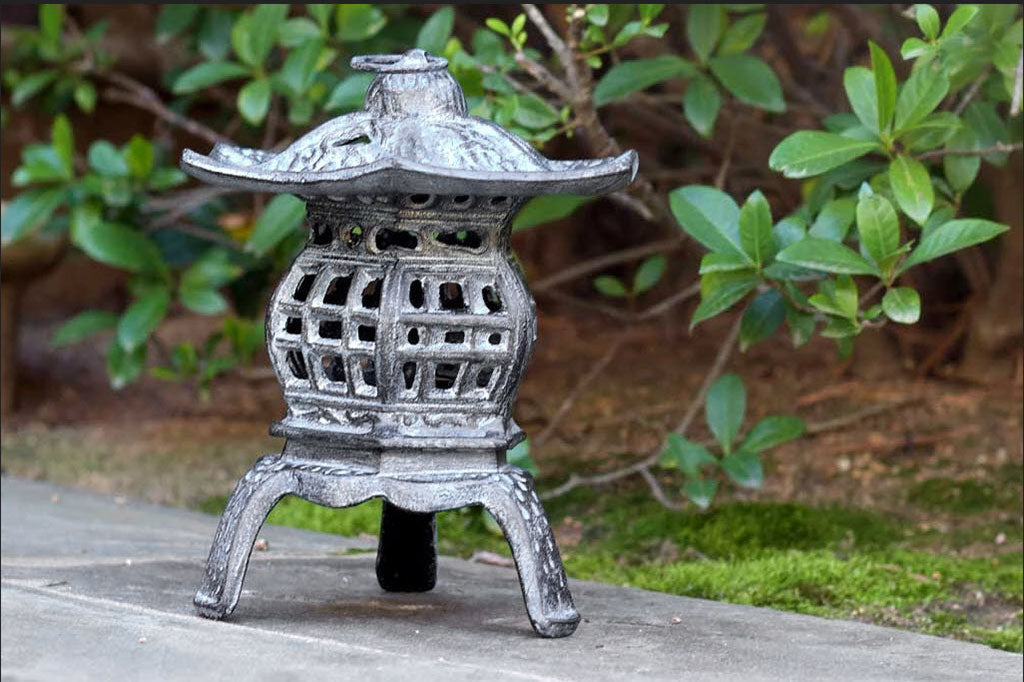
30. Add Whimsy with a Bronze Butterfly Silhouette Lantern
The delightful surprise of this lantern is the butterfly silhouettes. From a distance, it might look like a standard pagoda-style lantern. But up close, you see the delicate, nature-inspired cut-outs. This detail transforms it from a generic garden light into a piece with personality and charm. The silhouettes against the frosted white panels mean that at night, the butterflies themselves will glow, creating an enchanting effect that’s much more engaging than a simple panel of light.
🔥 Trending Context
Lanterns with intricate cut-out designs, especially those with thin metal pieces like the butterfly wings here, can be a magnet for spiderwebs. The many corners and anchor points are a spider’s dream home. To keep it looking clean and the silhouette design clear, you’ll need to regularly dust it with a soft brush or a can of compressed air. This is especially true if you live in an area with a large spider population. It’s a small maintenance task, but one to be aware of.
31. Opt for a Rustic Cast Iron Pagoda Lantern
The rustic charm of this lantern comes from its material and finish. Cast iron is inherently heavy and substantial, giving the piece a sense of permanence and history. The weathered gray finish, which is uneven and shows signs of age, prevents it from looking new or mass-produced. The openwork grid on the sides is a practical design, allowing light to shine through, but its simple, strong pattern also contributes to the sturdy, no-fuss aesthetic. This lantern looks like it was forged, not just manufactured. The finish is a great contrast to the more delicate bronze in Idea #29.
📏 Scale Guide
Authentic cast iron pieces can be heavy and pricey. For a similar look with less weight and cost, search for cast aluminum lanterns in a ‘charcoal’ or ‘iron’ finish. Aluminum is much lighter, won’t rust, and is generally more affordable. You can also fake the weathered finish on a cheaper black lantern. Use a dry-brushing technique with a bit of gray outdoor paint. Dip the tips of a stiff brush in the gray paint, wipe most of it off on a paper towel, and then lightly drag the brush over the lantern’s edges and high points to simulate natural wear.
32. Go Grand with a Tiered Stone Pagoda and Gold Accents
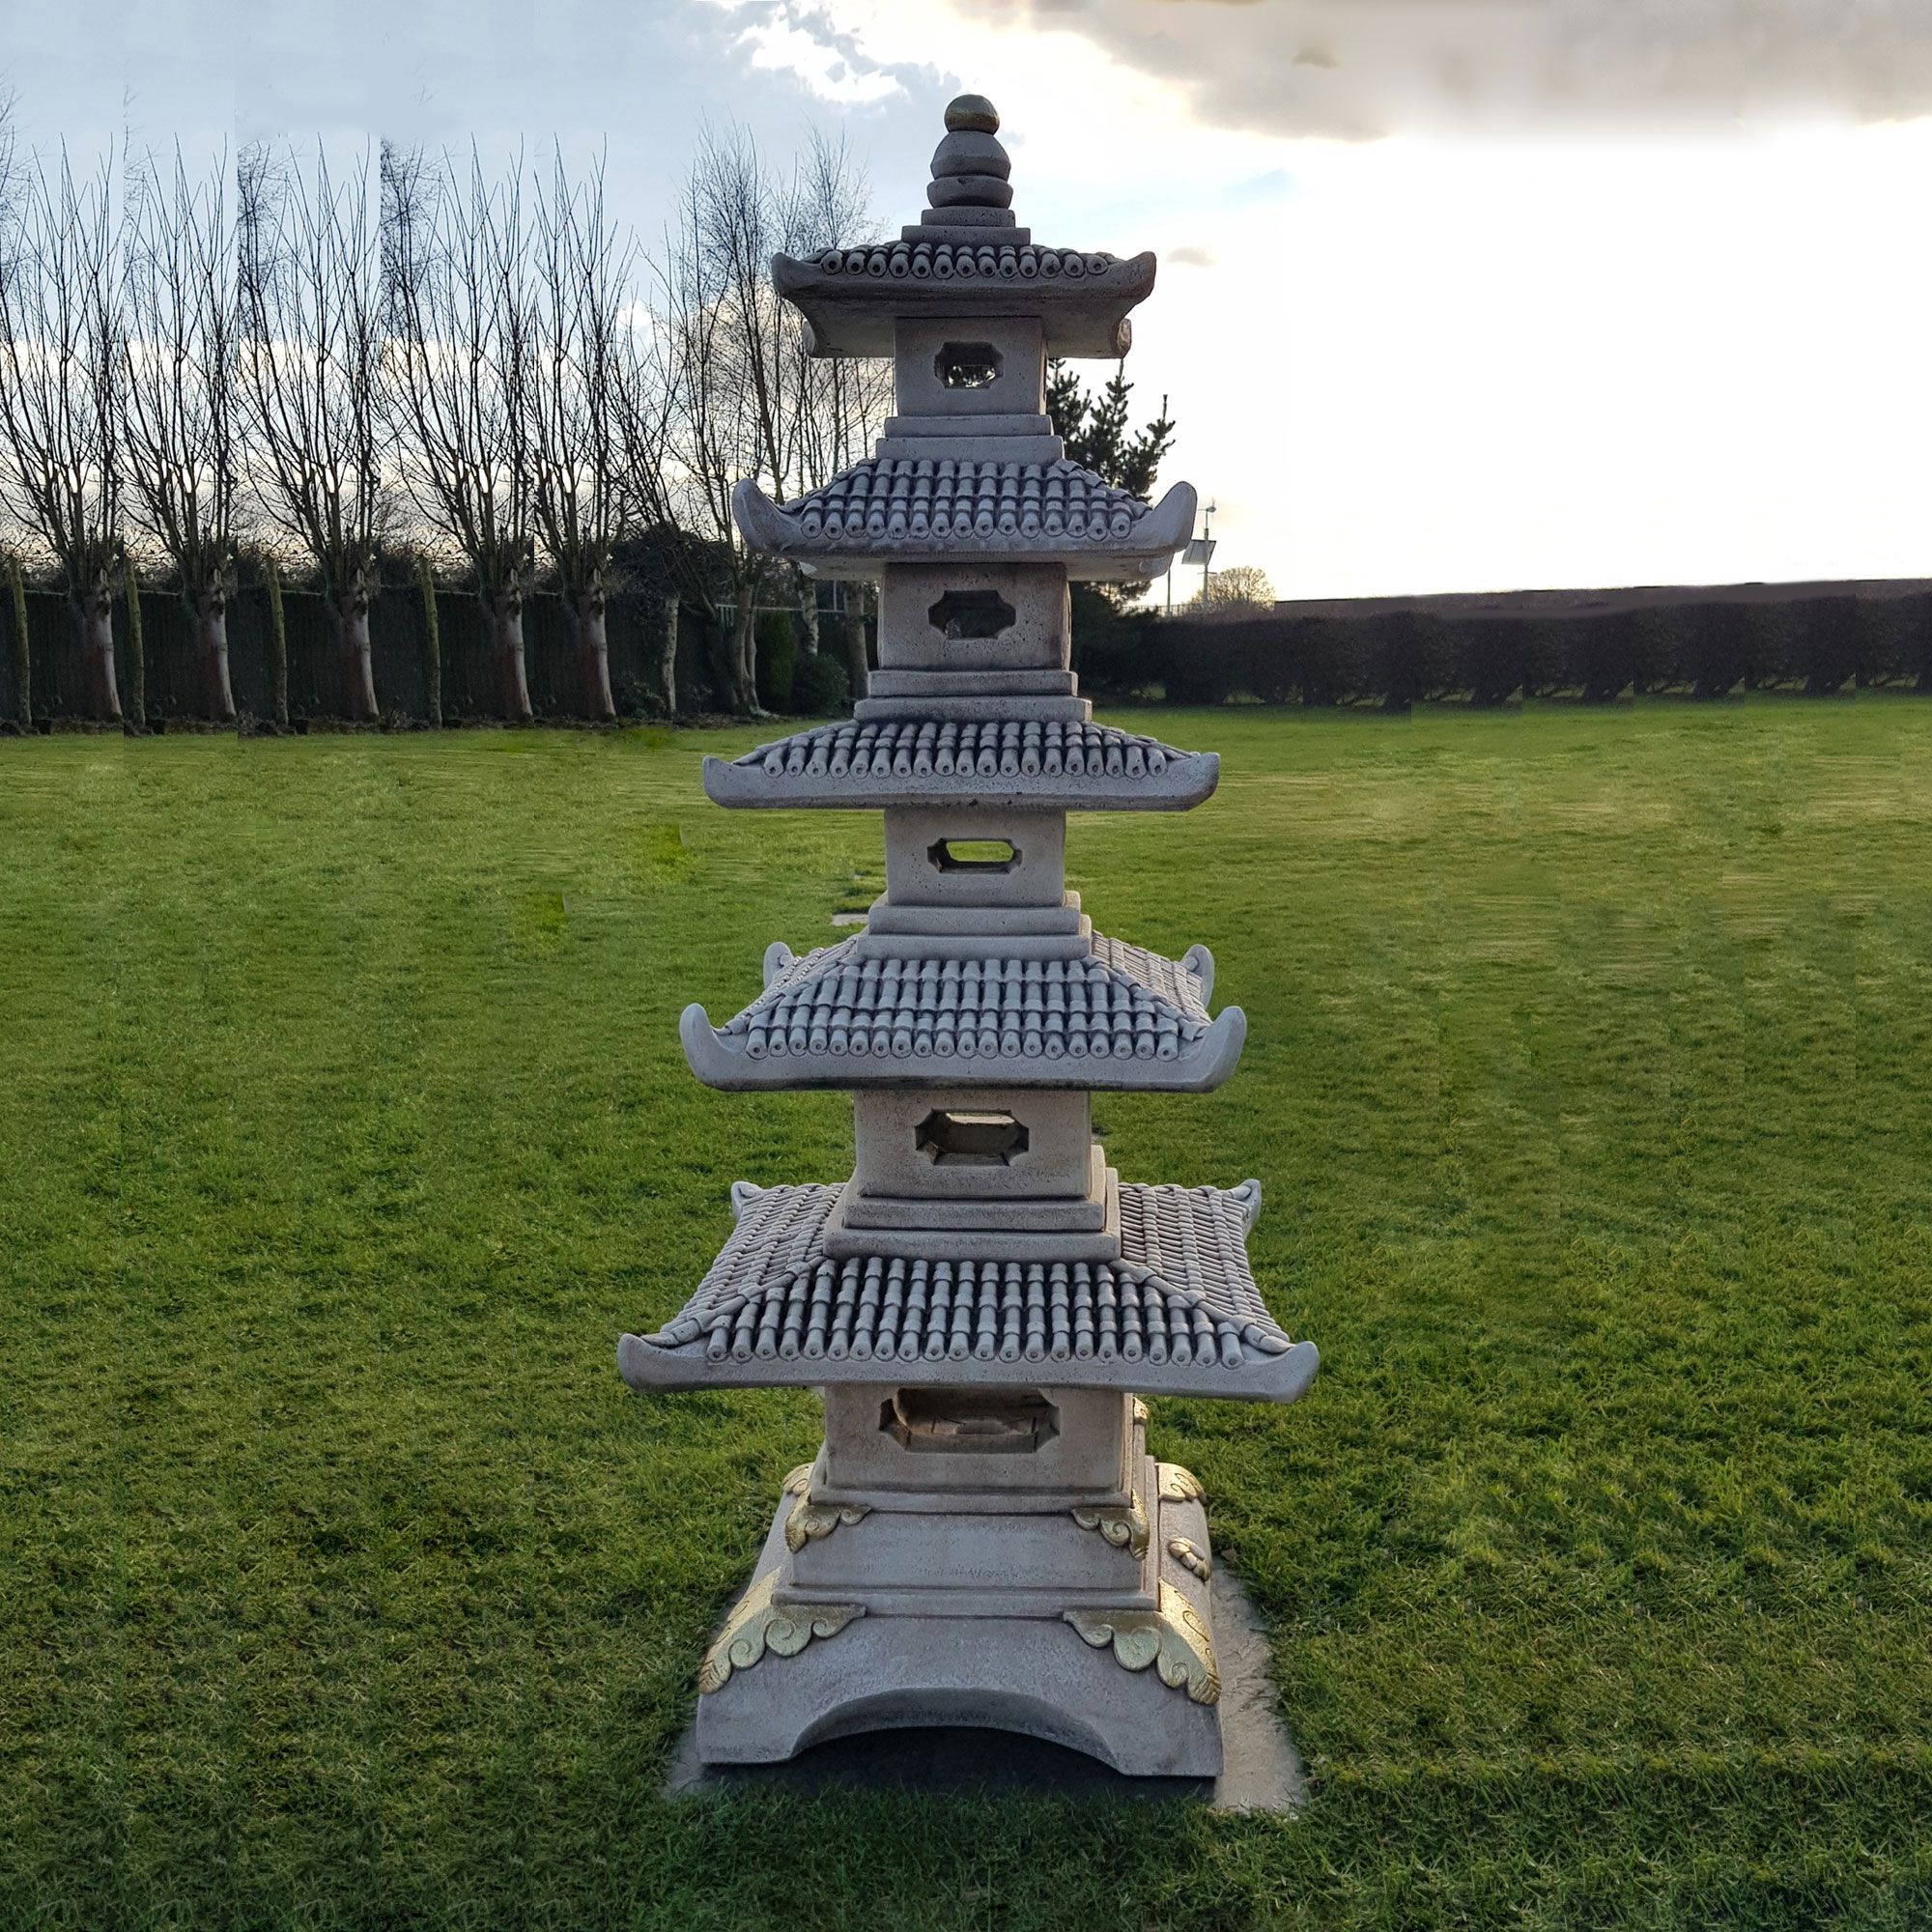
A statement piece of this size and grandeur demands a grand stage. This is not a lantern for a small patio or a crowded flower bed. It’s best suited for the center of a large, open lawn or as the main focal point of a spacious formal garden (at least 500+ square feet). Its large scale needs negative space around it to be appreciated. Placing it on a manicured green lawn, as shown, allows its intricate form and height to stand out as a true architectural feature.
💸 Get This Look For Less
While the overall form is impressive, it’s the unexpected gold accents at the base that truly elevate this lantern. The rough, pale gray stone is traditional and expected, but the addition of the delicate, vine-like gold elements is a touch of luxury and artistry. It’s a surprising detail that breaks from pure tradition, adding a layer of ornate decoration that transforms the lantern from a rustic garden element into a piece of sculpture. It demonstrates confidence and a keen eye for detail.
Let Your Garden Glow
Creating a magical outdoor space is all about layering personality and light. Whether you’re drawn to the ancient serenity of a stone pagoda or the whimsical charm of fairy lights in a jar, we hope these ideas have sparked some inspiration for your own garden. Now, open up that Pinterest board and start planning your glow-up!