31 Jaw-Dropping Colored Christmas Light Ideas for Your House That Will Turn Heads in 2026

You’ve saved roughly forty photos of houses glowing red, green, and blue against a winter sky, and you still can’t tell which one belongs on your own eaves. That’s the strange thing about colored Christmas lights — the gap between “wow” and “what happened here” usually comes down to spacing, palette discipline, and about twenty dollars of clips.
We spent serious time browsing Home Depot, Lowe’s, Target, and Walmart to bring you only what’s worth your attention this year, across price points from $12 to $899.
Inside you’ll find 31 curated looks — traditional multicolor eave lighting, modern two-tone rooflines, icy blue icicle treatments, warm-white-and-red classics, and RGB permanent roofline systems — with budget and luxury versions compared side by side.
In 2026, colored lights have swung back toward saturation after a decade of all-white minimalism, and Pinterest boards are once again full of high-contrast red, green, and blue rooflines. And stay until the end — we break down the most common mistakes that can ruin these looks.
📌 Save this to Pinterest for later — you’ll want to revisit these ideas.
1. Multicolor C9 Bulbs Traced Along White Eaves at Dusk
Those saturated C9 bulbs read as individual jewels instead of one smear of color because the surface behind them stays calm — pale horizontal siding with crisp white trim gives red, blue, green, and yellow something neutral to sit against. The dark shingled roof caps the whole strip from above, so the light has a clear beginning and an end. Brighten the siding tone or lose that dark roofline and the exact same bulbs start looking noisy instead of intentional.
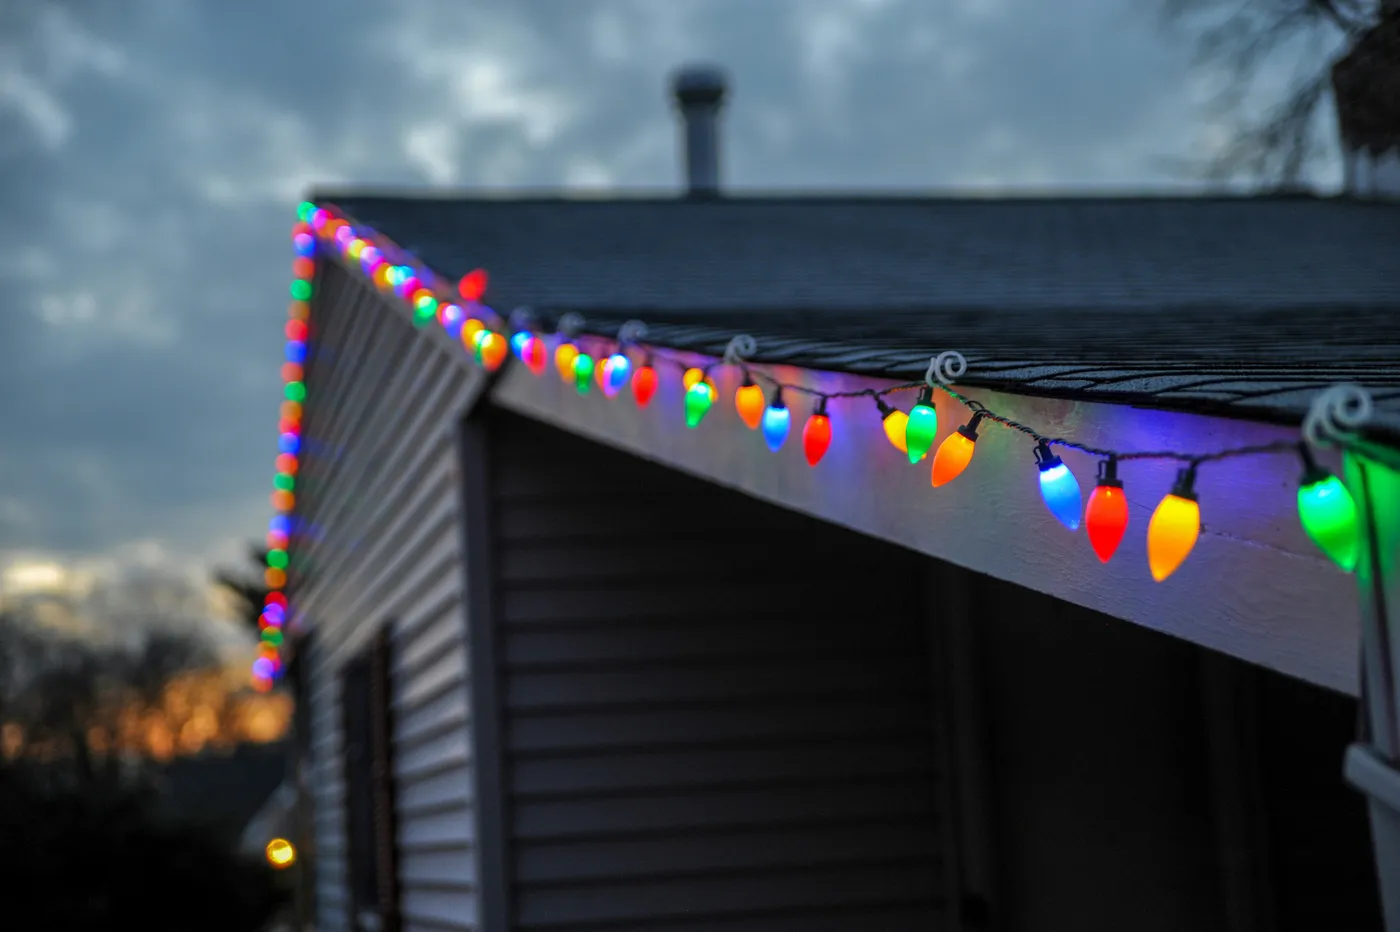
Match your clips to the trim — white on white, not the black ones from the hardware bin — and space C9 bulbs 12 inches apart along long eaves, tightening to 8 inches as you climb toward a gable peak. That shortened rhythm pulls the eye upward and makes the roof read taller than it is. One clip per bulb, never a clip bridging two, or the strand sags noticeably by mid-December.
2. Testing Every Hue on a Dark Walnut Table Before You Hang
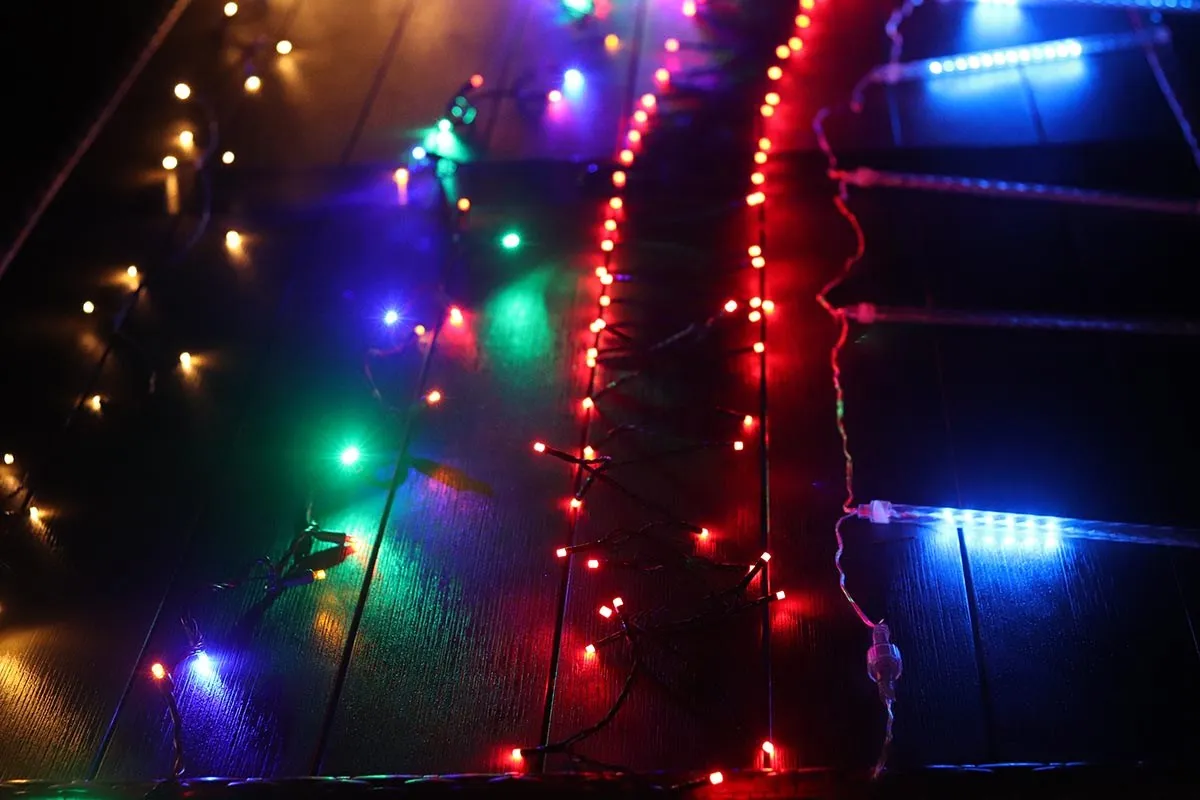
The mix here runs about 50% saturated primaries, 30% warm white or amber, and 20% dark neutral — and that last 20% does the heavy lifting. A reflective dark wood surface swallows the thin wires and lets each red, blue, and green diode read clean instead of buzzing against a busy background. Steal the formula with any base: charcoal, black metal, even a dark stained tray. Trade the amber for cool white and the whole thing turns icy; cut to one hue and it goes moody and modern with no other changes.
- 100 ft multicolor C9 string set: $40–$90
- 32 ft RGB LED strip lights: $20–$45
- Outdoor smart plug with timer: $15–$30
- Clips, extension cords, splitters: $25–$45
- Cord reel or storage tote: $10–$25
Total: $110–$235. Budget alternative: two 50 ft C7 strands at $18 each from Walmart, skip the strip lights entirely, and add a $9 mechanical timer — roughly 55% less for the same pre-hang testing ritual.
3. Red, White, and Blue Discipline Across the Whole Yard
The palette is the entire trick. A giant lit tree form, an inflatable Santa parked in a green armchair, oversized candy canes, glowing gift boxes, ground lights — pull any single piece and the yard still works. Break the red-white-blue rule and it collapses into a flea market. That’s what separates a display that reads as designed from one that reads as accumulated, and it’s why this kind of yard gets photographed from the sidewalk instead of driven past.
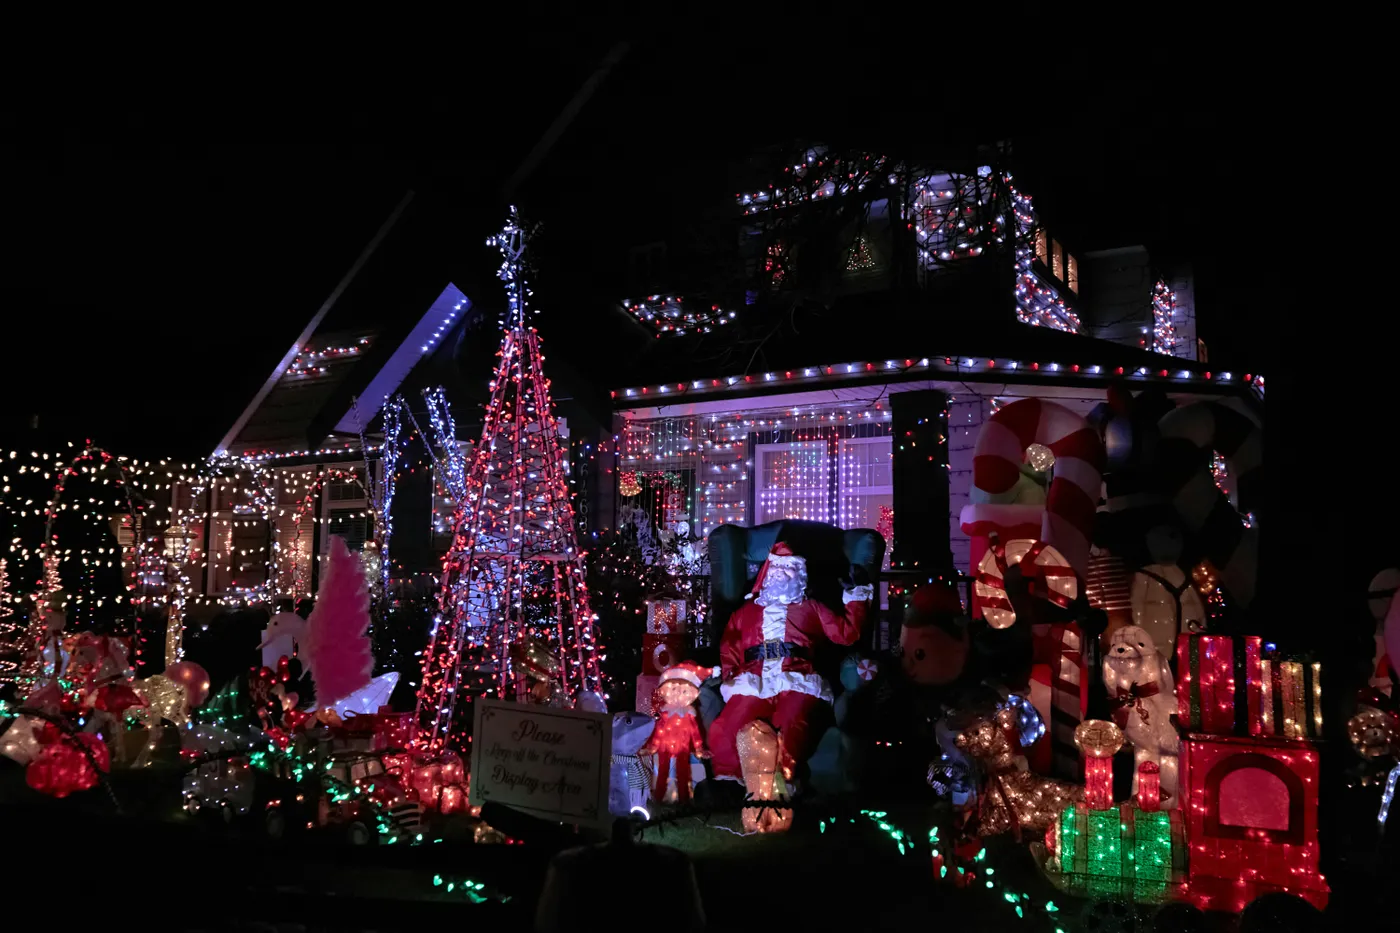
Maximalist yard displays are having a genuine moment heading into 2026, partly as a reaction to years of tasteful all-white minimalism. Pinterest boards are full of inflatables, wire-frame figures, and lawn-filling light shows, and the nostalgia is doing a lot of the work. Good news for staying power: inflatables and wire frames store flat, so a display this dense doesn’t have to own your garage all year.
4. Warm White Rooflines With Red-Wrapped Tree Trunks
- Start at the trunk base and bury the plug end under mulch or a rock so it isn’t visible.
- Wrap upward in a loose spiral, about one turn every 8–10 inches — tighter is what makes it look like a barber pole.
- Never cross over the previous pass; keep every turn clean and parallel.
- At the first major branch, split into two strands and chase the limbs outward.
- Zip-tie the end inside the canopy and run the cord down the back side of the trunk.
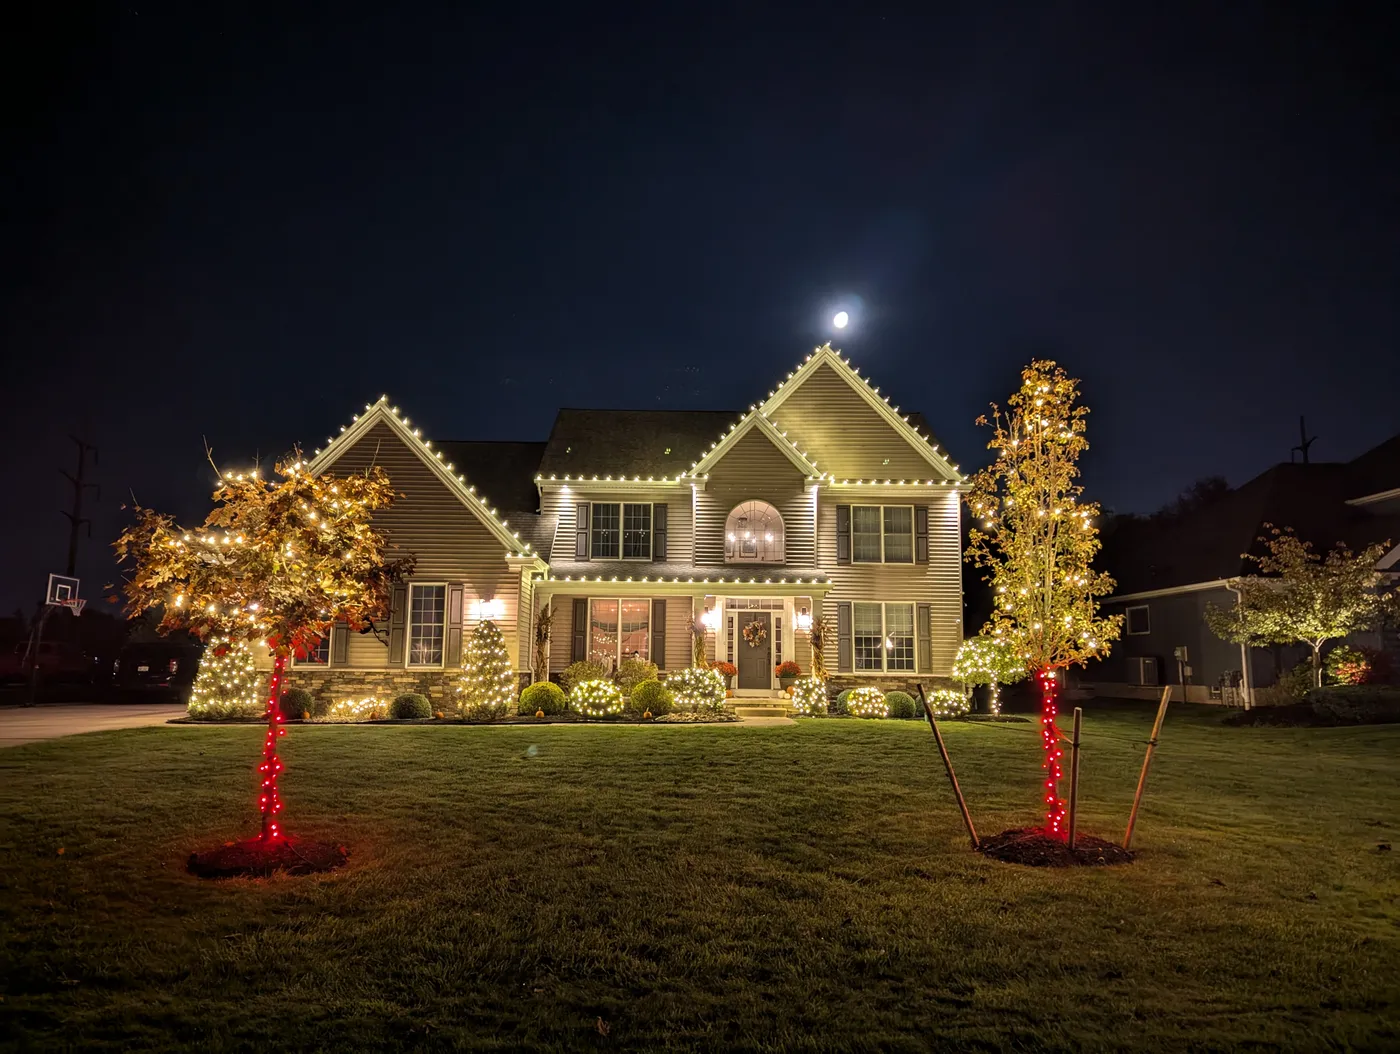
Budget 45–60 minutes and one 200-light red strand ($18–$30) per tree. Wear gloves — the wire gets surprisingly sharp in the cold.
This setup wants two mature front trees and roughly 40 feet of street-facing frontage to feel balanced; the roofline outline plus two wrapped trunks is a classic ranch or cottage formula. If your frontage runs long, repeat the tree treatment at both ends rather than stretching one strand across the middle. Compare with Idea #9, where snow doubles the effect and changes the whole calculation.
5. Icy Blue Icicles Above a Candy-Colored Porch
Icicle lights come in 8–9 foot sections with 3–4 foot drops, which means a 20-foot porch roof eats three boxes — $60–$90 — before you’ve lit a single railing. And blue reads coldest exactly when snow is reflecting it, so a porch that looks magical at dinnertime can look clinical by breakfast. Blue LEDs also photograph brighter than they appear in person, so plan for slightly less than you think you want.
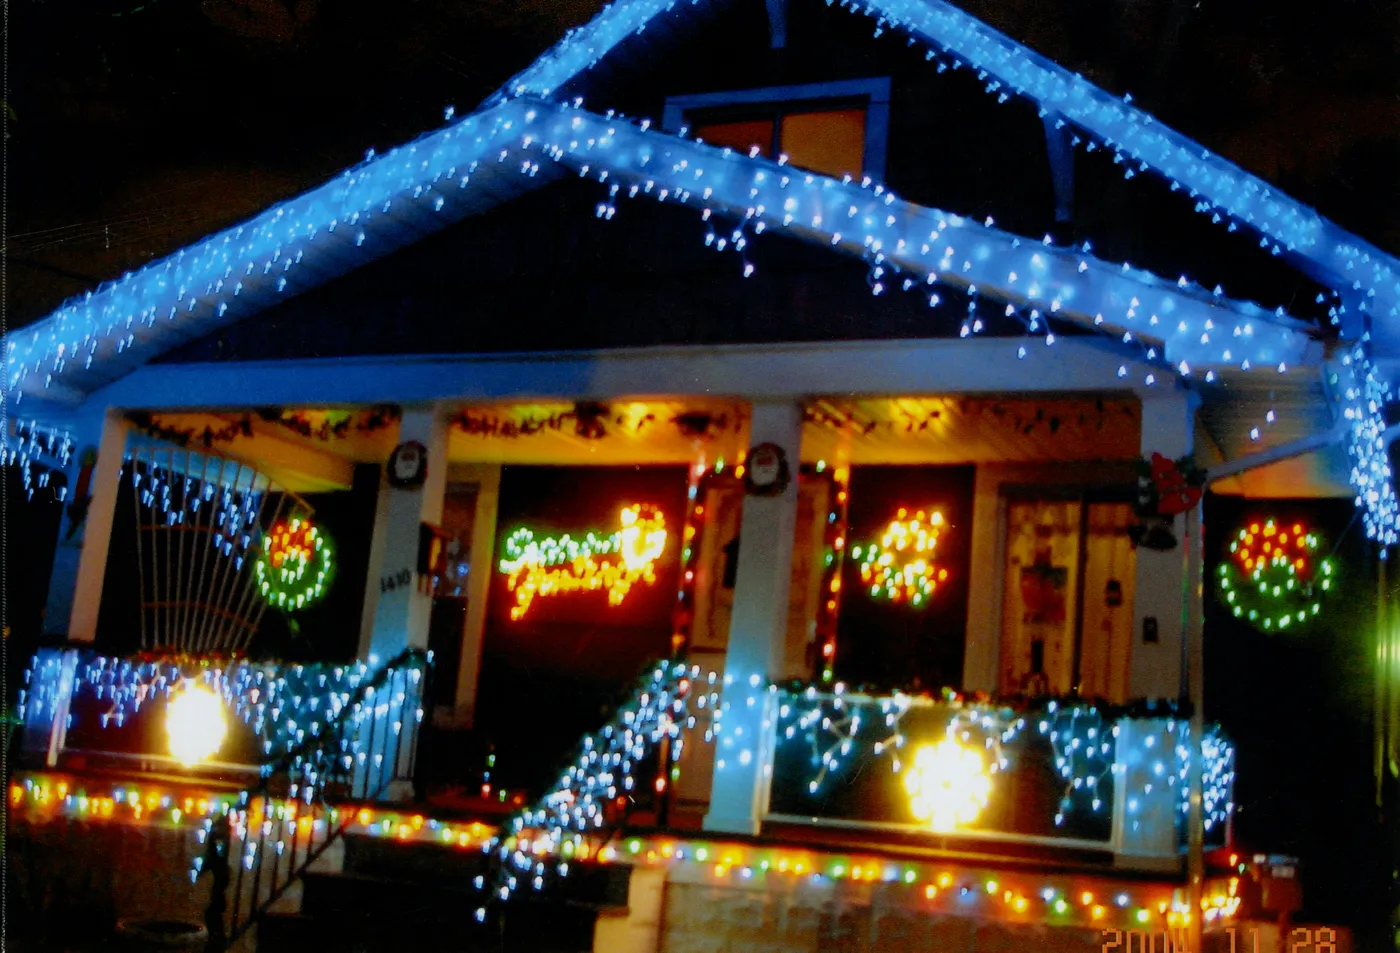
This facade runs about 40% icy blue, 30% multicolor, 20% warm amber (the wreath motifs and the lit lettering), 10% dark structure. The amber is what keeps blue from feeling like a freezer aisle. Want the same formula warmer? Trade the icicles for warm white, keep everything else, and the porch reads traditional instead of wintry. Want the entryway to lead instead? See Idea #20, where the arch itself becomes the color statement.
6. Alternating Blue and Orange LEDs Picked Out on Every Gable
Alternating two colors cleanly is a wiring problem, not a design problem. Run two separate strands and switch colors at natural break points — gable peaks, archway tops, anywhere a wall steps back — never mid-run. Use a 4-foot color block on a long eave and 2 feet on a short gable so the rhythm changes with the architecture. Buy a 500-count spool instead of ten 50s; fewer splices means fewer dead sections in January.
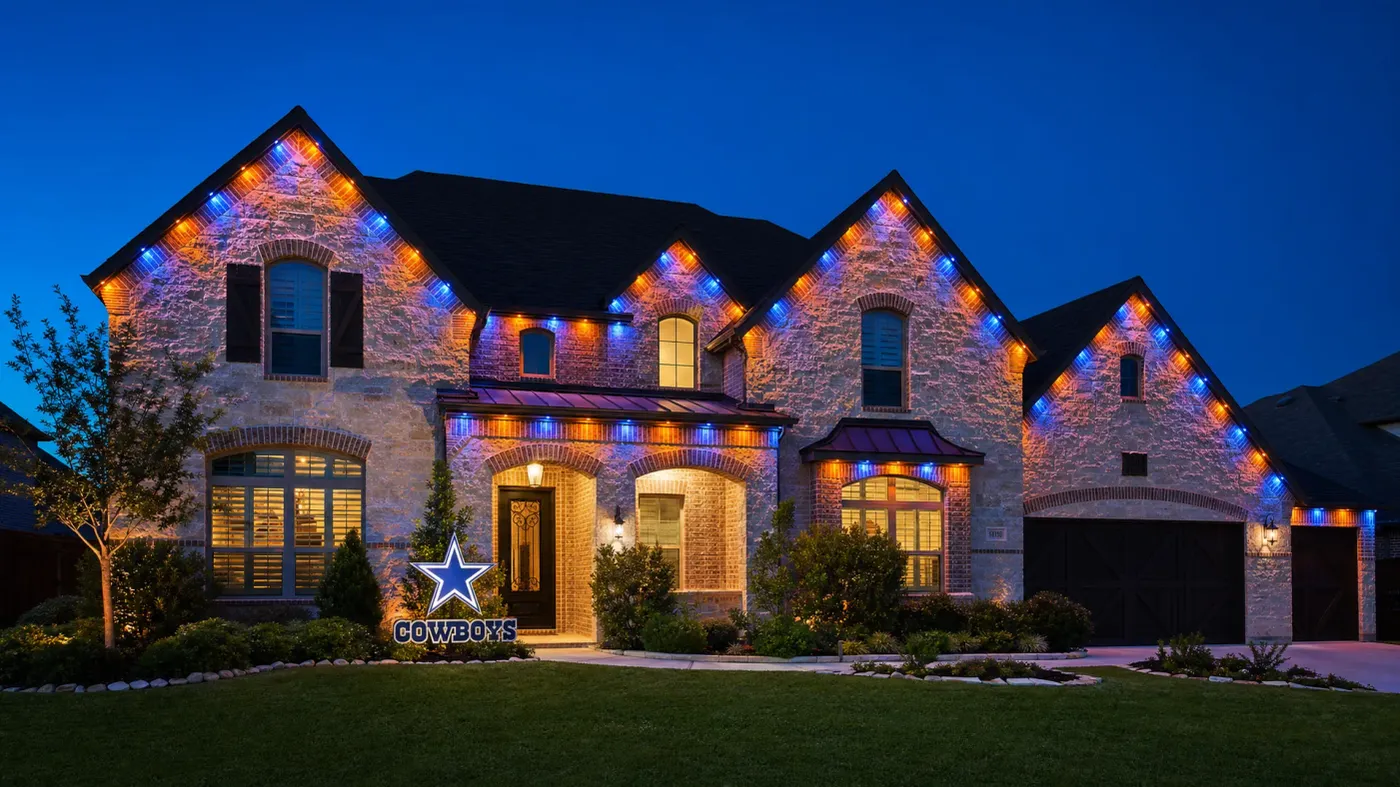
Blue and orange sit opposite each other on the color wheel, which is why this reads crisp from across the street instead of muddy. The outline also follows the building’s own lines — rooflines, gable peaks, the archways over windows and entry — so the light is describing architecture rather than decorating it. Change the house and the formula survives: any complementary pair (purple and yellow, red and green) does the same job on a stone facade.
7. Rainbow Eaves on Gray Siding With Red and Yellow in the Shrubs
The move that makes this work is that the bulky foundation shrubs carry smaller, brighter yellow and red strands while the eaves carry the full spectrum. Pull the shrub lights and you’d have a display floating in the dark with nothing anchoring it to the ground. Those lower strands are also what bounce color back onto the gray siding and the deep red shutters, which is why the whole facade feels lit rather than just outlined.
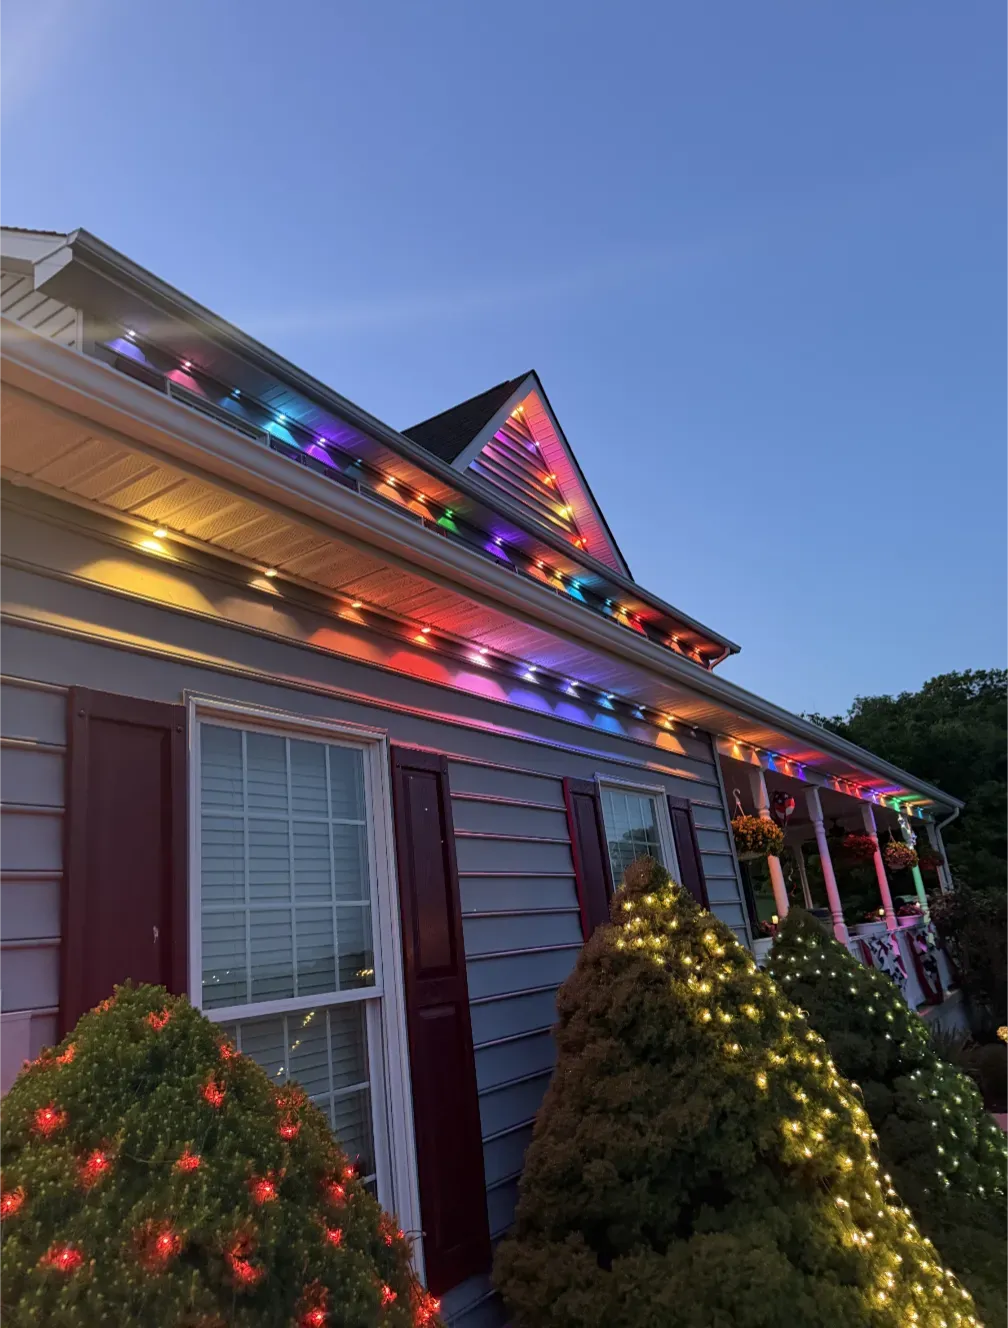
Two 50 ft multicolor strands from Walmart ($18 each), three 100-count mini strands for the bushes ($12 each), and a smart plug — under $90 for the entire front. Target’s C7 sets go on sale the week before Thanksgiving. Facebook Marketplace in November is full of people unloading last year’s strands at half price; just check that they’re LED, since old incandescents will double your wattage fast.
8. A Roofline Strand That Reads Clean From the Street
Seasonal strands are a four-to-six-week relationship. Expect 3–5% of bulbs to fail over a season, more with incandescents, and expect to re-clip sagging sections once the wind gets serious. Permanent roofline systems trade that chore for a different one: nothing to rehang, but a visible track on your fascia year-round. Store seasonal strands on a reel indoors, above freezing — cold storage is what kills them, not use.
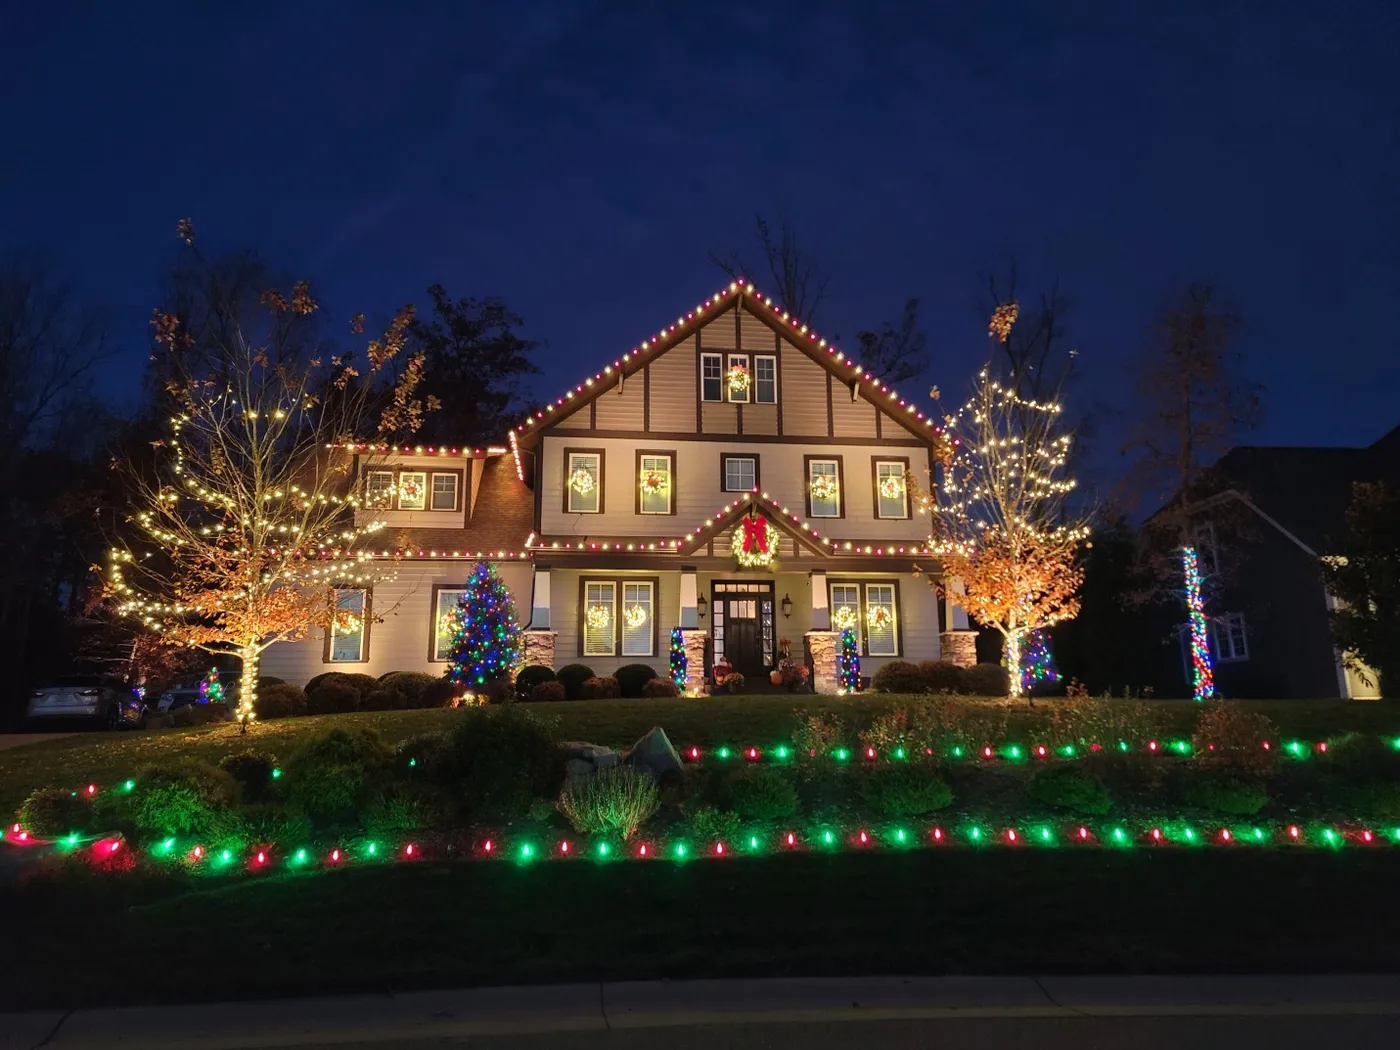
Outlining a single roofline is a 100–140 foot job on a typical two-story, meaning three to four boxes of C9 and roughly two hours up a ladder. Skip it on houses with a flat or nearly flat roof profile; there’s no peak to trace and the line just reads like a stripe. Frontages under 25 feet do better with only the porch and entry lit, while anything past 60 feet needs two colors or the outline starts looking like an airport runway.
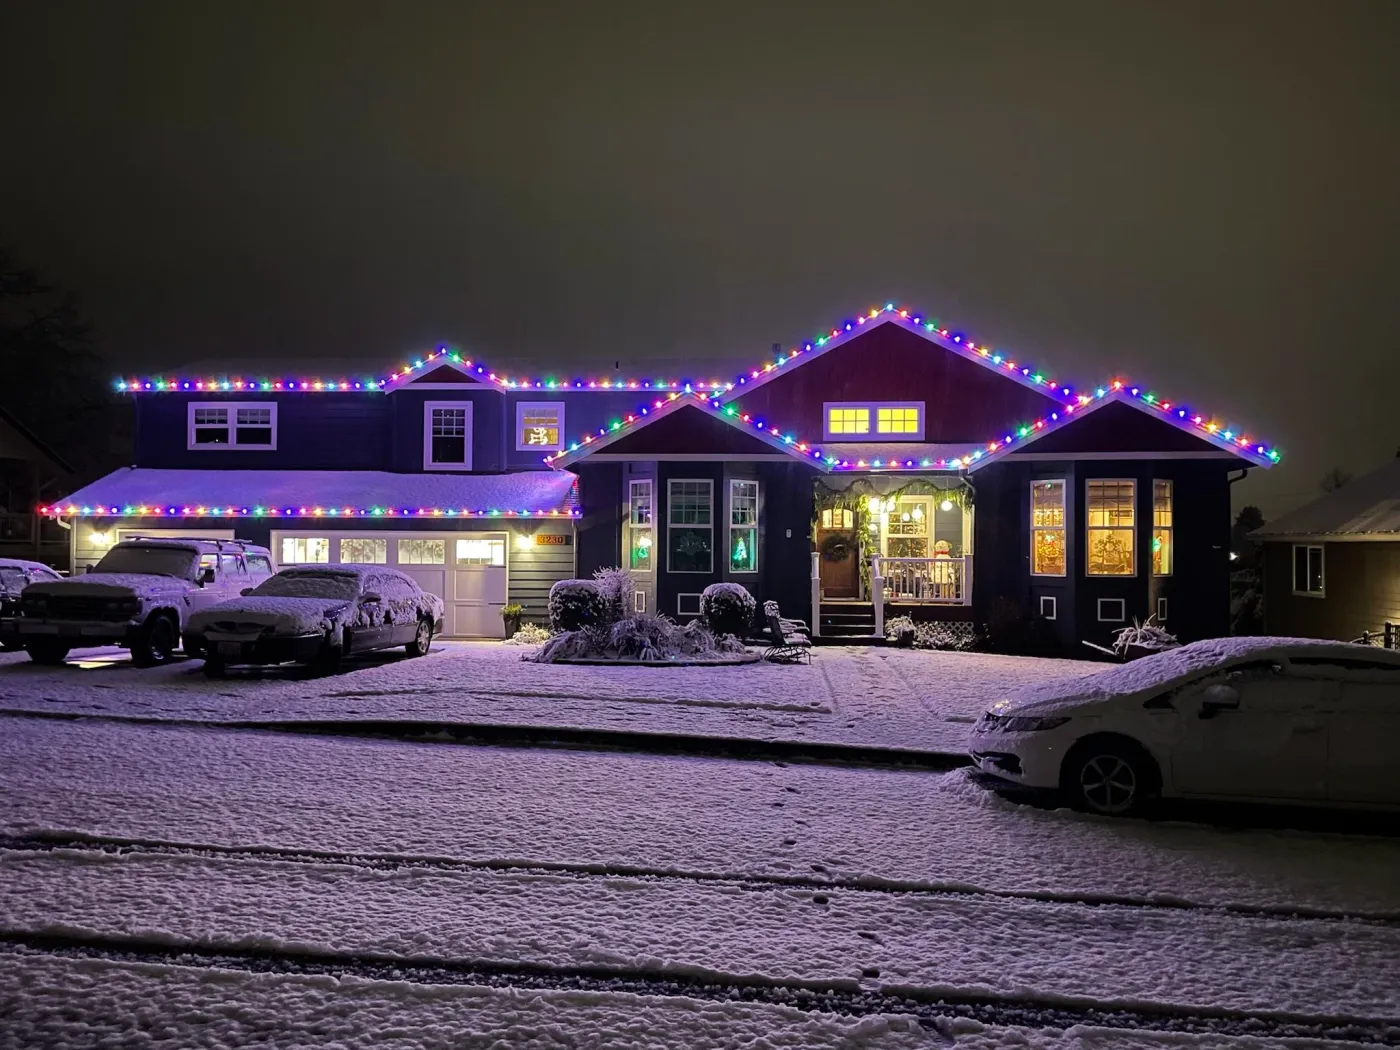
9. Multicolor Rooflines on a Dark Blue House in Fresh Snow
Snow changes your installation order, and getting it wrong is how people end up on the evening news.
- Clear snow off the bottom two rungs before you climb, and never lean a ladder against an icy gutter.
- Use shingle-safe roof clips instead of nails or staples — a $15 bag covers a whole roofline.
- Start at the corner nearest your outlet and work away from the cord.
- If strands have frozen together, rinse with warm water. Don’t pull.
- Set the timer before the first real snow so you aren’t digging for a plug in a drift.
About 90 minutes for a two-story roofline, most of it spent repositioning the ladder.
Snow is a reflector, so a roofline that looks correctly lit in dry November can be blinding by December, with every bulb fringed in white. It also amplifies whatever your house color is doing — dark siding with red gable accents will pull purple and green out of multicolor strands in ways you never planned. Consider dropping to a two-color mix when snow is in the forecast, and skip purple bulbs entirely.
10. A Bare Tree Wrapped to Its Topmost Twig
Roughly 70% of the light on this tree is small multicolor minis, 20% is the dark trunk and bare branch structure showing through, and 10% is warm interior glow leaking from the house behind. The ratio is what matters — wrap too densely and you lose the branch silhouette that makes a bare tree interesting; wrap too sparsely and it reads as a mistake. The warm-white strands on the leafy tree nearby are what give the multicolor something to contrast against.
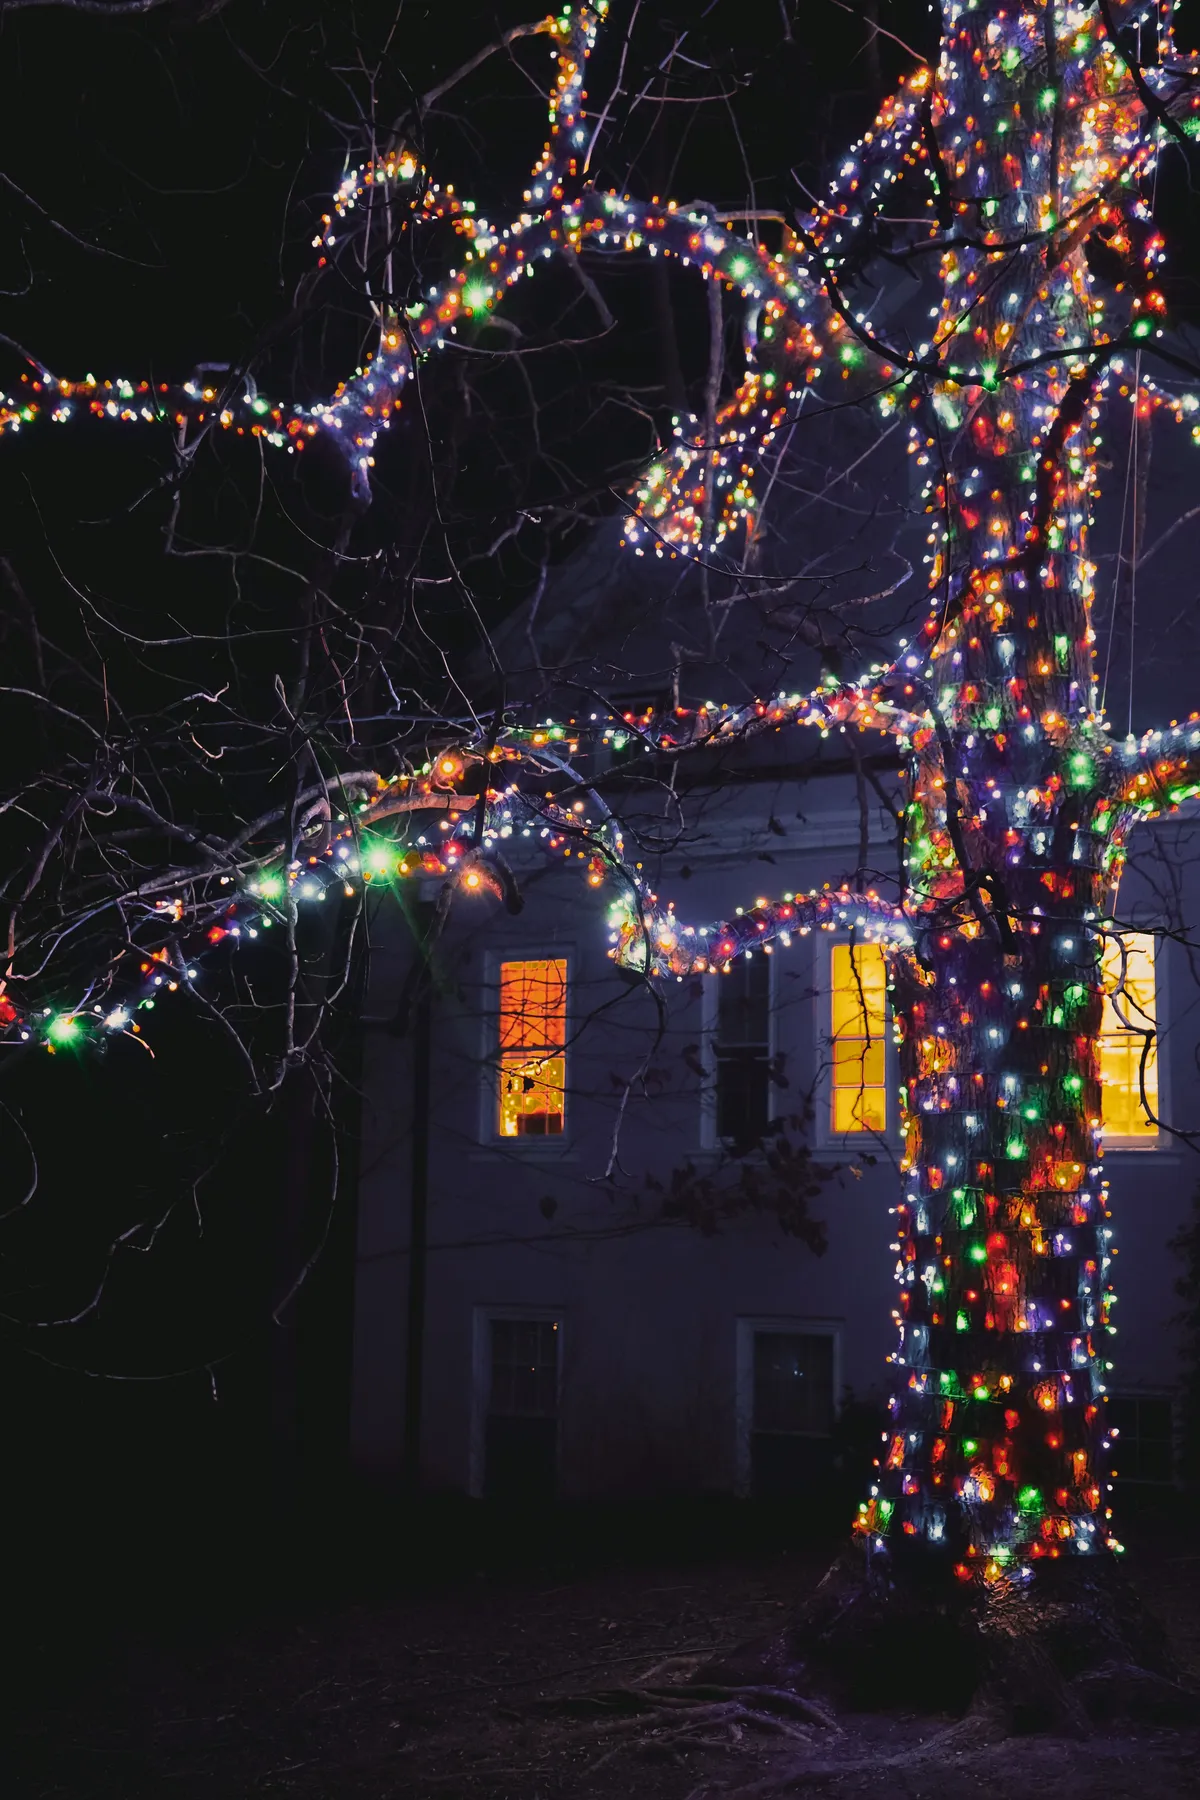
Take away the glowing orange windows behind the tree and it stops working. That soft background light is what turns a wrapped trunk into a scene instead of a project, and it’s the reason this reads cozy rather than merely bright. Leave your interior lamps on a warm setting on the nights you run the tree lights and you get the same effect for free.
11. Warm White Roof Line, Rope-Lit Trunk, Lit Garden Arch
Warm white C9s run about $20 a box at Lowe’s, a 50 ft rope light is roughly $25, and the garden arch is a $30 wire frame you wrap yourself with a spare 100-count strand. All in for the front, including clips and a $12 timer: under $150. The dark wood fence behind is doing free set design — you don’t need to light it, you just need it to stay darker than everything else in the frame.
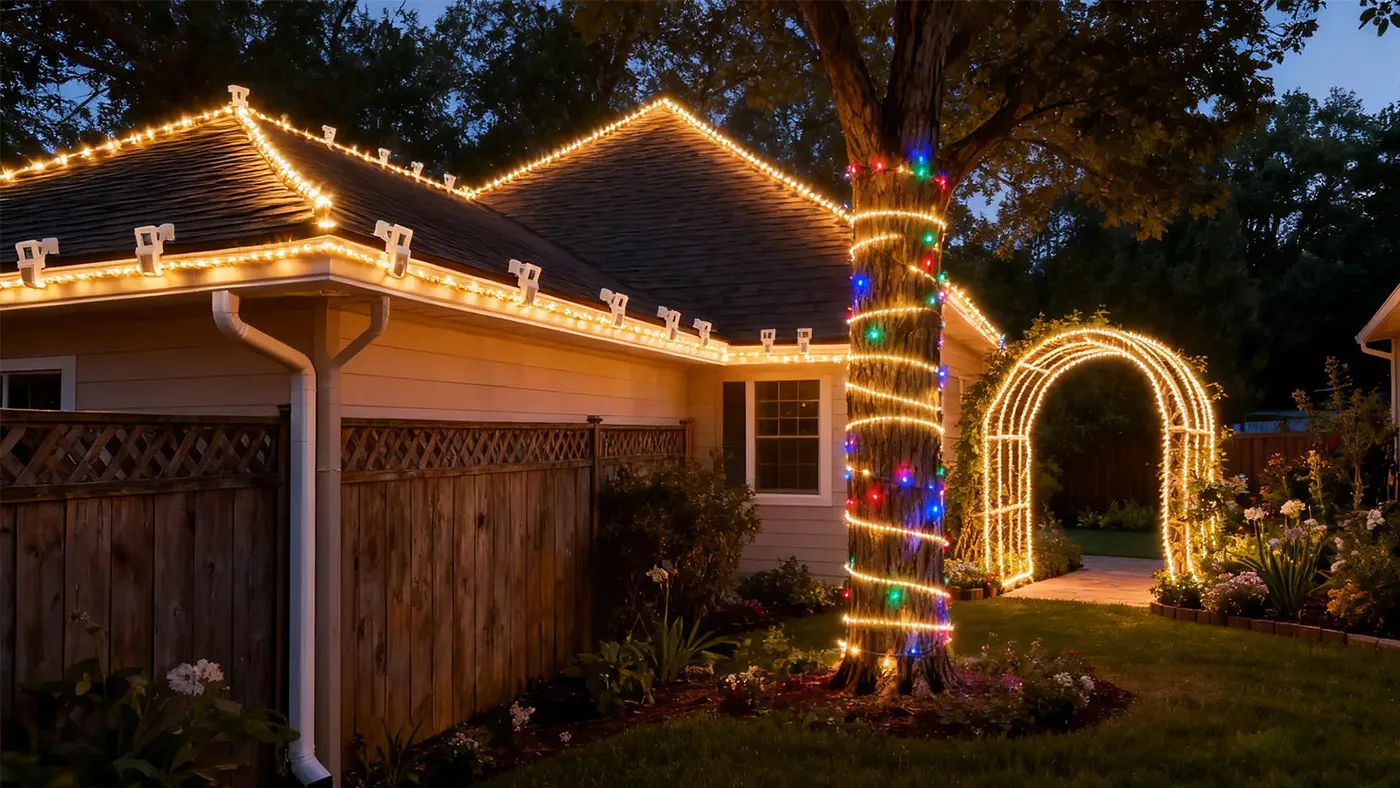
Rope light on a trunk reads like a solid glowing column and mini lights read like confetti, which is why combining them looks layered instead of busy. Run the rope light first as the spine, then alternate two mini strands around it, one warm white and one multicolor. Keep the arch on its own plug so you can light the path without flipping on the whole front of the house.
12. Red, Green, and Blue Following Every Roofline and Eave
Three colors, still clean, because the lights follow the building’s actual geometry — every roofline, every eave, every window frame. That’s contrast plus repetition: your eye tracks the outline first and the color second. It helps that red, green, and blue are evenly spaced on the visible spectrum, so none of them dominates the way red would against orange. Keep the pattern consistent and the whole house reads as one glowing object.
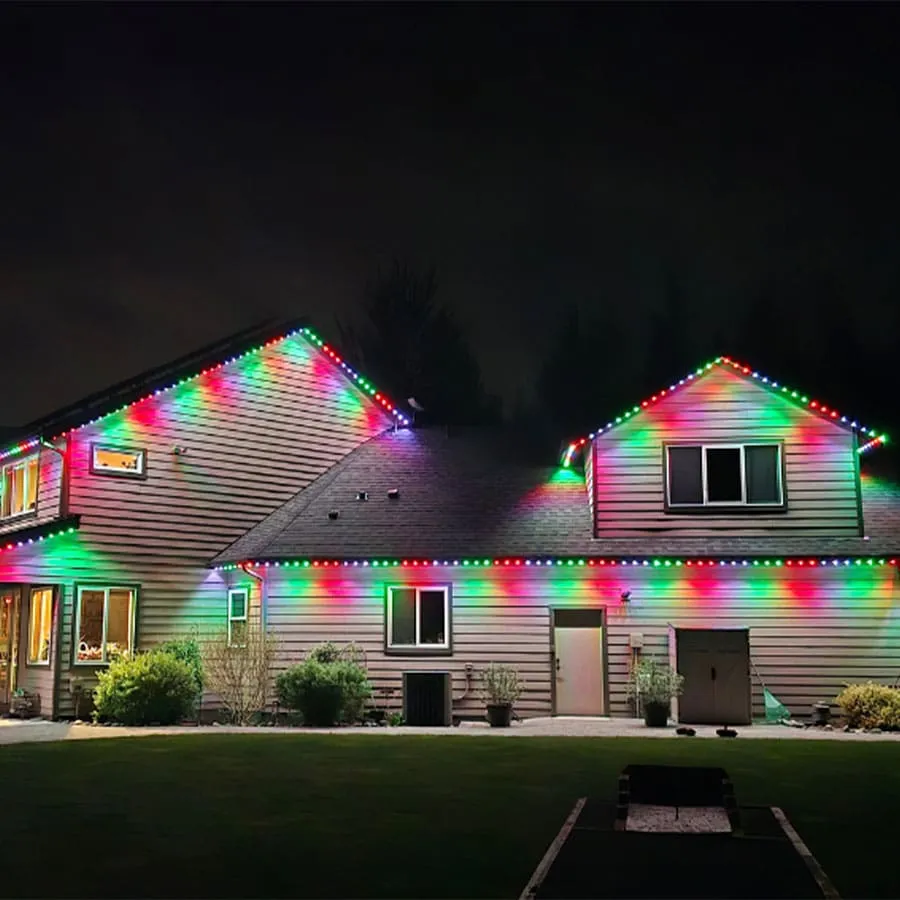
This is a two-story formula. The more rooflines you have, the more repetition you get for free. Single-story ranch houses need about 80–110 feet of strand, and the effect gets thin below 30 feet of frontage. Ceiling height isn’t the constraint here — visible gables are. If you’re working with one long flat eave, a single alternating pair works far better than three colors; see Idea #5 for the porch-sized version of that approach.
13. What a Pro Roofline Crew Actually Does Differently
Hiring out holiday lighting used to be a suburban flex. In 2026 it’s closer to normal — installers now offer color-programmable systems, monthly billing, and take-down included, which is why the same roofline can be green in November and team colors in February. Pinterest is full of “permanent holiday lighting” saves for exactly this reason: people want the look without owning the ladder.
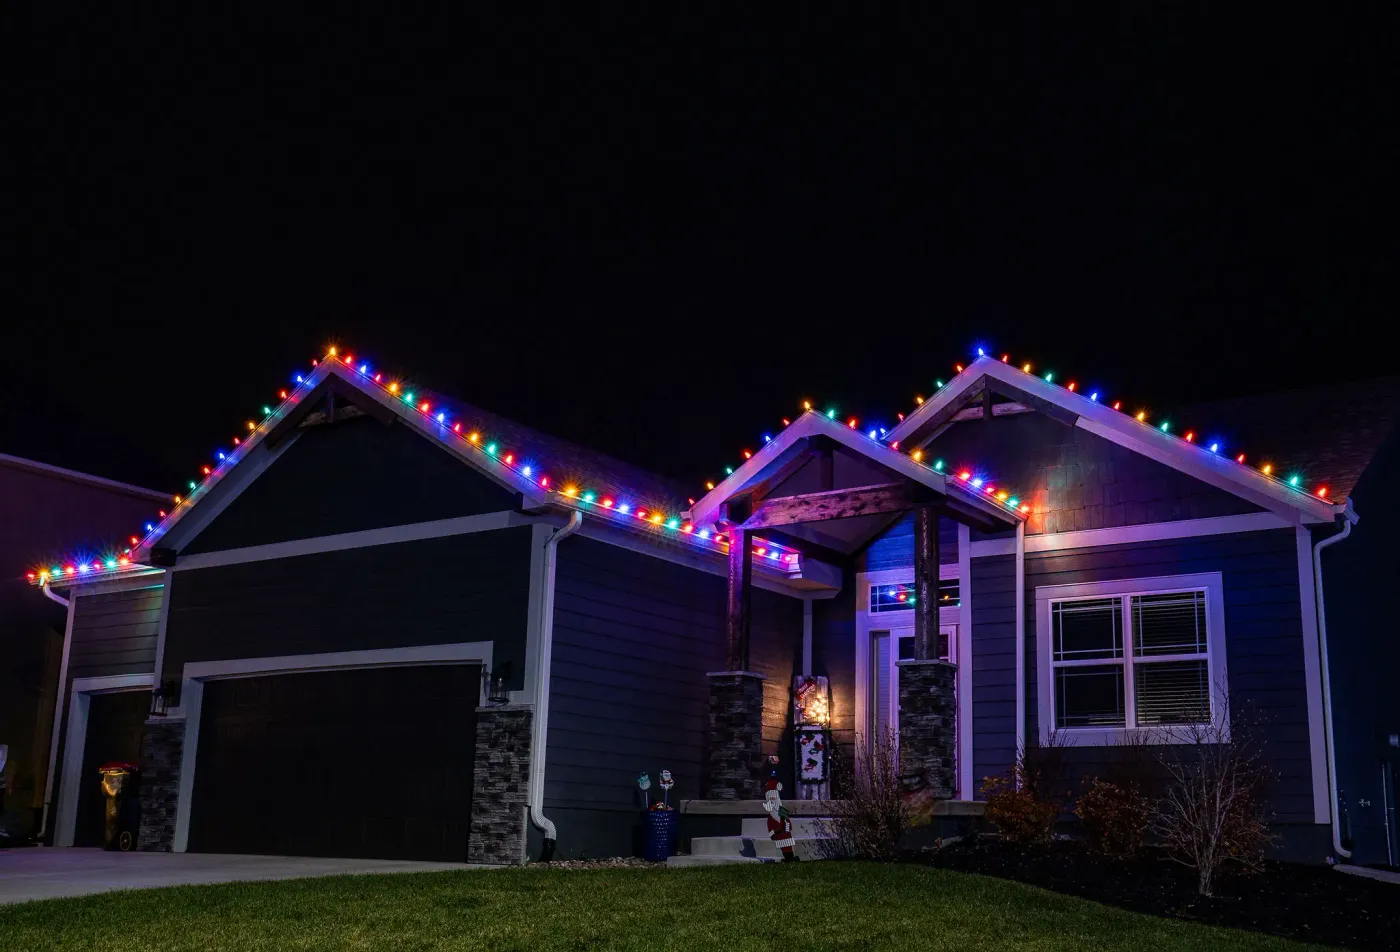
Expect $600–$1,200 for a typical two-story install in most metros, and that’s before any storage fee. You don’t own the lights, you rent the service, which means switching providers later can mean starting from scratch. The result is undeniably cleaner — straight lines, no visible clips, one color per channel — so if your roofline is long, steep, or two stories up, the money is often worth it. For a single-story with a porch, DIY usually wins on cost.
14. Multicolor Porch Strands Draped Over a Spring Yard
Drape strands in swags, not straight lines, when you’re spanning a porch. A shallow 12–18 inch dip between attachment points looks deliberate and hides a slightly sagging wire. Use screw-in cup hooks painted to match the trim rather than staples, and keep every swag the same depth — uneven dips make a porch look like it’s melting. Same trick works indoors over a mantel if you’re carrying the color inside.
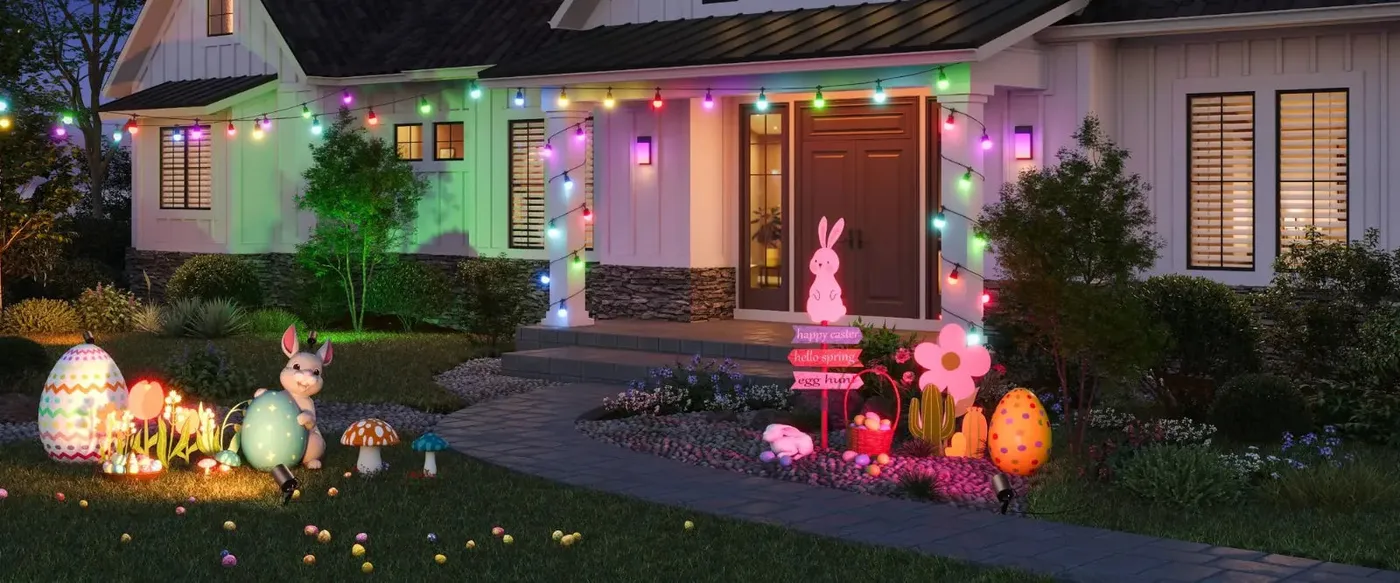
The white vertical board siding is the single element holding this together. Multicolor light against horizontal gray siding reads busy; against clean board-and-batten it reads rhythmic, almost like a barcode of color. Add black-framed windows and the composition suddenly has a high-contrast backdrop, letting the lights be the only decoration that matters. Swap to beige lap siding and the same display loses half its punch.
15. RGB Roofline Systems: One App, Fifty Colors
Order of operations matters more than the hardware you choose.
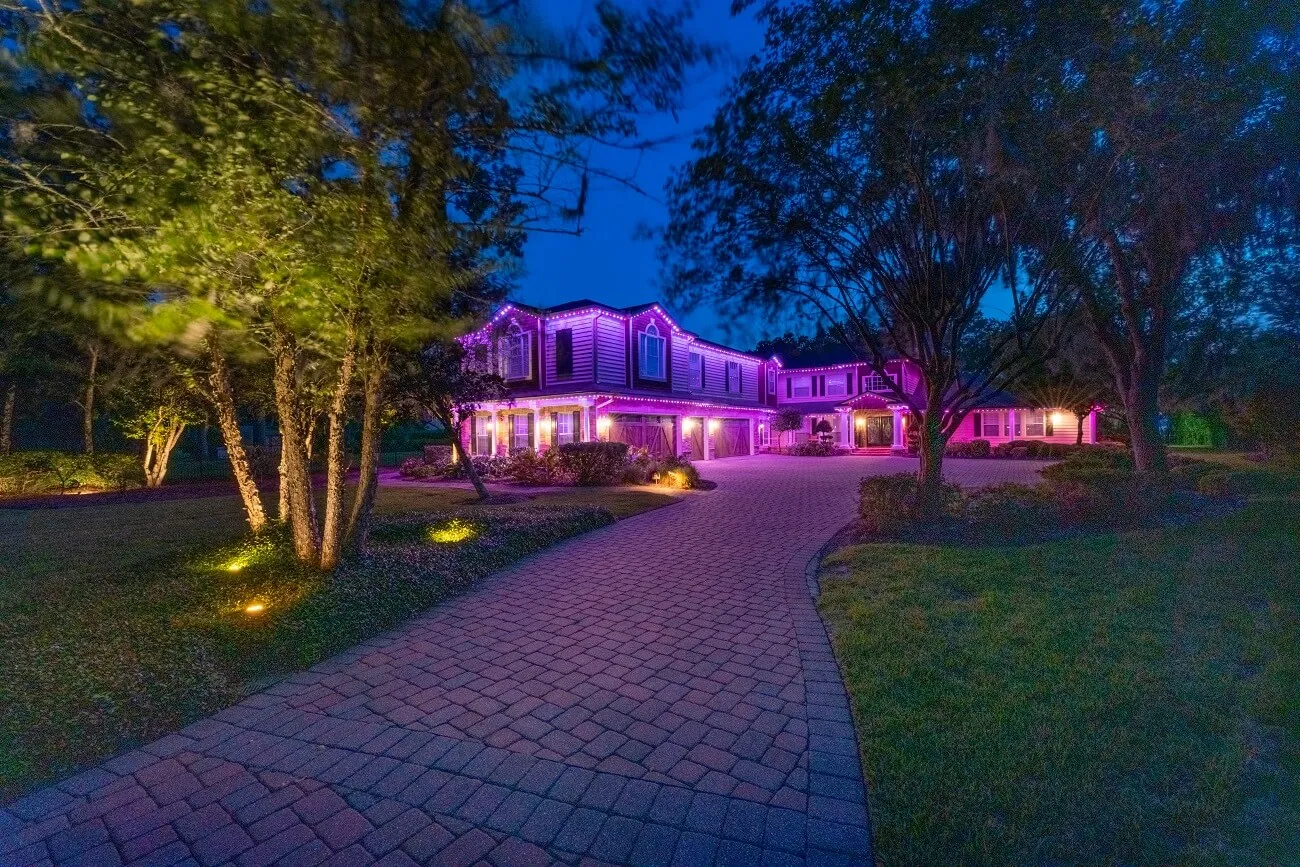
- Measure the full roofline, add 10%, and order tracked channels in those lengths.
- Mount the track once, in daylight, with the included clips — this is the part you never redo.
- Snap the RGB modules into the track and connect the controller at the outlet end.
- Pair the app, then build scenes: green-and-red, all-warm, whatever your household votes for.
- Set a schedule so the system turns itself on at dusk year-round.
About three hours for 100 feet if you’re comfortable on a ladder.
Permanent systems hate water in the connectors, and that’s where the vast majority of failures start. Check the joints after the first hard freeze and again after a thaw. Modules do burn out one at a time, and replacements run $8–$20 each. Budget two hours a year for maintenance, and expect the controller to go first, usually in year three or four. Keep the app login somewhere you’ll actually find it.
16. Purple and Clear Bulbs Ruled Across a Pavilion Ceiling
Call it 45% purple, 35% clear or warm white, and 20% the dark wood and deep green surrounding it. The clear bulbs are what stop purple from going full haunted house — they give your eye somewhere neutral to rest between saturated runs. Swap purple for amber and the whole structure reads like a summer party; swap the clear for cool white and it turns futuristic. The formula survives either change.
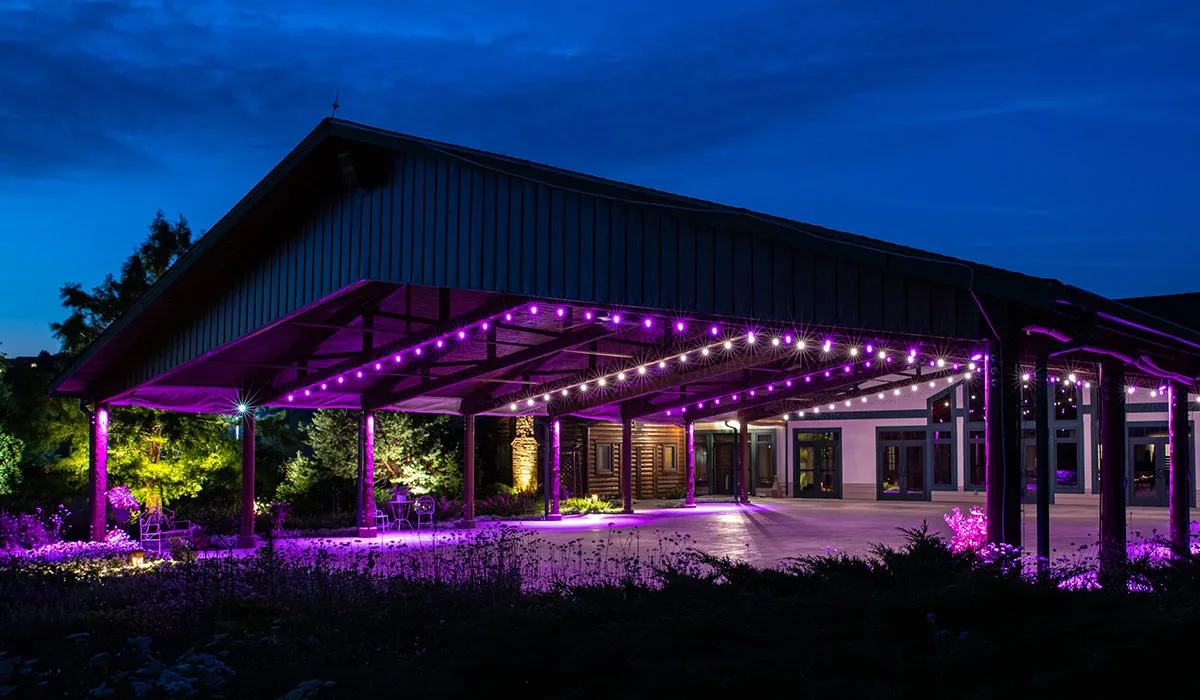
Hanging strands across the underside of a structure, rather than outlining its edges, turns the roof into a ceiling — the light source is suddenly overhead instead of in the distance. Purple uplighting on the posts and a wash of green on the distant trees extend that logic outward, so the whole thing feels like one continuous room. It’s the same trick as a tented ceiling indoors, and it works outdoors for the same reason.
17. Multicolor Porch Trim With a Lighted Snowman on Brick
Life-size illuminated figures are back in a way they haven’t been since the 1990s, and it isn’t pure nostalgia — LED snowmen and wire-frame figures now cost a third of what they did and sip power instead of gulping it. Porch decorating is climbing on Pinterest too, mostly because the porch is the one part of your display you actually see from inside the house all season.
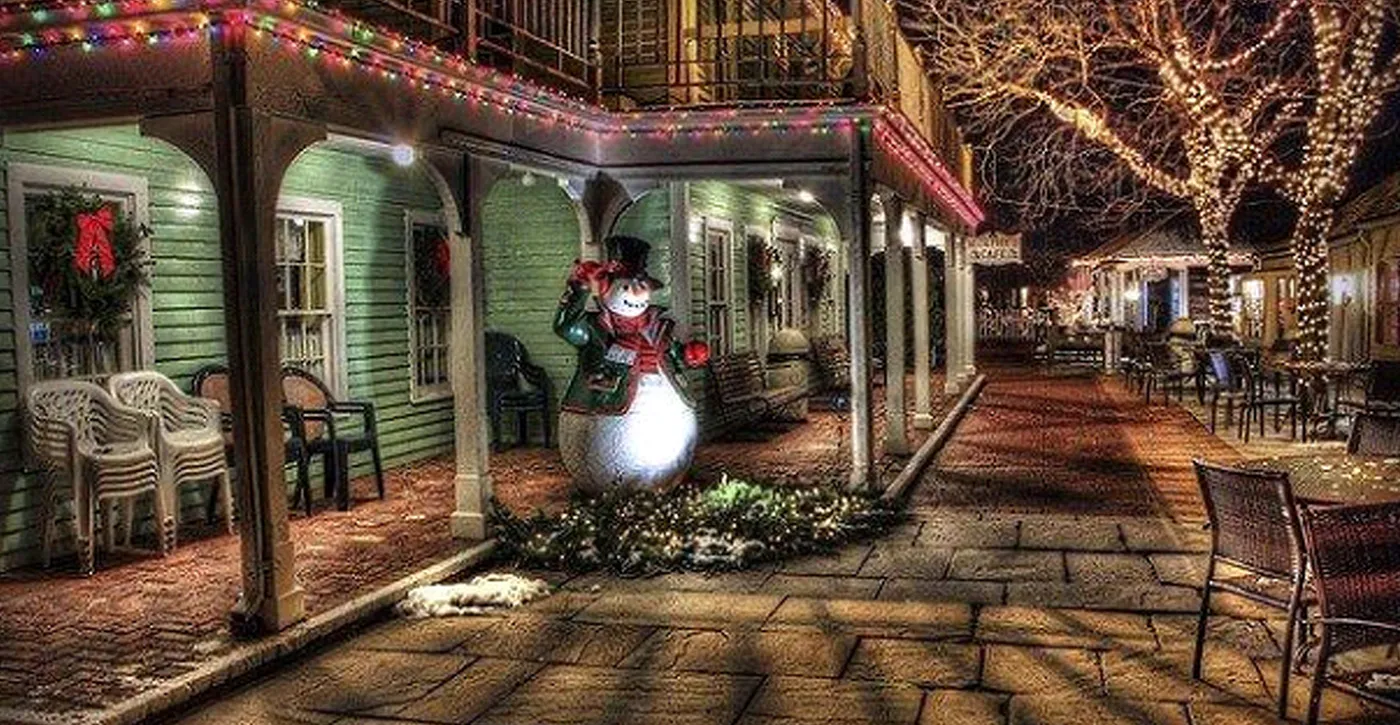
The multicolor porch trim is the cheap part: 100 ft of C6 strand runs $30–$50 at Target or Walmart. The figure is where people overspend — Walmart and Big Lots both carry 5-foot illuminated snowmen under $80 in late November, and thrift stores turn up wire frames you can re-light yourself for about $25 in bulbs. Wrapped street trees are the budget hero: a bare tree takes 400 lights and transforms the sidewalk for the price of two boxes.
18. Multicolor Facade Lighting That Goes Up in an Afternoon
Facade lighting without a roofline outline suits wide, low houses — the ones where tracing the eaves just adds a stripe. It works from roughly 35 to 70 feet of frontage on a single story, and it looks best when you wash the wall with a couple of uplights rather than outlining anything. Two-story homes lose the effect because the upper windows go dark. Compare with Idea #22, where the roofline does the work instead of the wall.
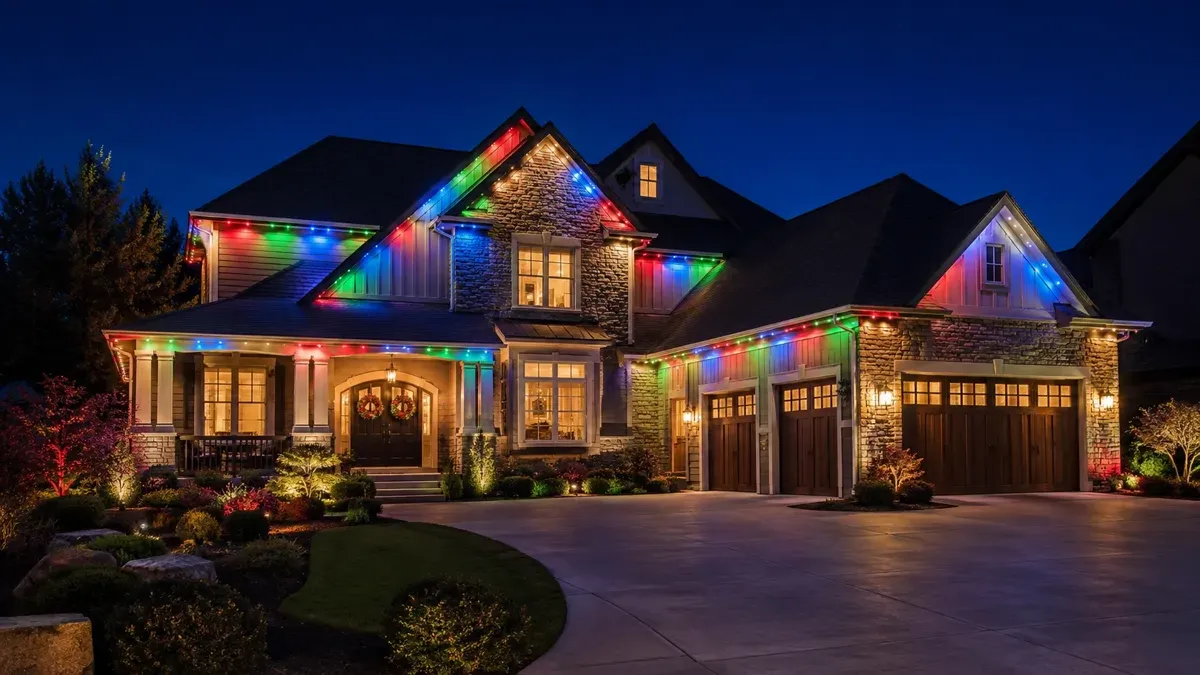
Uplights aimed at siding show every flaw: chipped paint, cobwebs, a crooked downspout you’ve been ignoring for two years. Before you commit, walk the facade at night with a flashlight pointed up and see what it reveals. Check your outlet situation too — a facade wash usually wants two or three separate plugs, and most houses have exactly one exterior outlet, in the least convenient spot imaginable.
19. Red and Warm Yellow Tracing a Stone-and-Siding Facade
- Measure every roofline, gable, and window frame you plan to outline, then add 15%.
- Count your exterior outlets and confirm they’re GFCI protected.
- Note which direction the wind hits the house; that’s where clips pop first.
- Make sure your ladder clears the highest gable with three rungs above the roof edge.
- Decide on two colors before you buy anything, and buy one extra box.
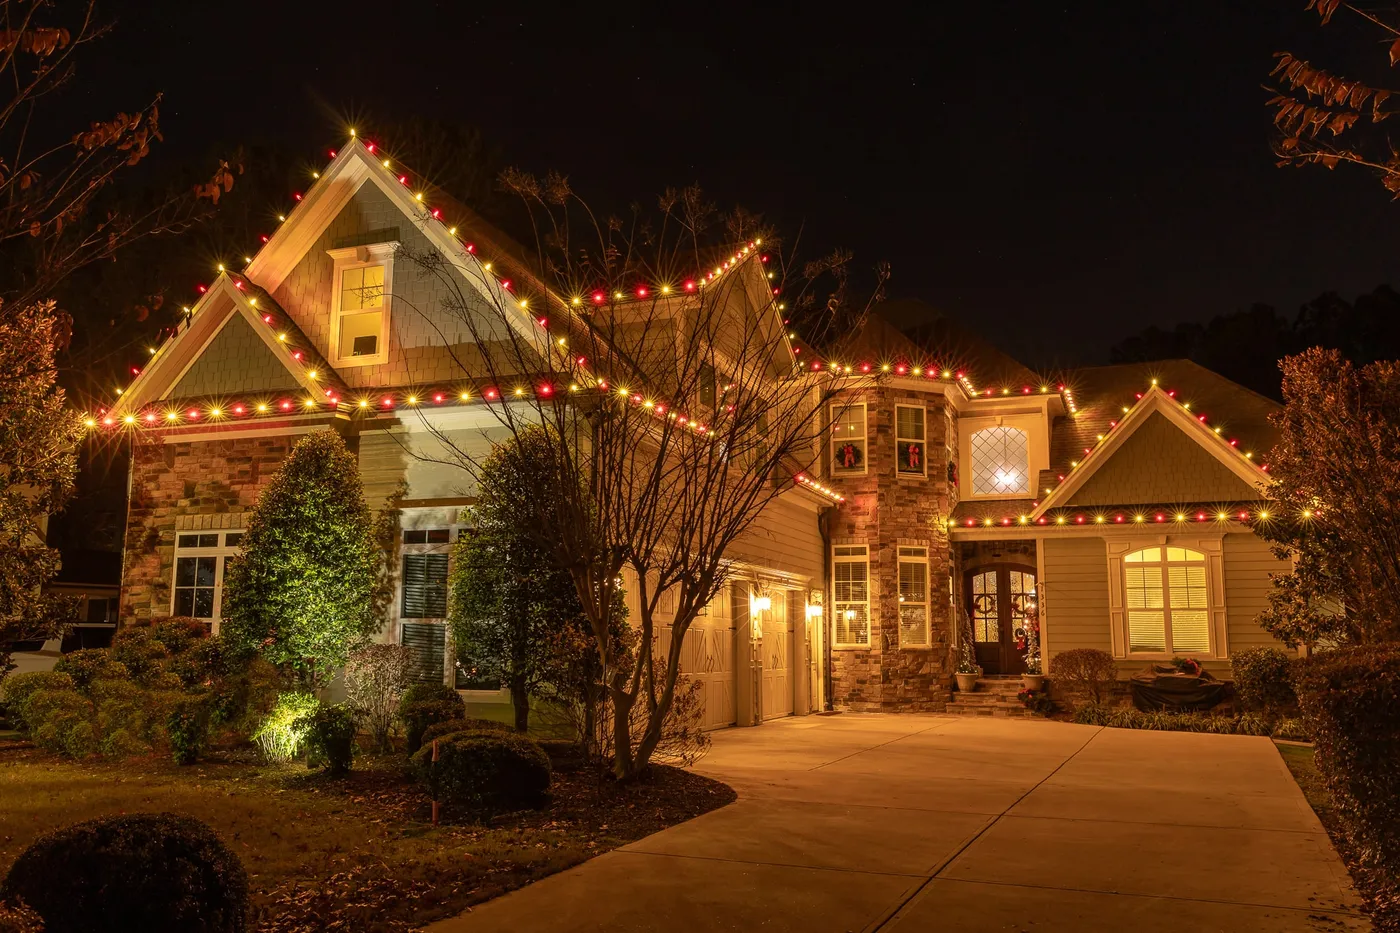
The two-color discipline is the whole thing. Red and warm yellow outlining a stone facade could easily tip into fast-food signage, and it doesn’t, because the palette never breaks — the wreaths on the windows and door stay in the same family, and the landscape lights stay warm. Remove the wreaths and you lose the human touch that keeps an outline from feeling like a perimeter.
20. Green and White Roof Lines With a Red Arched Entry
Alternating green and warm white along the rooflines keeps the architecture legible, then the arched entryway jumps to solid red — a deliberate break that pulls your eye straight to the front door. The ground lights echo the same two colors, which makes the walkway feel like part of the composition rather than an afterthought. Tall narrow evergreens lit in the same palette repeat the rhythm and tie the yard back to the house.
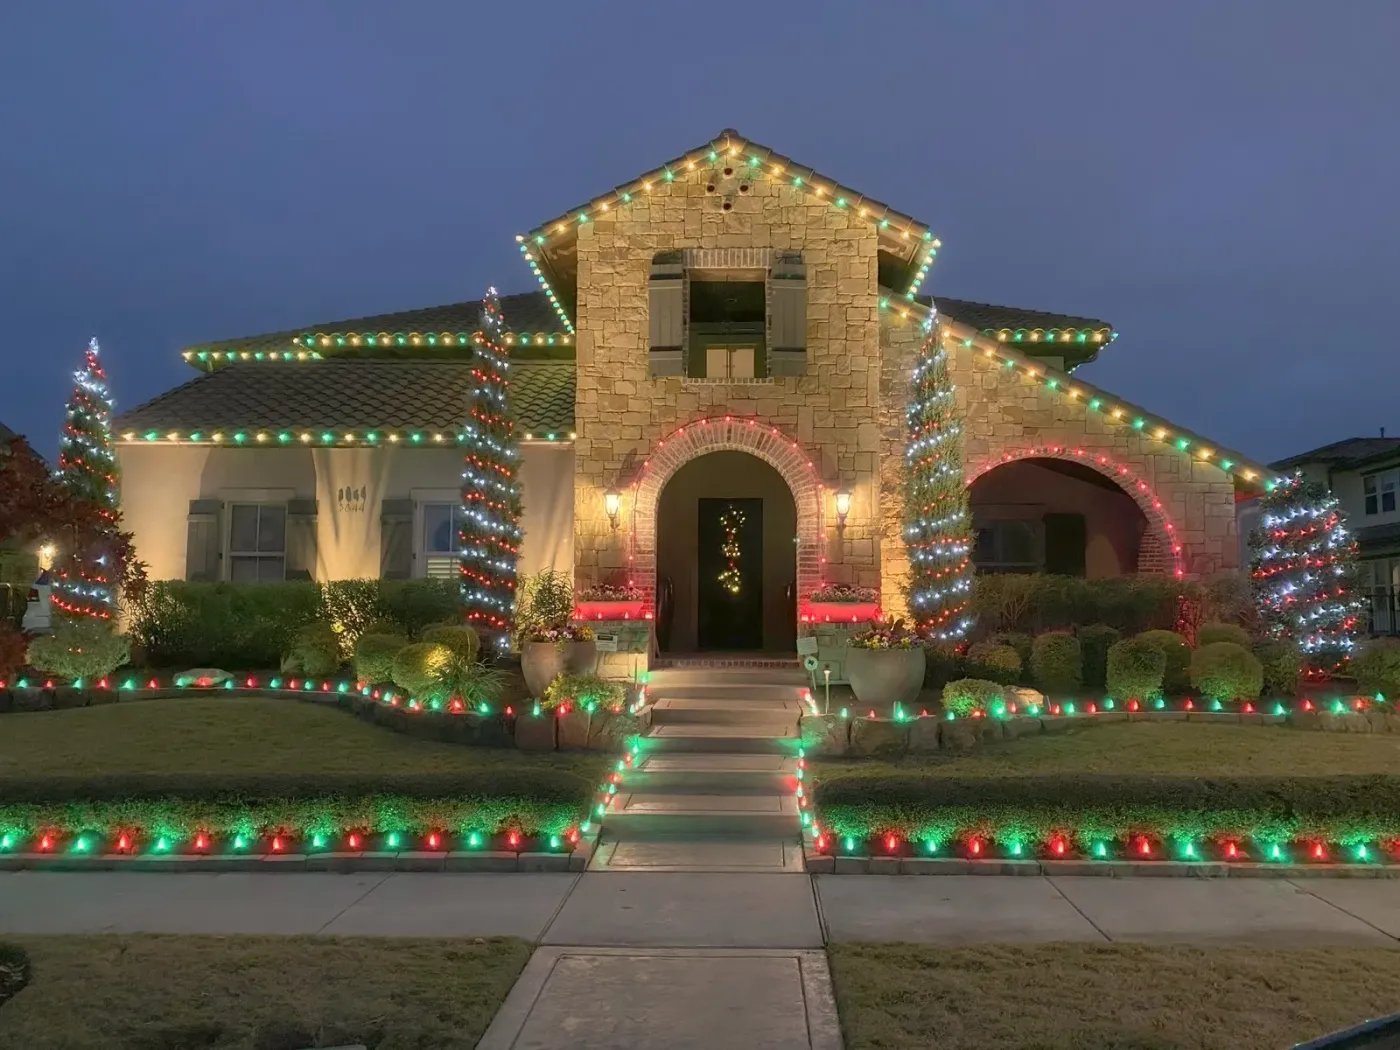
This is the traditional approach, and it wants a defined entry arch plus symmetrical landscaping to land — roughly 40 feet of frontage and at least two tall narrow shrubs flanking the walk. It reads best on stone, stucco, or brick; on plain vinyl siding the same lights fall flat because there’s no texture for them to catch. For a modern house, swap the red arch for a straight red line along a low porch roof instead.
21. Blue Facade Cascade, Red Trees, Green Hedges
Sequencing a yard this dense is a $1,500–$3,000 professional job. Doing it yourself lands closer to $300–$500 if you buy in October and stage it: the blue cascade first (three 100 ft strands, $40 each at Lowe’s), then the red trunks (four 200-light strands, $20 each), then ground and hedge lights (six boxes of 100-count minis, $12 each). Buy one color per trip so you don’t overdo any single hue.
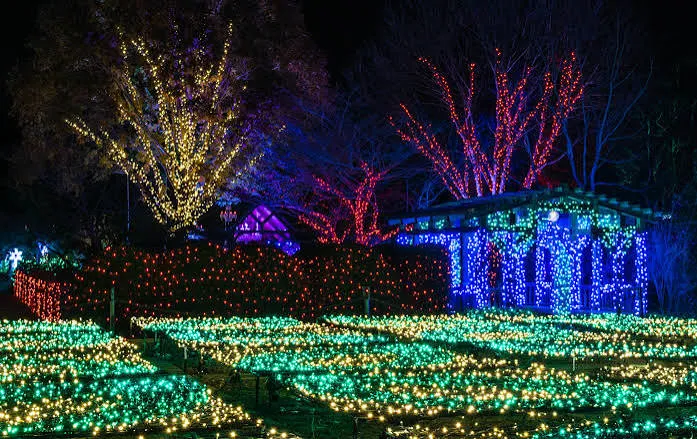
The math is roughly 40% blue on the house, 25% red across trees and hedges, 25% warm white in the leafy canopy, 10% green and yellow at ground level. Blue leads because it covers the largest surface; everything else supports it. If you’d rather lead with red, do it — just shift the percentages and keep the warm white constant, because that’s the color preventing a four-color yard from reading as an argument.
22. All-White Gables Against Snow, the Quiet Version
- White C9 strands, 250–300 ft for all gables: $90–$160
- Shingle-safe roof clips: $15–$30
- Outdoor smart plug and timer: $15–$30
- Extension cords and splitters: $30–$50
- Ladder rental, if you need one: $40–$70 per day
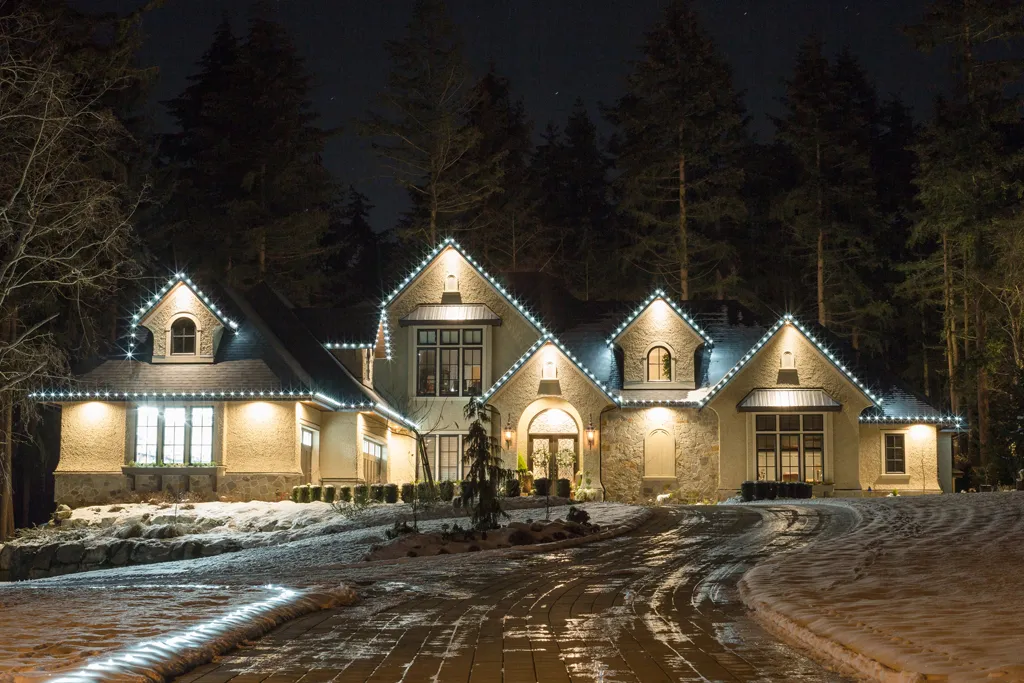
Total: $190–$340. Budget alternative: C7 white sets from Walmart at $14 per 50 ft cut the strand cost roughly in half, and skipping uplights on the lower walls saves another $60–$120.
One color still demands a temperature decision. Warm white (2700K) reads classic and looks faintly gold against snow, while cool white (4000K and up) reads crisp and can turn blue in photographs. Pick one and stay with it — mixing temperatures across a facade is the most common reason a simple white display looks cheap. Buy every strand in one order, from one brand, so the batches match.
23. Warm White Icicles and a Winding Lit Garden Path
Path lights are the part that trips people up. At dusk they look like fairy lights; in total darkness they’re trip hazards that barely illuminate the ground. Keep walkway stakes on a separate timer and run them until midnight, and skip them entirely if you have steps without a handrail. Snow will bury them, and buried bulbs run hot against wet ground — that’s a genuine safety issue, not a style one. We cover a few more of these in the mistakes section at the end.
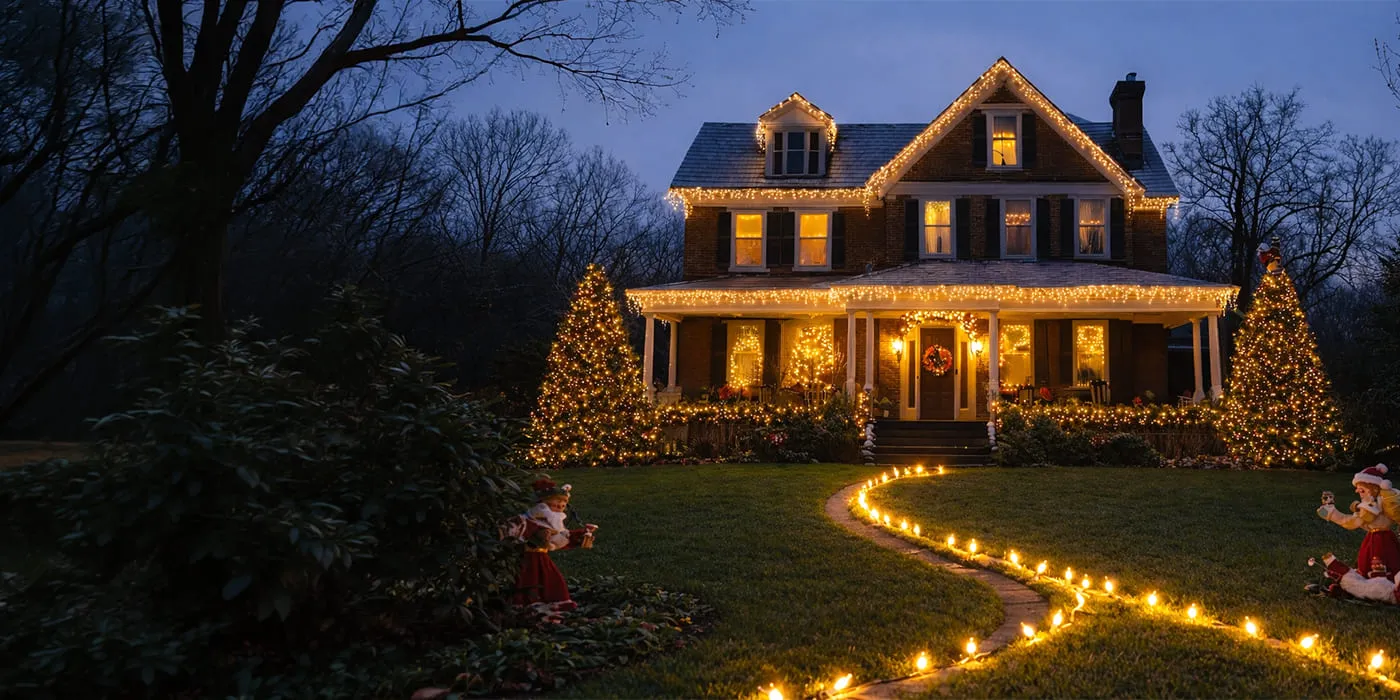
The winding stone path is what lifts this from a roofline display to a whole-property one. Take it away and you have icicles, a wreath, and some wrapped trees — lovely, but static. The path draws the light down to ground level and gives the composition depth, so the house reads as an arrival rather than a backdrop. Line the walk and the whole yard becomes the display.
24. Red and Cool White Alternating on a Modern Ranch
Alternating two colors on a straight modern eave is easier than on a fussy roofline.
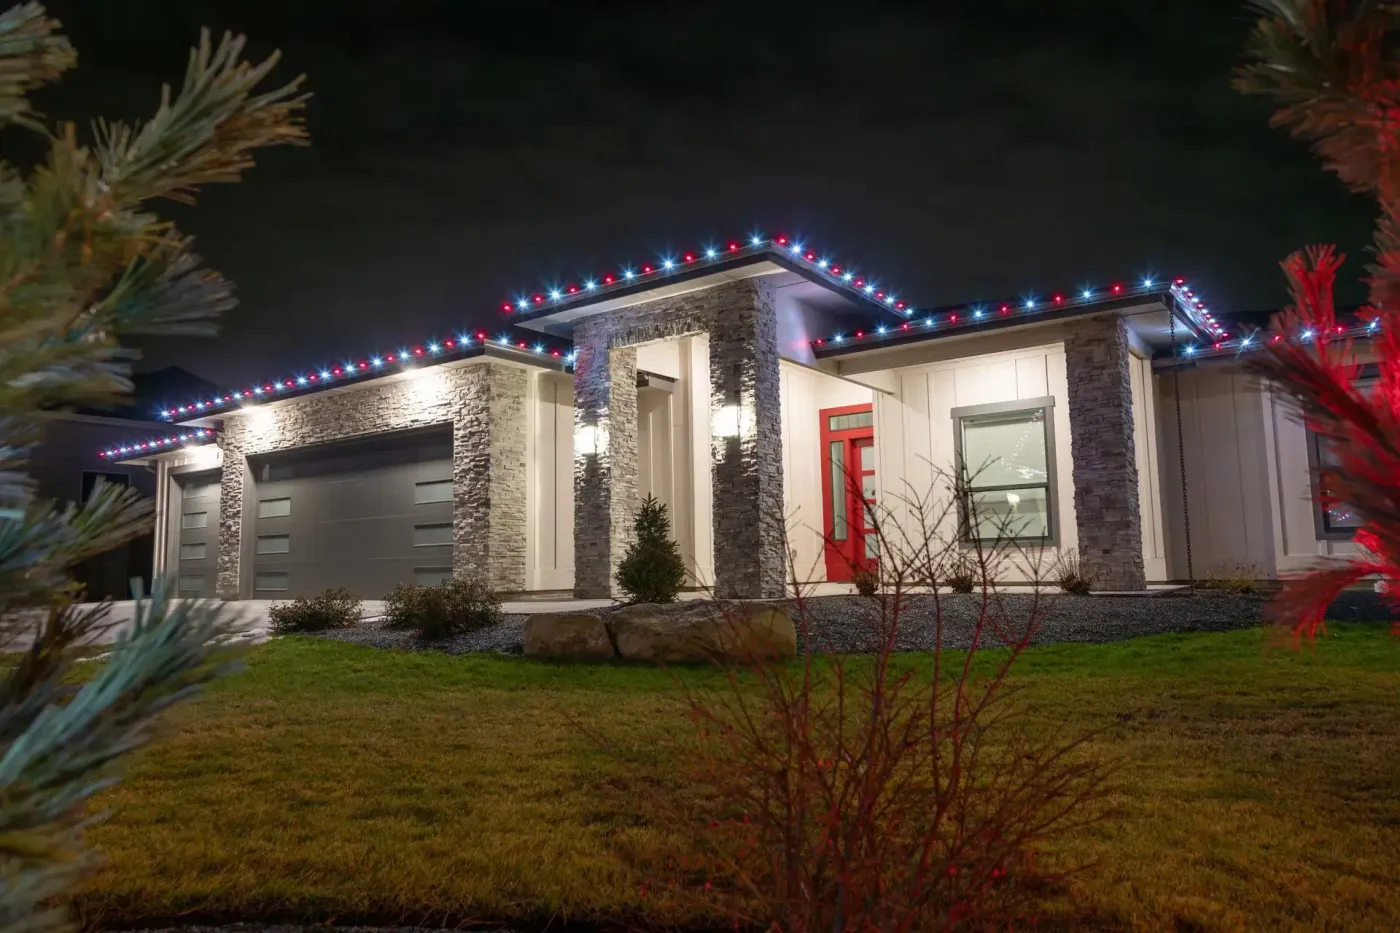
- Decide your block length — 4 feet reads well from the street on a single story.
- Mark the switch points on the eave with painter’s tape before you climb.
- Run one color, then lay the second beside it, meeting at each mark.
- Bring both plugs to the same corner so one smart outlet runs everything.
- Zip-tie the transition so no bare wire shows at the color change.
About an hour for 60 feet, plus $10 in painter’s tape and zip ties.
Cool white LEDs are the pickiest to maintain: when one fails, the color shift is obvious against its neighbors, and cheap sets fail at wildly different rates. Buy one extra strand as a donor and replace bulbs instead of whole sections. Stacked stone and dark siding show dust and spider webs badly by February, so plan a soft brush and a hose before you take anything down. See Idea #6 for how the same alternation plays on a busier roofline.
25. The Neighborhood Display People Slow Down For
Street-stopping displays almost always have 80+ feet of frontage and at least one tall element — a mature tree, a two-story gable — to anchor the view from both directions. On a 50-foot lot, the same amount of light just floods the neighbors and the sidewalk. If your frontage is tight, concentrate the density on the porch and entry, and keep the roofline simple. Two strong elements beat eight mediocre ones every single time.
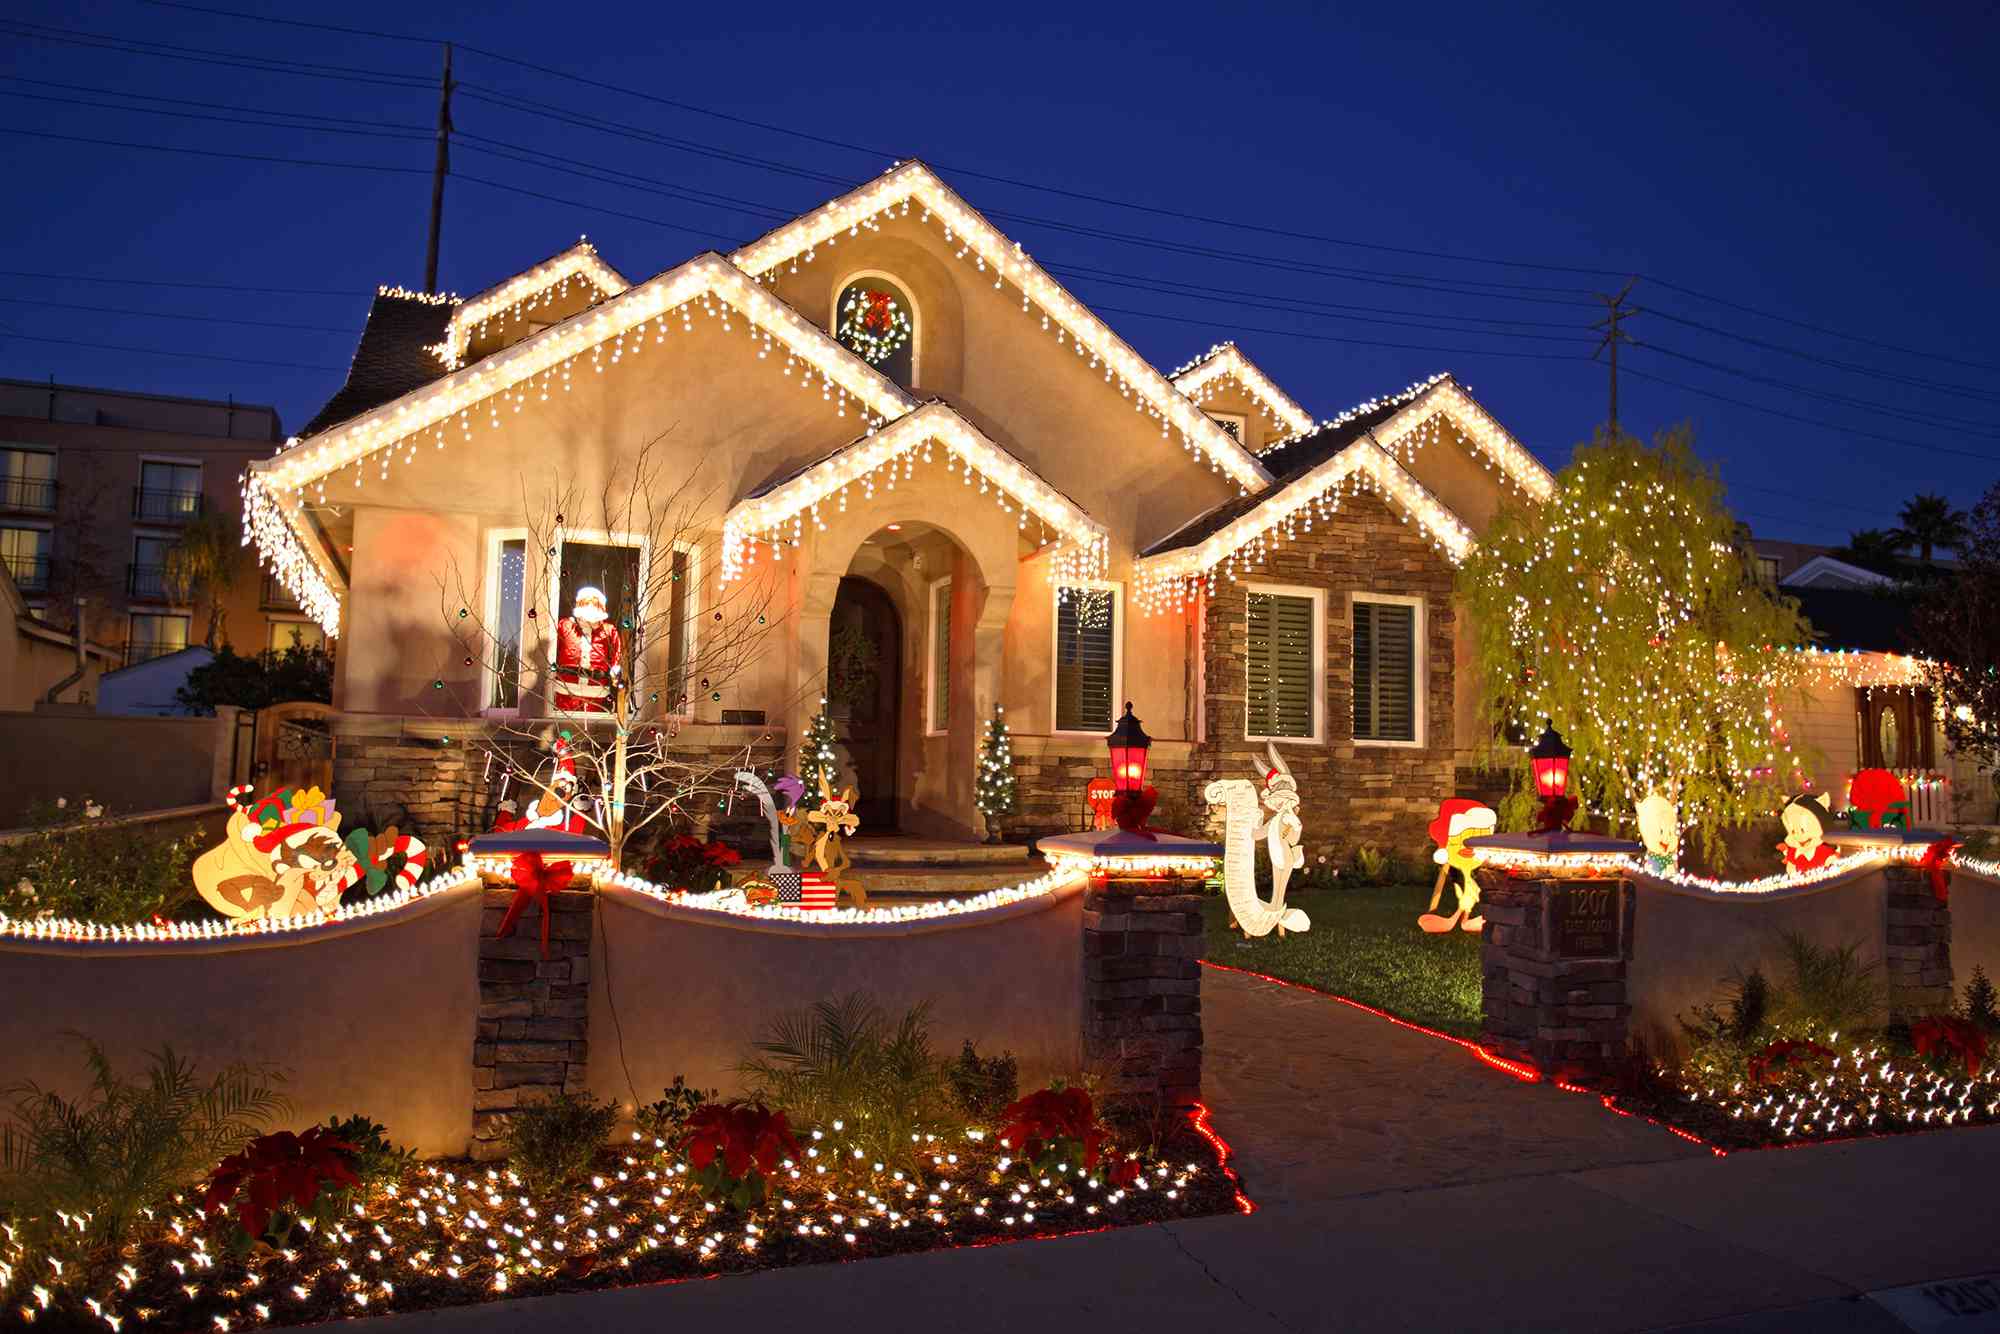
Cul-de-sacs that coordinate their displays are a real phenomenon now, and local news stations map them every December. What’s changed is the coordination itself: shared color palettes, group timers, and a lot of Facebook group planning back in October. If you want in, the low-effort version is agreeing on one accent color across the street and letting everyone keep their own style otherwise.
26. Going Full Griswold Without Tripping a Breaker
Rentals are the sleeper budget move for a display this size: a full yard package from a local company runs $700–$1,500 for the season and includes a crew that takes it down in January. Buying used from Marketplace or a post-Christmas clearance haul can get you 70% off retail, and wire-frame figures from thrift stores run $5–$15 each before you re-light them for about $10 in bulbs.
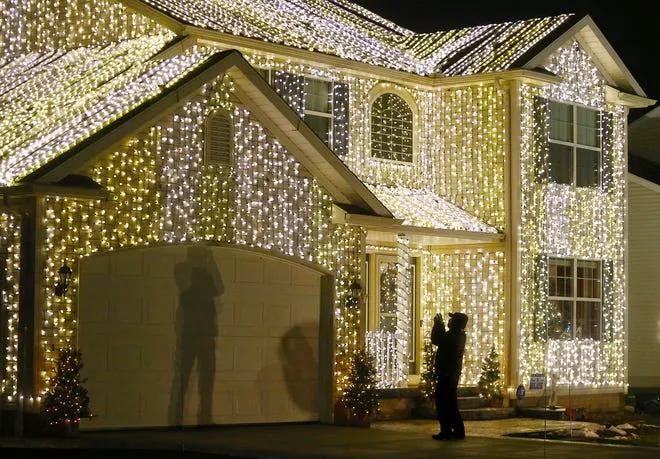
Huge displays work when there’s a visual hierarchy: a dominant roofline, mid-level yard pieces, and a few small accents at eye level. Without it, everything competes and the result reads as a pile. LED conversion is what makes this possible at all — a display that would have pulled 60 amps in incandescent pulls about 6 in LED, which is why one household circuit can run it. Always total your wattage before plugging everything into a single run.
27. Tour-Worthy Displays and the Two-Color Rule That Saves Them
If your house ends up on a neighborhood tour list, the difference between impressive and famous is usually animation. A $25 controller that fades two channels in sequence makes 300 feet of lights feel twice as expensive as it is. Keep it slow — one fade, 8–10 seconds — because fast blinking draws complaints, and some HOAs still prohibit it outright.
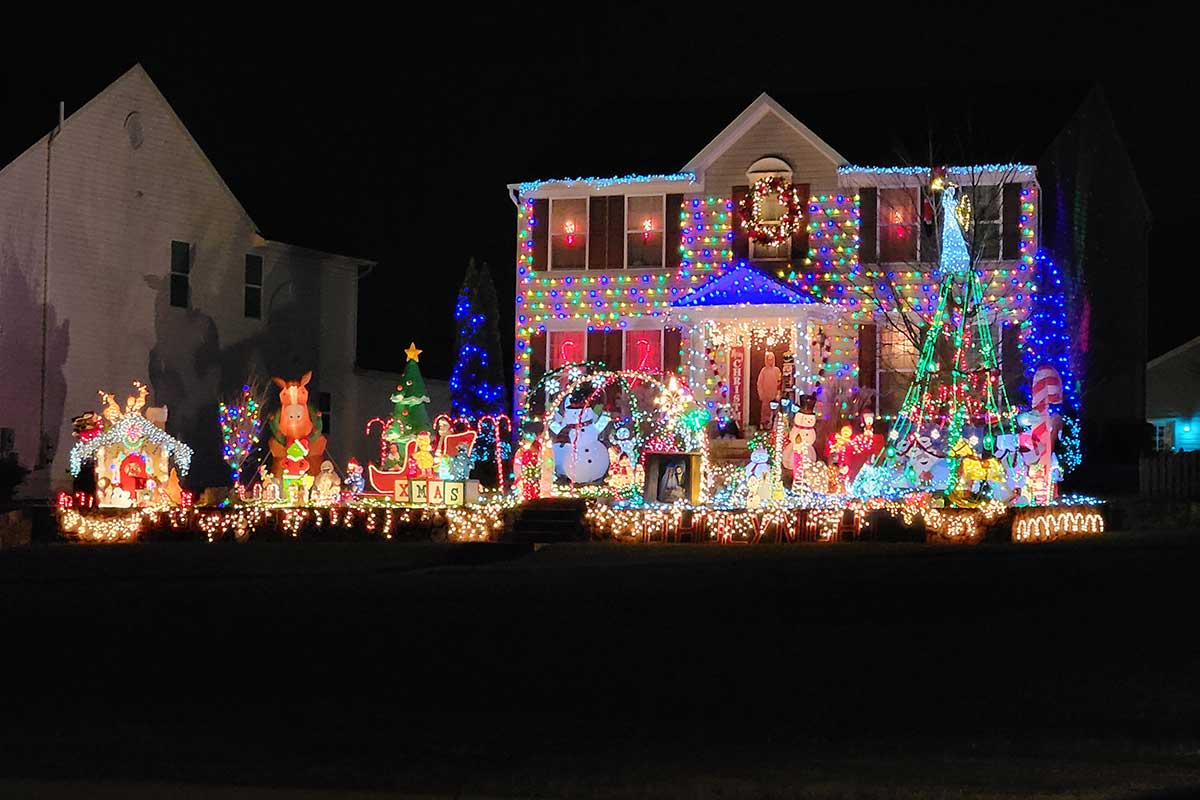
Look at the best displays on any local list and you’ll notice the same thing: they never use more than two colors on the house itself. The yard can be a riot of inflatables, figures, and projectors, but the roofline stays disciplined. That single constraint is what separates a display people photograph from one people describe as “a lot.”
28. What a Pro Crew Does With Color Temperature
The most common complaint about professional installs is color inconsistency — three strands of “the same” white that clearly don’t match. It’s almost always a temperature problem (2700K versus 3000K versus 5000K) or a batch problem. If you’re buying your own, order everything at once from one listing, and keep the boxes until you’ve confirmed the match on the wall. Different suppliers use different phosphor coatings, and no app fixes that.
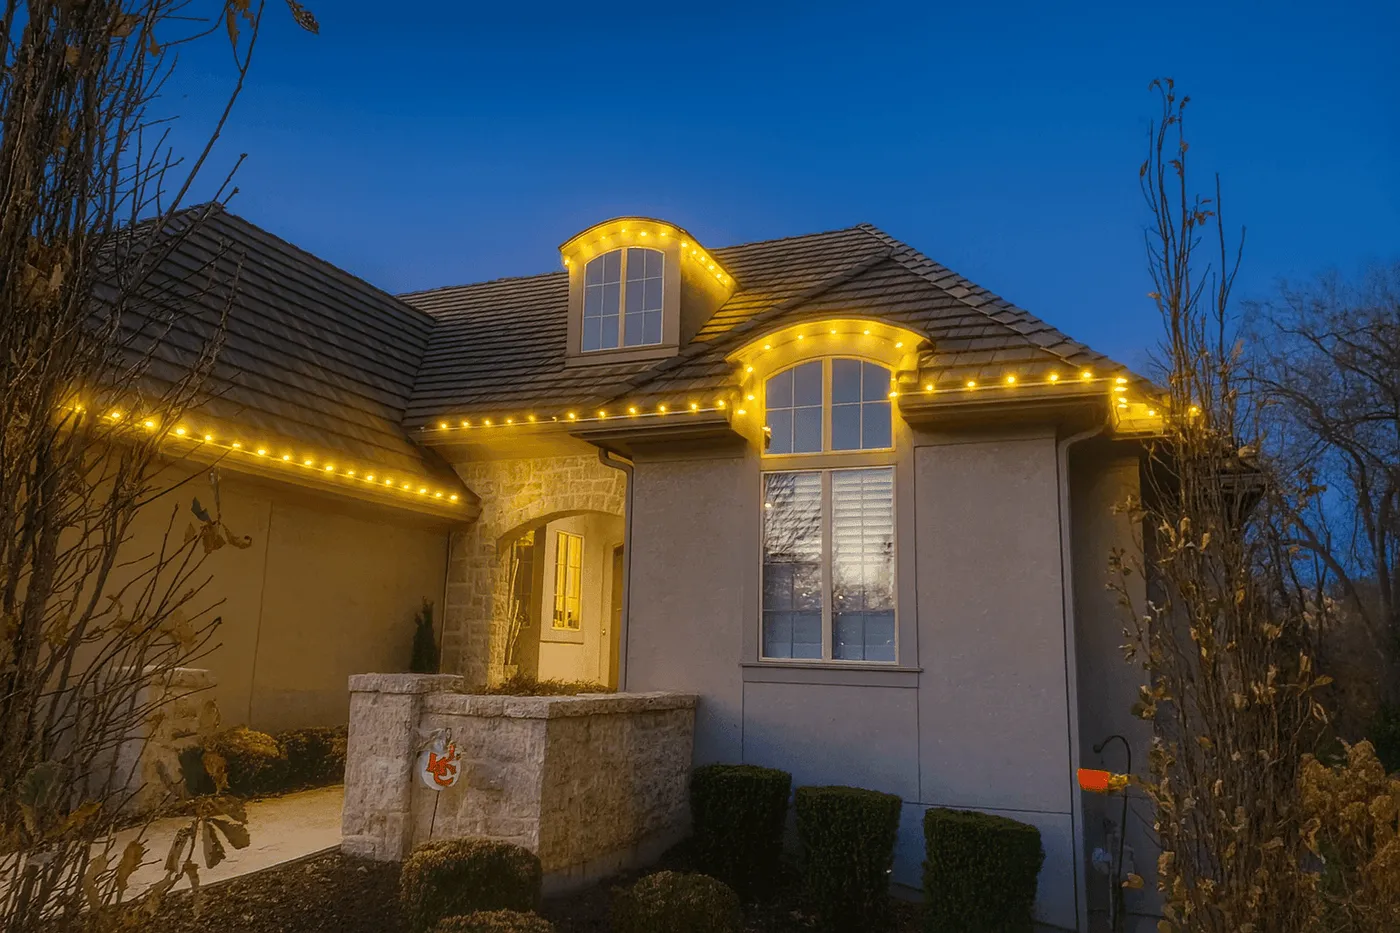
Pros typically build around 60% single-color or white base, 30% one accent hue, 10% warm highlights at the entry. It’s a boring formula and it works every time. Want to swap? Change the accent only and leave the base alone. That’s why a pro can turn a green display into a purple one in an afternoon without re-lighting the house — only one channel changes.
29. Rainbow Facades Up Close in the Heart of a Tour
If you’re attempting a dense multicolor facade, build it in layers.
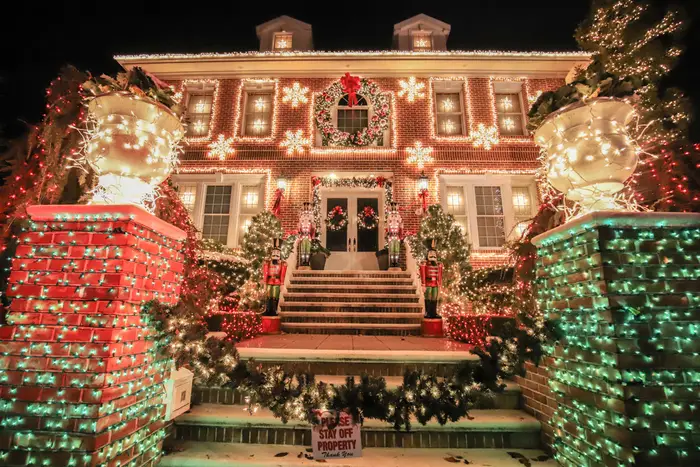
- Outline the architecture first — rooflines, windows, front door.
- Add the mid-layer: porch rails, columns, a swag across the porch ceiling.
- Fill the ground plane with hedges and walkway stakes in a different rhythm.
- Place three focal pieces maximum — a wreath, a figure, a lit sign.
- Step across the street and photograph it. That’s your actual audience.
Two evenings for a front this dense, plus about $60 in clips and zip ties.
Dense displays need room to be read — at least 60 feet of frontage and a setback deep enough to see the whole facade from the sidewalk. On a tight urban lot, the same density overwhelms the neighbors and your own windows at night. Narrow lots do better with a porch-and-entry version, where everything concentrates in one 15-foot zone instead of spreading across a yard.
30. Choosing Facade Colors That Still Look Good in Daylight
Colored strands fade. UV does the damage, and even LED jackets yellow after three or four seasons of full sun, which is why a set that looked vivid in year one can read washed out by year three. Store them indoors, out of light, on a reel — not in a garage that hits 120 degrees in July. Expect to replace roughly a quarter of your strands every three years, and buy two extra boxes of your main color each fall.
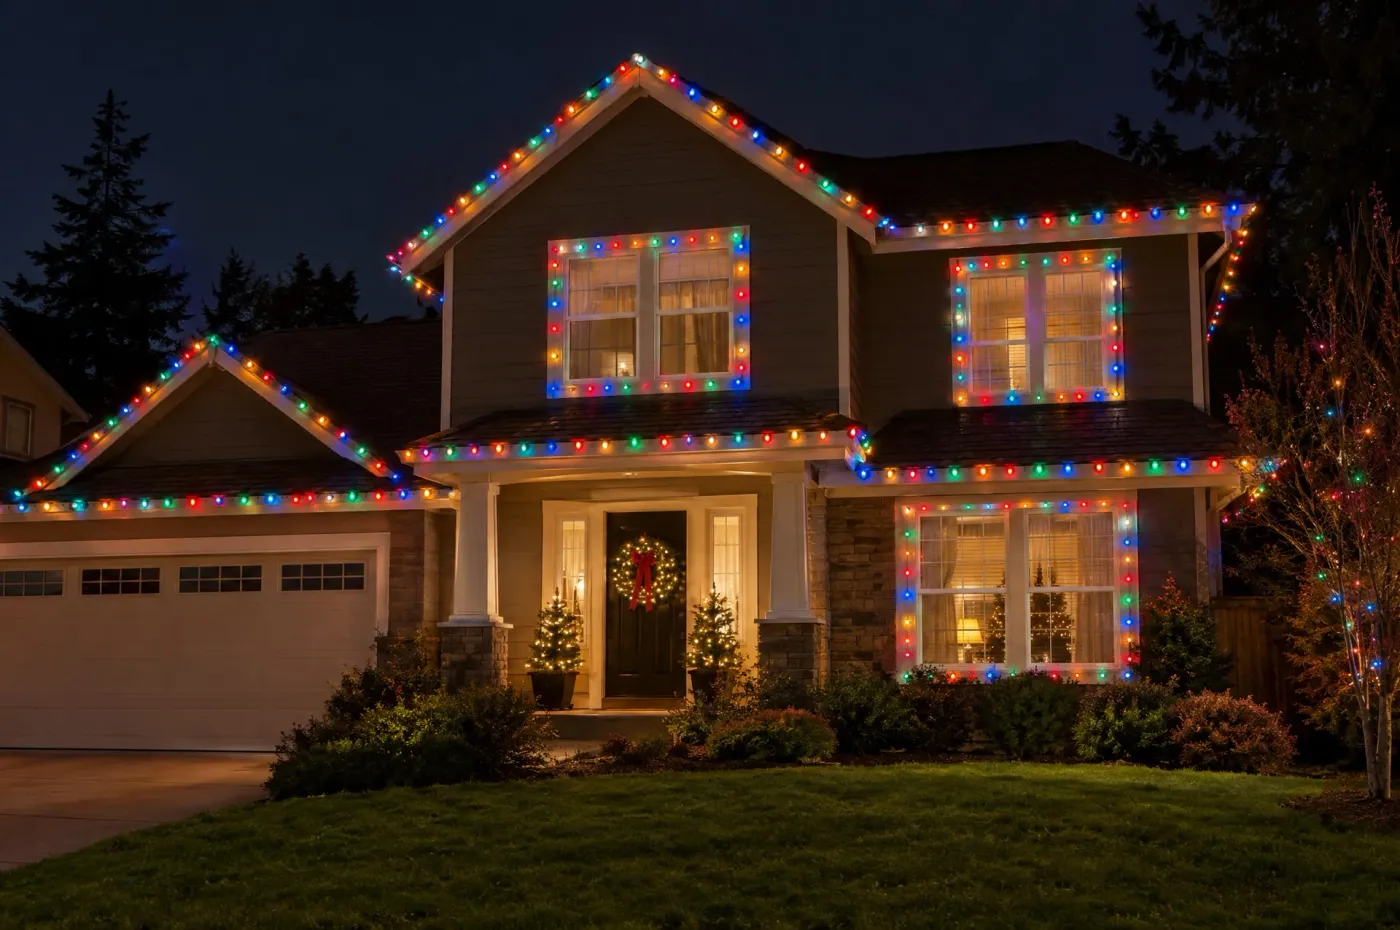
Replacing a whole facade doesn’t have to be a full-price purchase. Post-Christmas clearance — December 26 through mid-January — drops multicolor sets to 50–75% off at Walmart, Target, and Home Depot, and that’s the moment to buy next season’s display. Facebook Marketplace in November is full of half-price used strands, and thrift stores in January are basically free lighting warehouses.
31. Picking Your Best Colors for 2026 and Staying With Them
Multicolor works best when one hue leads. Pick the color closest to your house’s fixed elements — the front door, the shutters, the brick — and let it occupy the biggest surface. Everything else becomes support. That’s why the same rainbow looks designed on one house and chaotic on the next: it isn’t the colors, it’s whether the house already agrees with one of them.
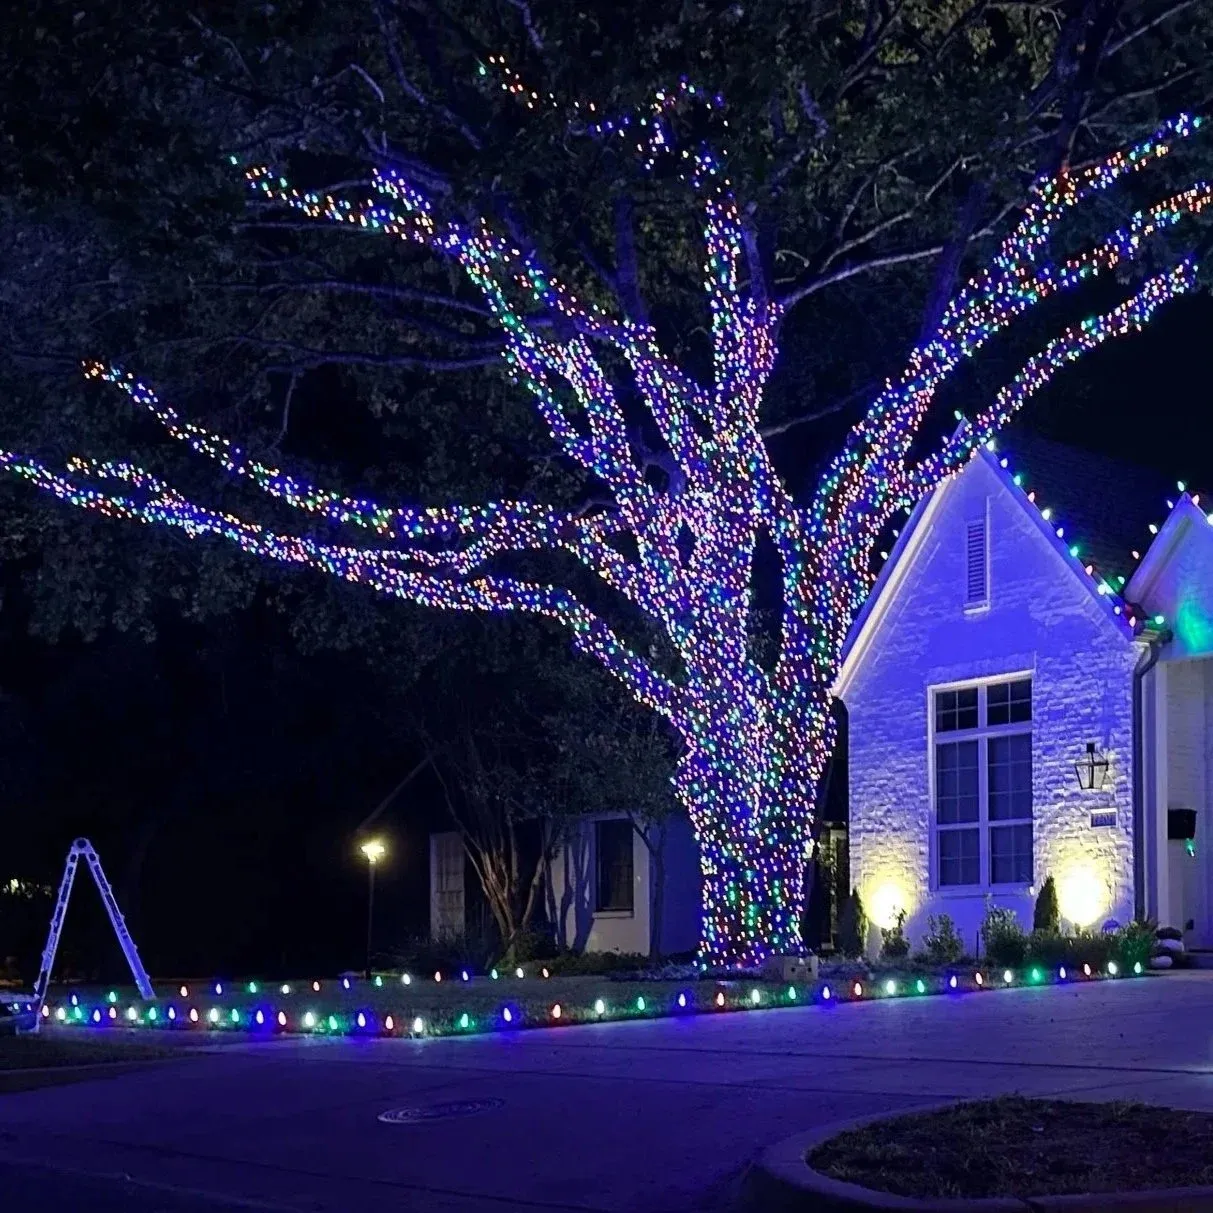
Test before you commit. Plug in one strand of each color after dark, hold it against the siding for thirty seconds, then step back ten feet. Colors that look festive on the spool can go muddy against beige vinyl or fight a red brick facade. Buy a single box first, decide, then order the rest in one batch so the tones actually match.
Your Roofline, Your Color Story
Colored Christmas lights are one of the few decorating projects where a $30 box of strands and an afternoon can change how an entire street feels about your house. Start with one roofline, one color pair, and one honest look at what your siding does with saturated light — then add the yard next year.
📌 Pin this guide now so it’s waiting for you next November, when the stores are picked clean and you’ll want the numbers right in front of you.