28 Stunning Red Bow Christmas Tree Ideas for 2026 That Will Dazzle Your Holiday Decor

You know that feeling when you spot a tree on Pinterest with one enormous velvet bow and think, why doesn’t mine look like that? Same. So we went hunting for the real thing — actual trees in actual homes, not moody renders.
We spent an unreasonable amount of time combing Target, Etsy, Hobby Lobby, At Home, and Anthropologie, filtering everything from $6 ribbon spools to $480 velvet showpieces, and narrowed it down to 28 ideas that actually earn their floor space. Four flavors do most of the work here: traditional red-and-green classicism, flocked winter-white glamour, cozy plaid-and-stone cottage energy, and a slicker opulent mode built on sheer ribbon and gold.
What’s shifted for 2026 is subtle but real — bows got bigger, ribbons got layered, and people started treating the topper as the whole point instead of an afterthought. Search interest in oversized velvet bows has been climbing on Pinterest all fall.
And stay until the end — we break down the most common mistakes that can ruin these looks. 📌 Save this to Pinterest for later — you’ll want to revisit these ideas.
1. Red Velvet Bow Tree Against a Deep Red Paneled Wall
You don’t need a bigger bow — you need a bow sized to the tree, not to the room. A workable rule: the loops should span about one-sixth of the tree’s total height, and the streamers should land near the midpoint. On a 7.5-foot tree that’s a bow roughly 15 inches across. Skipping that math is exactly why so many velvet bows end up looking like something clipped on at the last minute.
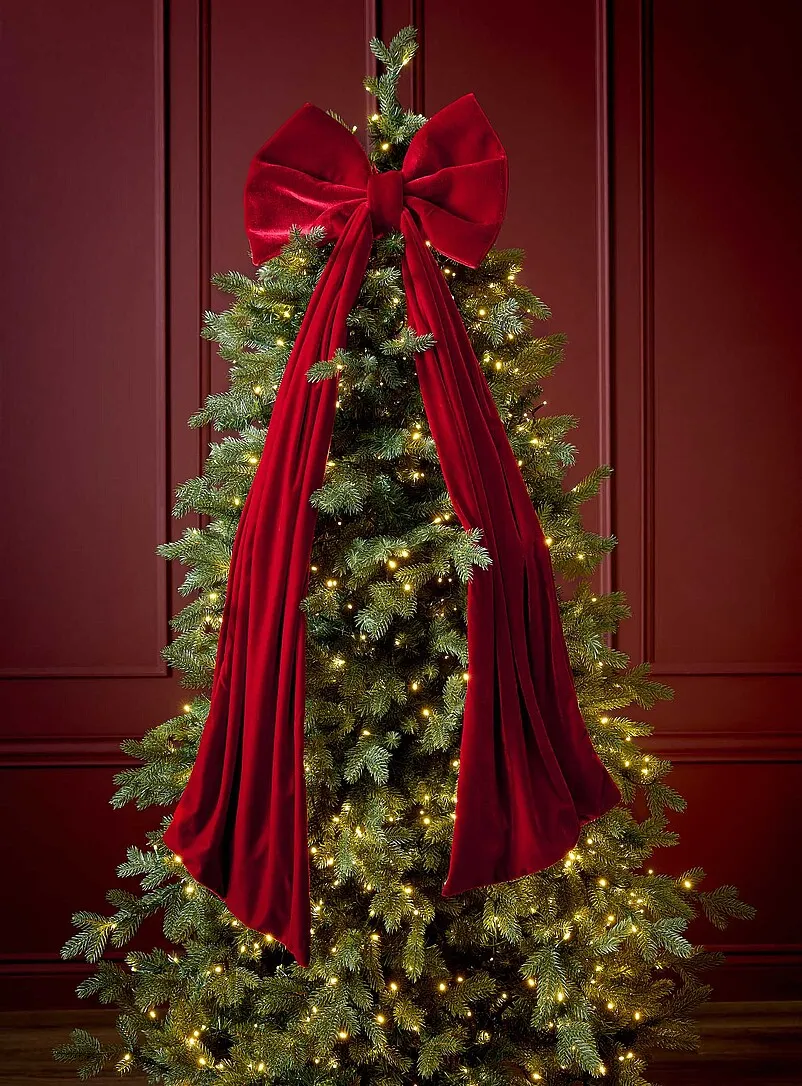
The bow isn’t decor here — it’s the entire composition. Remove it and you have a green tree with string lights, which describes most trees on the block. What makes this one land is the tower effect: one velvet bow at the crown with two long streamers running straight down the front, so your eye travels top to bottom in a single sweep.
This look wants a wall behind it. Deep red paneling gives the dark green something to sit against, so the tree reads as a silhouette instead of a shape floating in white space. A 7.5- to 9-foot tree works in a room from about 12 by 14 feet with 9-foot ceilings; below that, shrink the bow and shorten the tails or you’re decorating a doorway.
2. Plaid Ribbon Tree in a Wood-and-Stone Fireplace Room
Three things are doing the heavy lifting, and none of them is expensive. First, repetition: the same cranberry plaid appears on the tree ribbon, the wrapped gifts, and the window treatments, which is why the room feels finished rather than decorated. Second, contrast — pale grey stone against saturated red. Third, warm light at eye level from both the fire and the tree, so the corners stay dim and cozy.
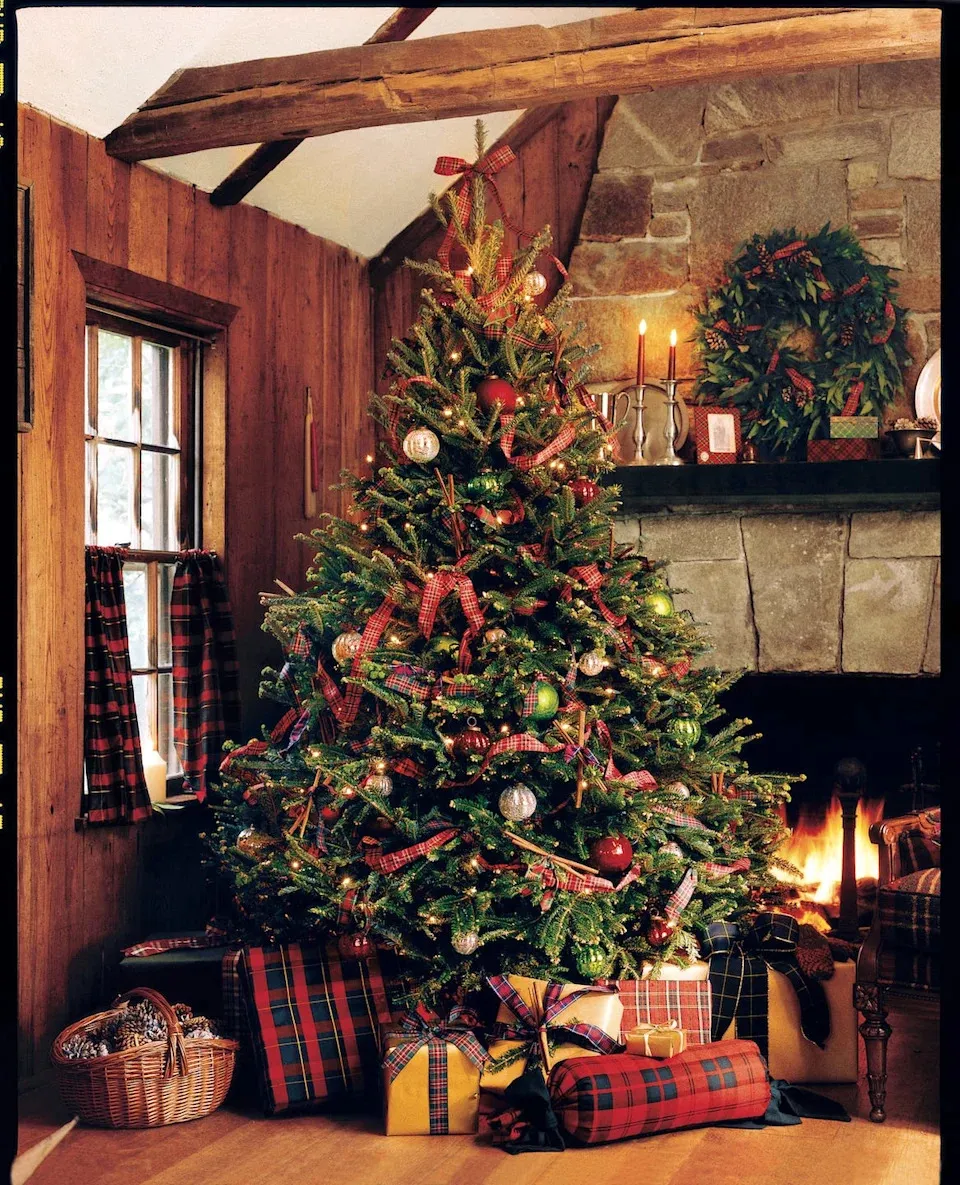
Rustic rooms forgive a lot, but not everything. Wood paneling plus plaid plus pinecones plus a burning fire is four warm textures competing; add a busy patterned rug and the whole scene turns to static. And real woven plaid ribbon holds a bow shape — the cheap printed stuff with a wire edge will flop by New Year’s. Spend the extra four dollars a yard and the bows will still look sharp in February.
3. Flocked Tree with Red Velvet Bows and Berry Clusters
Think 60 percent flocked white, 30 percent red, 10 percent dark green showing through. The snowy branches are your neutral base, the bows and berry sprigs are the accent, and the green needles peeking out are the seasoning that keeps it from reading like a wedding cake. Swap the berries for cranberry glass picks and the math still holds.
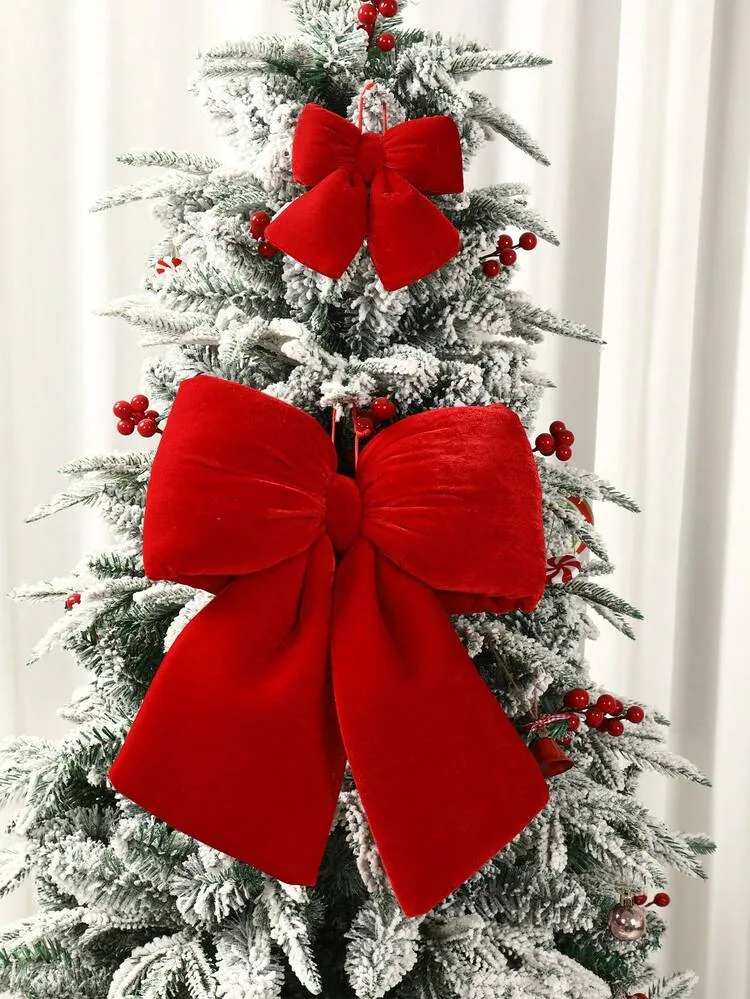
Flocked trees cost real money, but the decorations don’t have to. Two yards of red velvet ribbon from a craft store runs about $8 and makes three decent bows. Berry sprigs get tucked in by the handful — buy six bunches, not two. Or go the thrift route: vintage red velvet bows turn up constantly at estate sales for a dollar apiece, and they have a weight and drape new ribbon rarely matches.
4. Velvet Bow with Gold Trim, Pinecones, and Snowflakes
- Cut 4-inch-wide velvet ribbon into 24-inch and 36-inch lengths.
- Fold each into figure-eight loops, pinch the center, and bind with florist wire.
- Wrap a narrow gold ribbon around the pinched center and tie off at the back.
- Fluff the loops outward, then trim the tails on a diagonal.
- Wire the bow to a sturdy branch near the trunk, not a wispy tip.
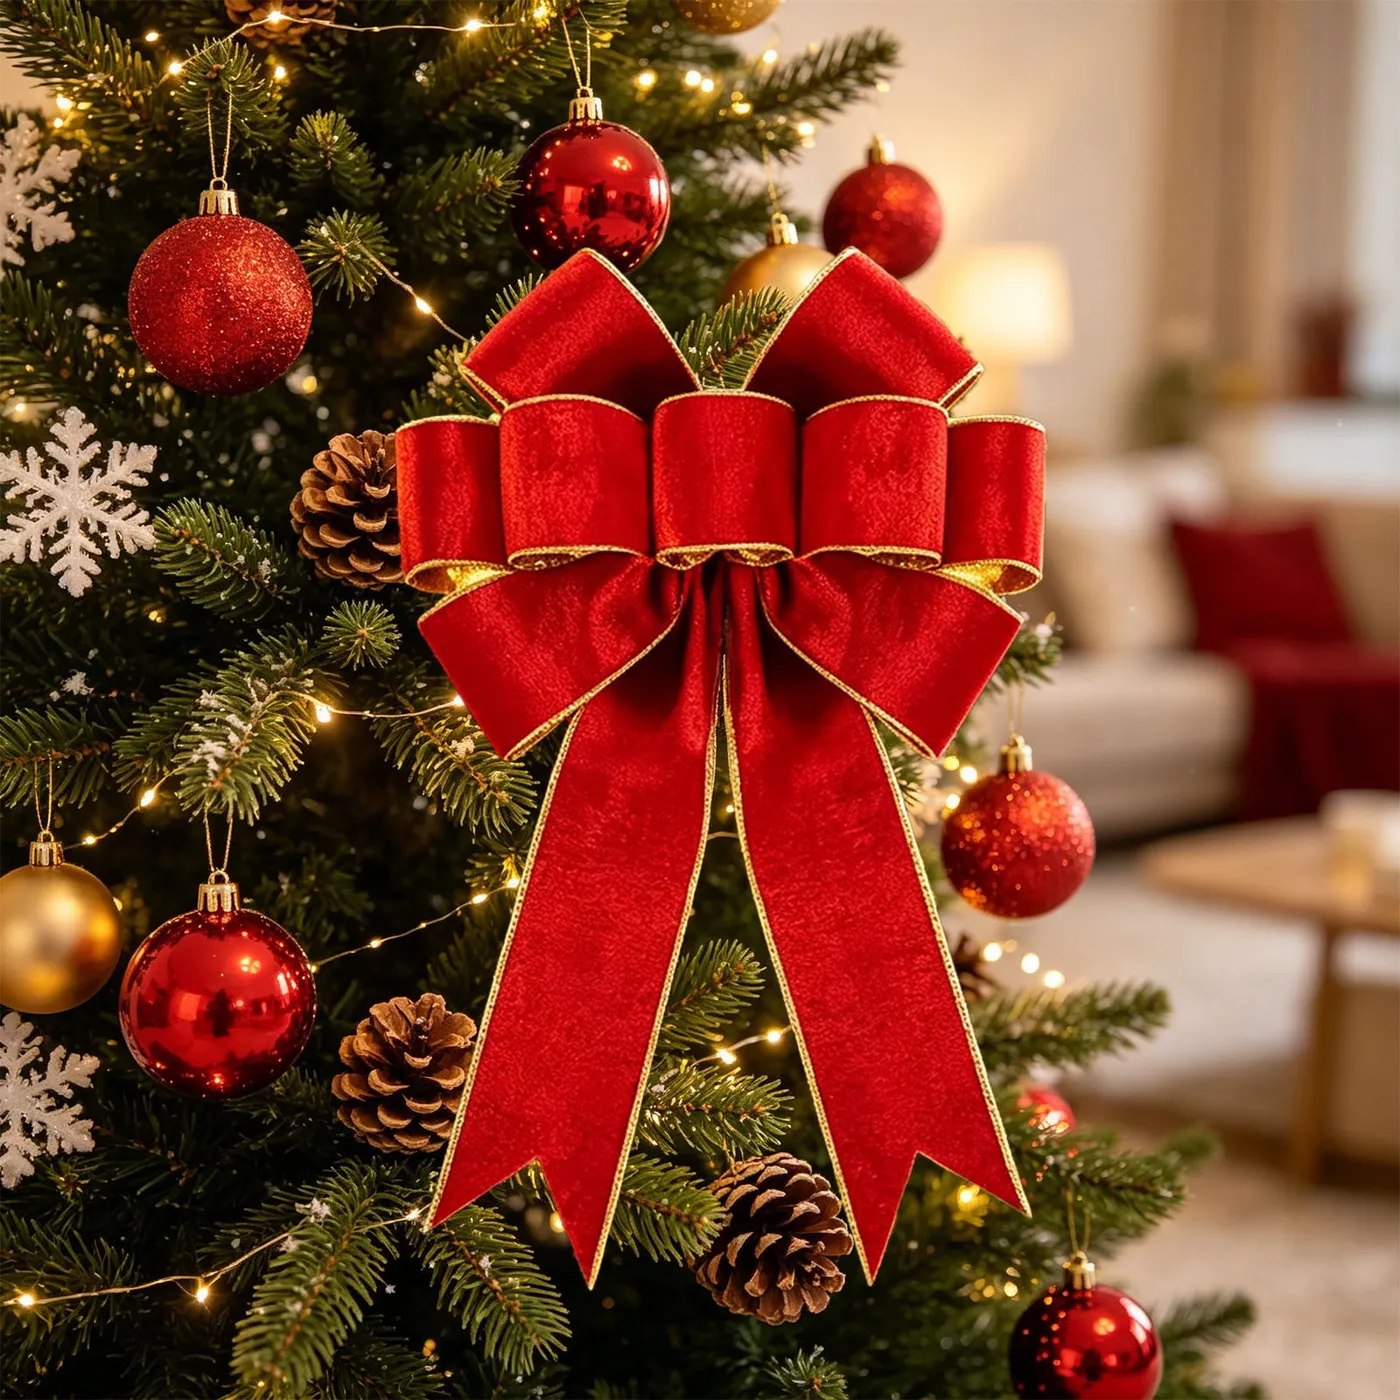
Roughly 20 minutes per bow and about $9 in materials.
The gold trim is the difference between a nice bow and a good one. Plain red velvet against green needles goes soft and vague from three feet away — a metallic edge catches the string lights and outlines the bow shape after dark. If you’re only making one upgrade this year, make it a narrow gold or brass ribbon wound through the center of every red bow.
Pinecones are lovely and also pointy, dusty, and prone to shedding on anything pale. Seal natural cones with a light coat of matte spray and let them dry outside. Keep them off the lower third of the tree if you have a dog who investigates with his mouth — a pinecone is a chew toy with a bad attitude.
5. Red Satin Bow and Gnome Ornaments on a Snowy Night Tree
Satin photographs beautifully and creases permanently. If the bow has to survive a bright window or a cold entry, choose a stiff satin-backed ribbon with a wired edge, and shape the loops with your fingers while the wire is still crisp. Ribbon with a matte back also grips the branch better, so the bow won’t slide down after the first gusty night.
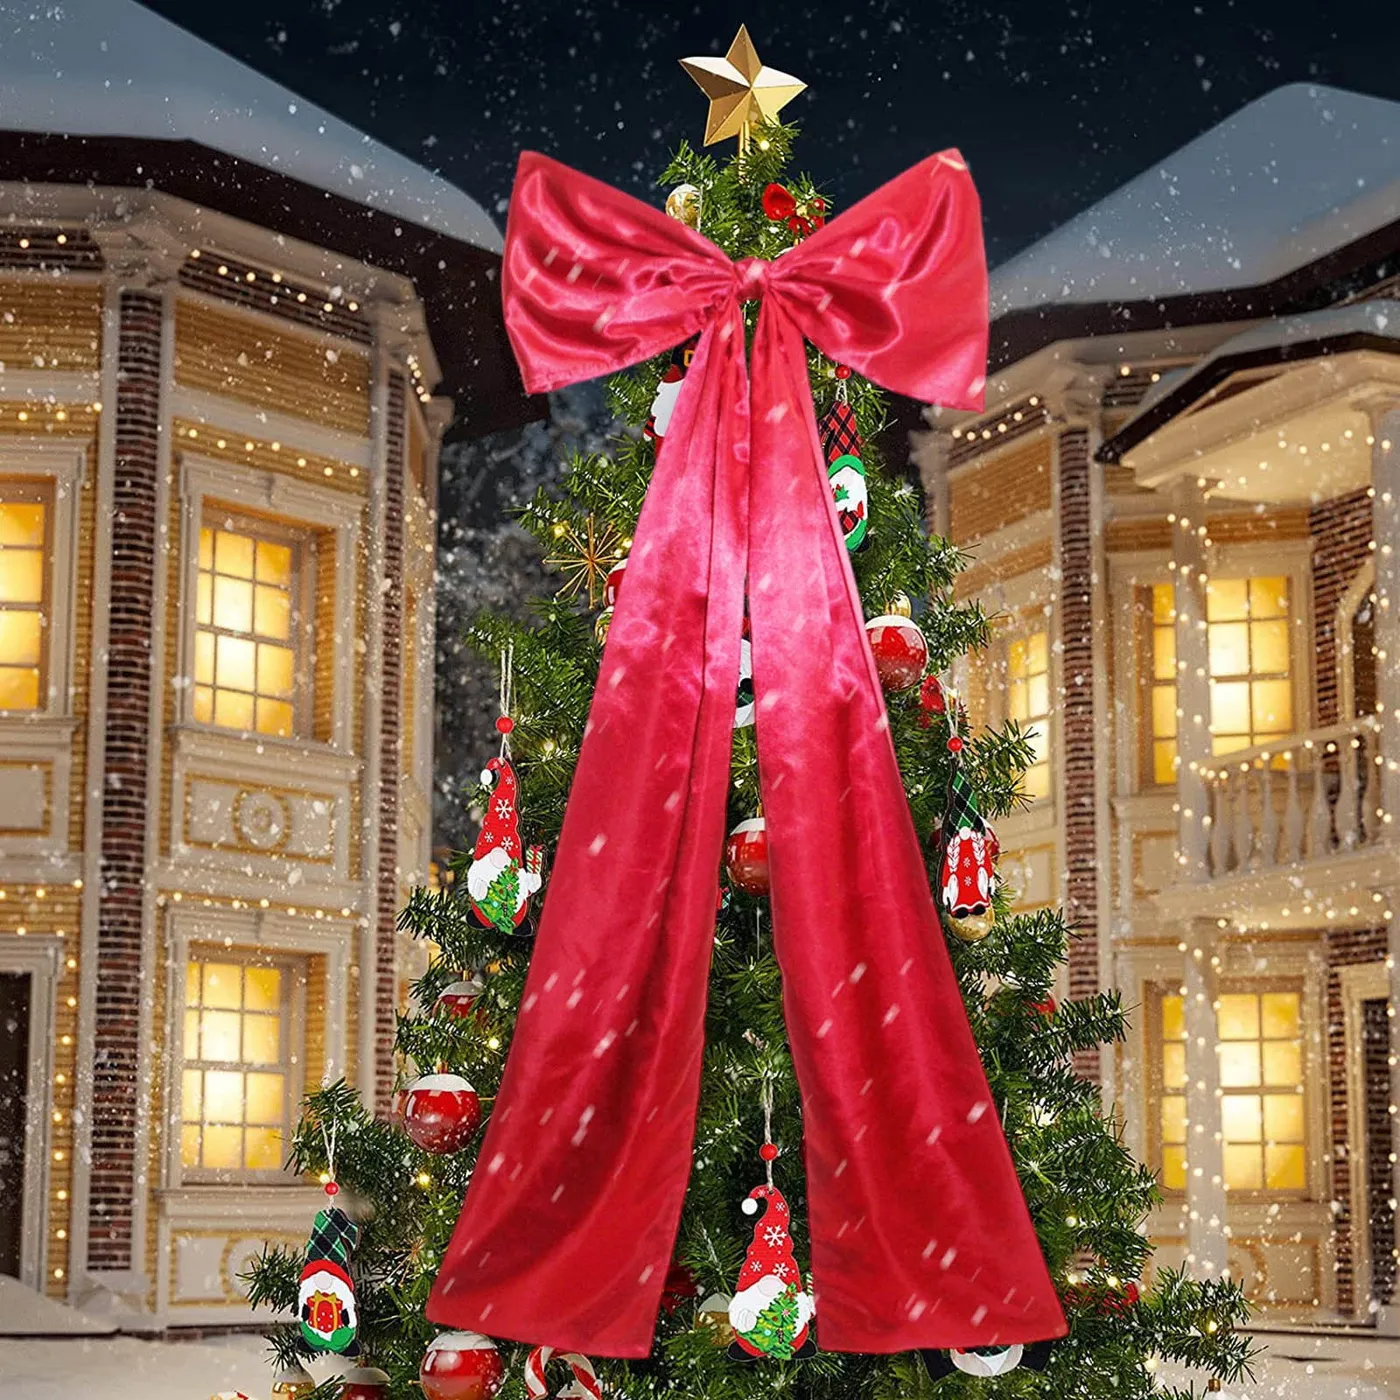
Gnome ornaments and gold star lights read a little folksy, and that’s the point — 2026 decorating has swung back toward handmade and storybook, away from the all-white minimalist tree. The oversized red satin bow is the bridge: traditional enough for grandparents, dramatic enough for a camera. Whimsy plus one restrained element almost always ages better than whimsy alone.
6. Dense Red and Gold Tree Woven with Satin Ribbon Bows
This level of density needs volume to breathe. A tree packed this tightly wants at least 7.5 feet of height and a room with 9-foot ceilings — wedge it into a low-ceilinged den and it reads as a wall of red. In a smaller apartment, keep the exact palette but halve the ornament count and go up one tree size rather than out.
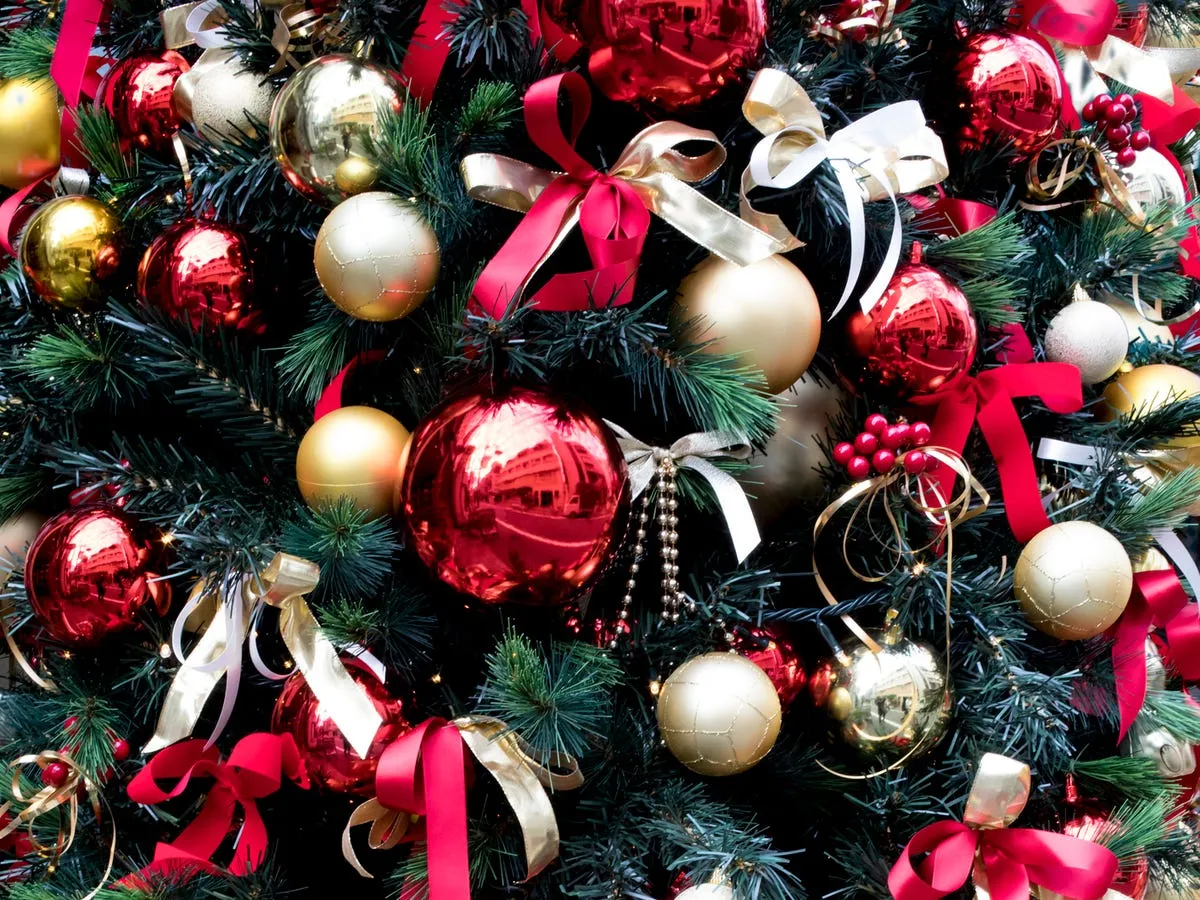
Notice what’s missing: no garland, no picks, no tinsel. The ribbons are the garland, woven horizontally through the branches in loose waves instead of spiraled tight like a barber pole. That horizontal movement is what makes a very full tree feel light — ribbon going around, ornaments hanging down, nothing fighting over the same direction.
7. Holding a Plush Velvet Bow Up to the Tree Lights
Scale is the entire story. The bow in this hand is nearly a foot across — big enough to read from across the room, small enough not to swallow the branch. Most people buy bows at ornament scale and then wonder why their tree looks underdressed. Velvet helps too: it absorbs light instead of bouncing it, so a big bow in a deep red doesn’t shout.
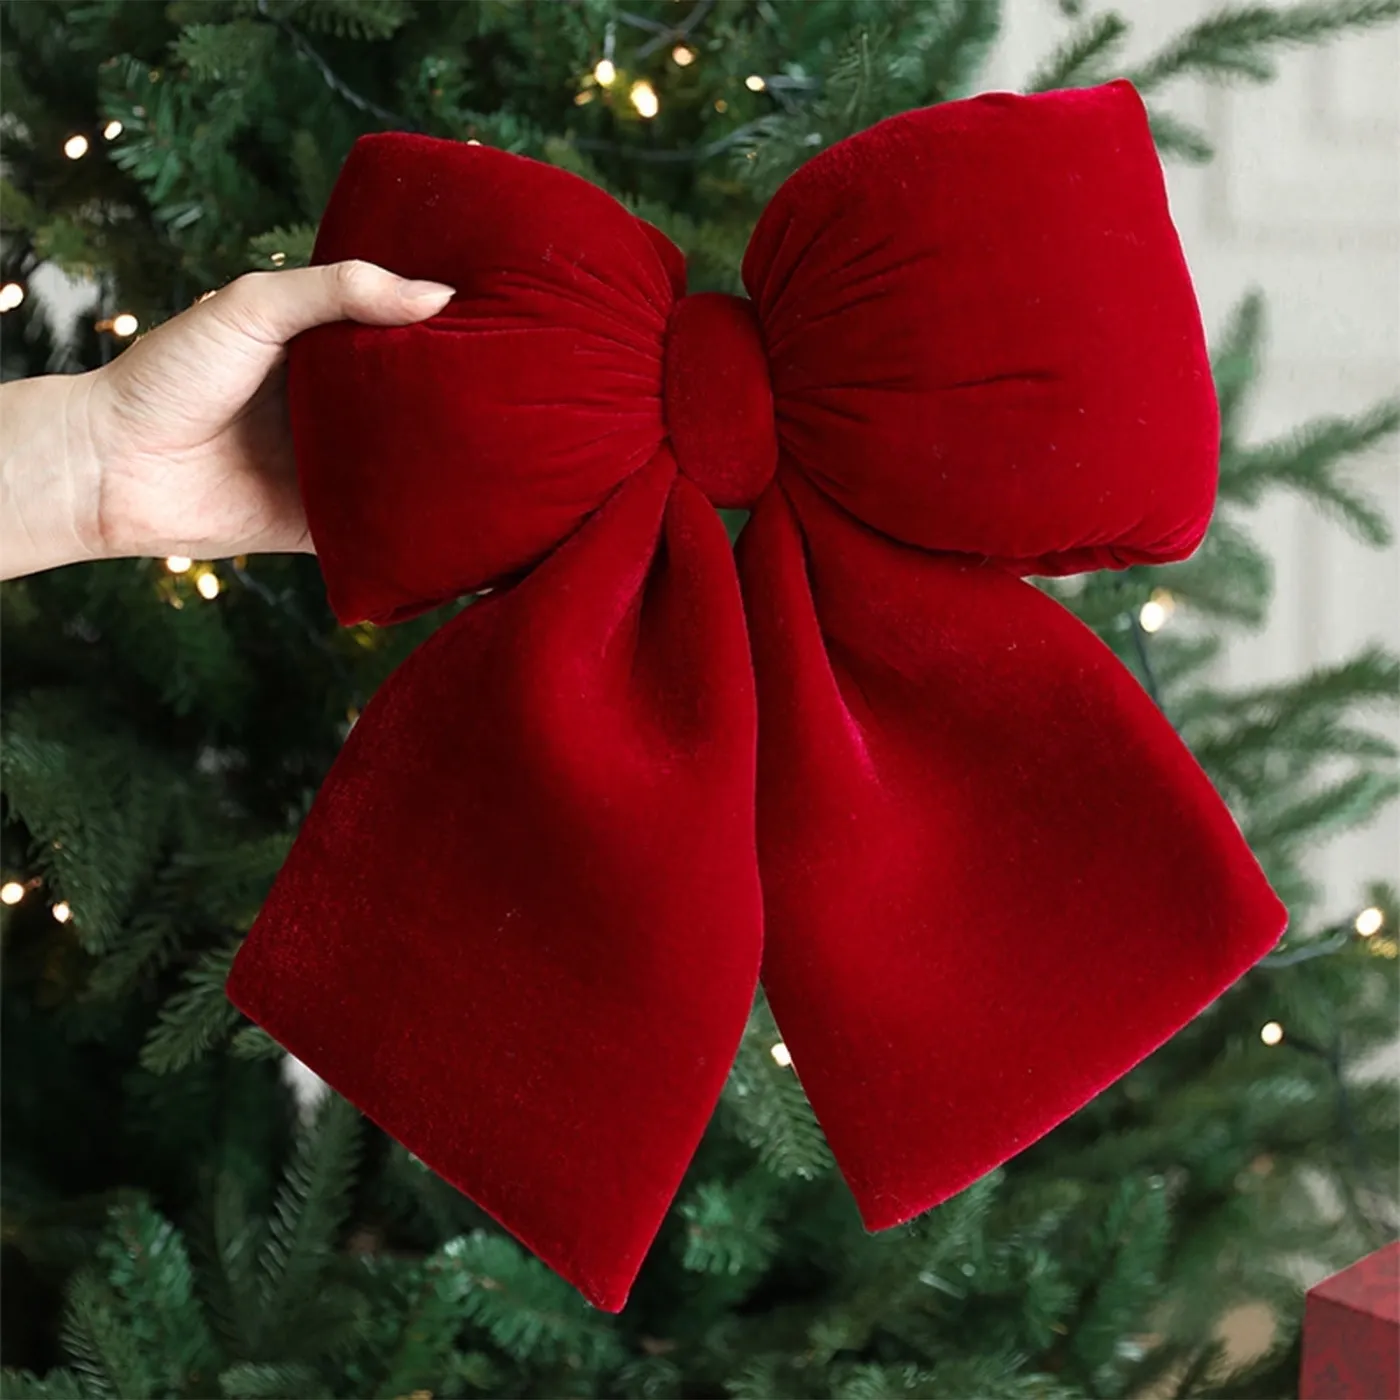
Test the placement before you commit. Hold the bow against the tree, step back six feet, and squint — if you can’t identify it as a bow from there, it’s too small or hung too low. The sweet spot is usually a third of the way down from the top, slightly off center, so the streamers follow a natural branch line instead of crossing one.
You can fake this for under $12. Buy a yard and a half of stretch velvet from a fabric store, cut two 8-inch-wide strips, and tie them in a soft knot rather than a formal bow — the drape does the rest. This is the budget version of Idea #1, and honestly, from six feet away nobody can tell.
8. Shiny Red, Glitter Gold, and Plaid Bow Tree
- Tree, 7.5 ft artificial: $90–$260
- Warm white LED lights, 600 count: $25–$60
- Ornaments, 60 mixed red and gold baubles: $60–$140
- Plaid ribbon, three spools: $15–$30
- Honeycomb paper ornaments: $10–$20
- Tree skirt or collar: $25–$55
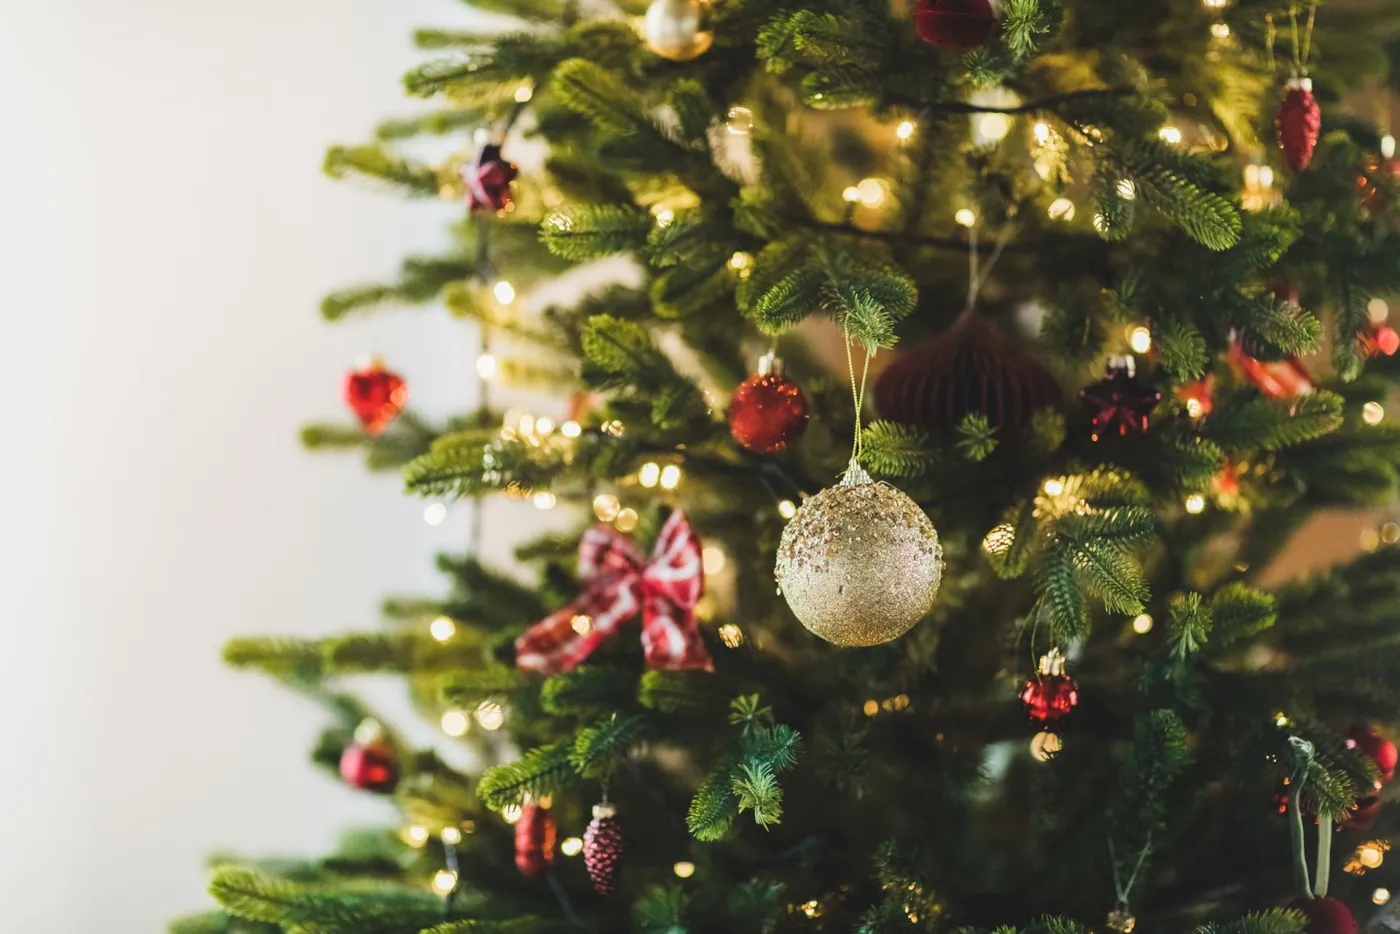
Total: $225–$565. Budget alternative: a hand-me-down tree, two thrifted ornament bags, and one splurge spool of plaid ribbon lands around $70.
Glitter is a commitment. It migrates — to the floor, the sofa, the inside of a sock. If the tree lives near a doorway or you have a crawling baby, choose matte and metallic finishes over loose glitter and use the sparkly pieces high up where hands don’t reach. Shiny red ornaments also show every fingerprint, so buy a pack of cheap microfiber cloths and make peace with it.
9. Deep Red Velvet Bows Among Flocked Branches
Flocked trees shed, full stop. Expect a fine white dusting for the first week and again every time you move it, so put a sheet down before assembly and vacuum with a brush attachment rather than a beater bar. Velvet bows hold dust like a lint roller — brush them with a soft clothes brush in January and store them flat in tissue, never crushed into a bin.
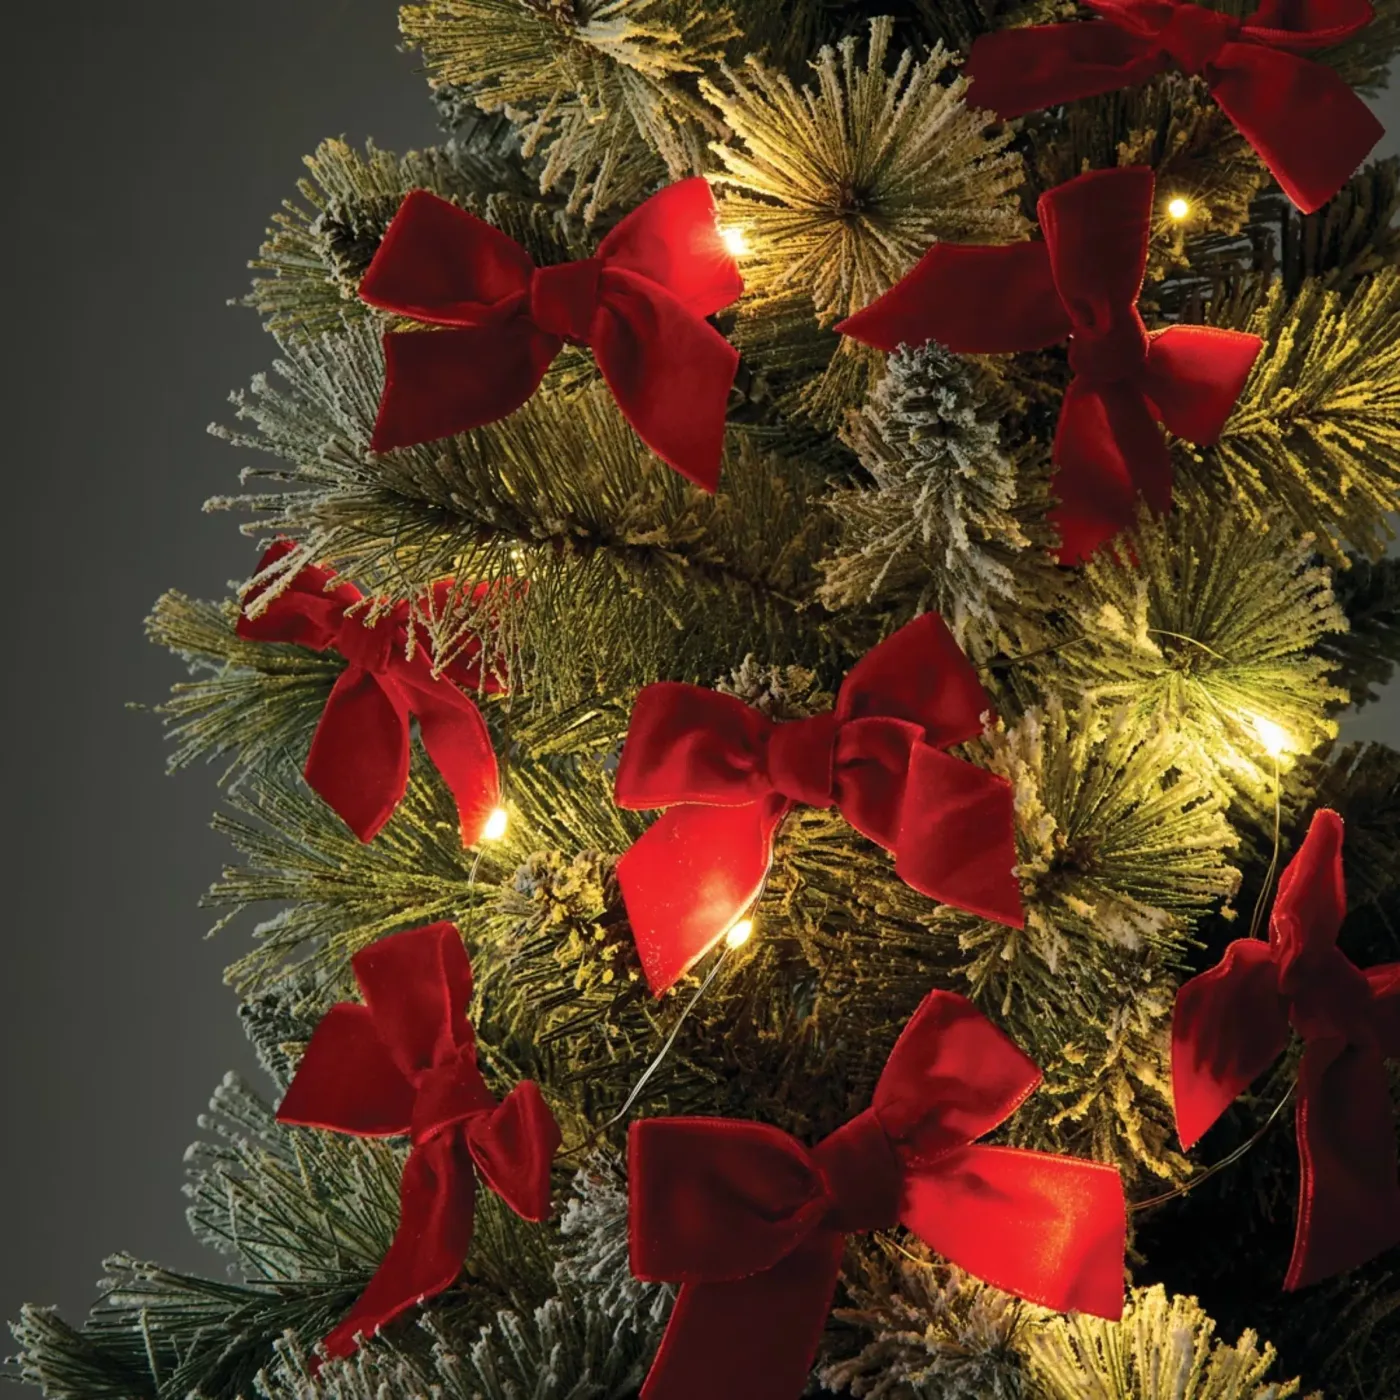
The ratio here is roughly 70 percent frosted green, 25 percent deep red, 5 percent pinecone brown. The near-miss color is what makes it work: this isn’t cherry red, it’s an oxblood velvet that sits close to the green in value. Go true crimson and the tree gets loud instantly; go burgundy and the whole thing turns almost Victorian.
10. Three Tabletop Evergreens in Embossed White Pots
- Start with three mini trees in different heights — 18, 14, and 10 inches reads best.
- Set them in matching pots but stagger the heights using a book or block under one.
- Wire a small red velvet bow to each top, tails pointing down.
- Tuck in berry sprigs and two pinecones per tree.
- Cluster them tight — within 10 inches of each other.
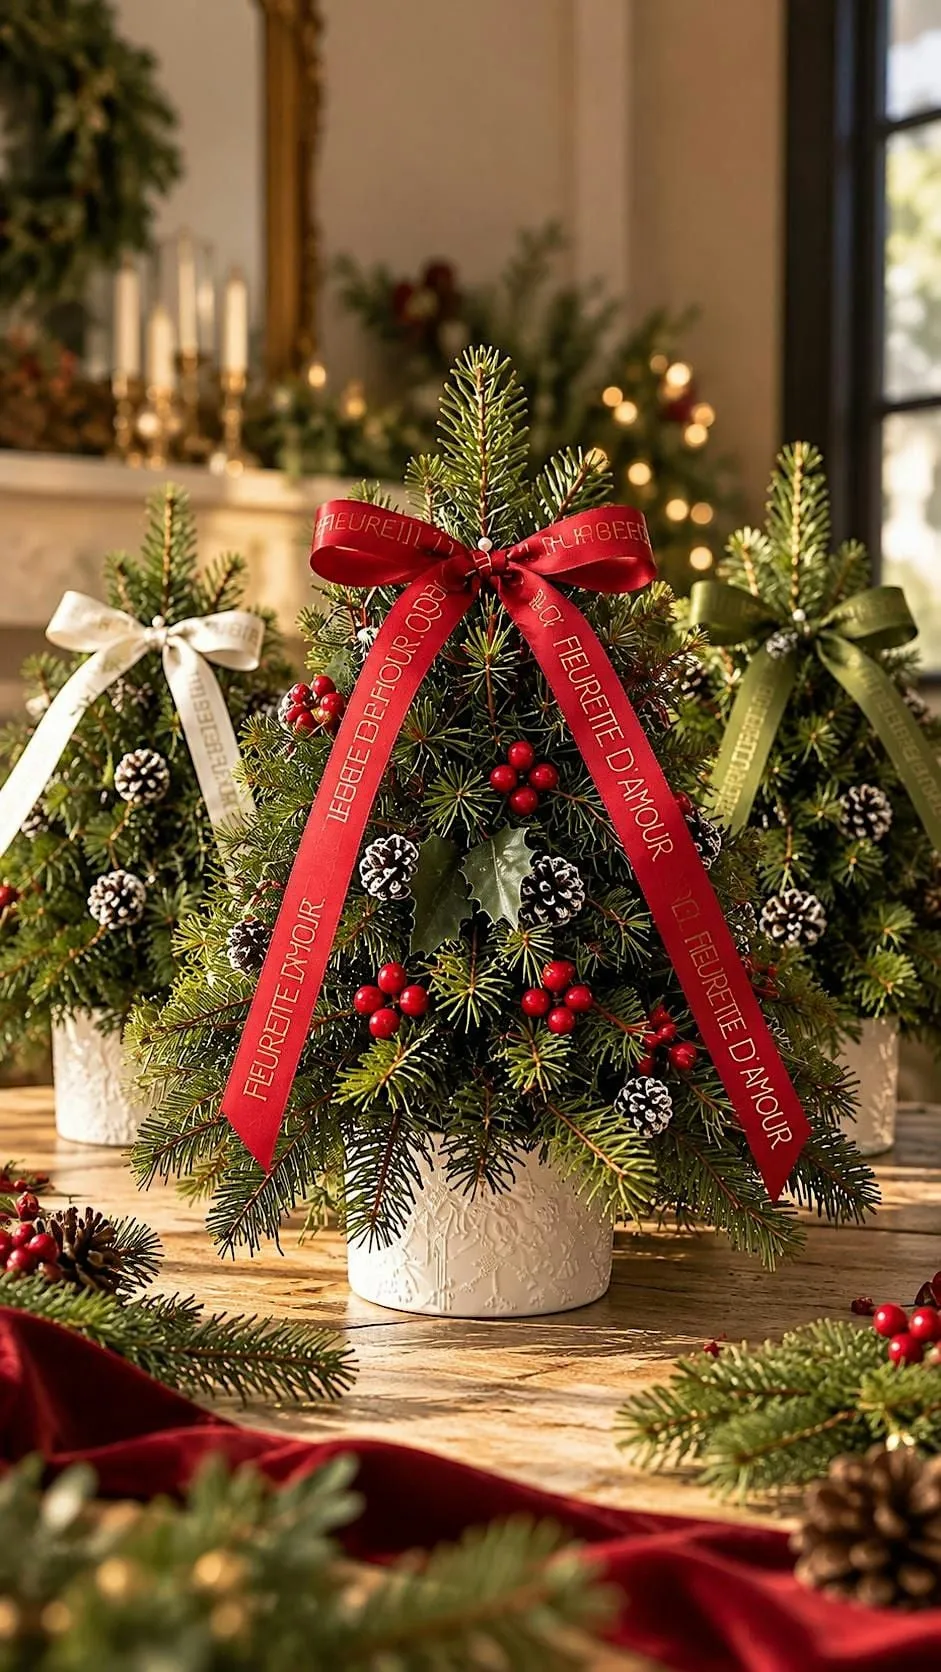
About 30 minutes of work and roughly $40 total.
The pots are where the money goes, and they don’t need to be expensive. Plain white ceramic pots from a garden center run $4–$8 each; the embossed ones are lovely, but a stencil and matte craft paint get you 80 percent of the way. Small faux trees are $12–$25 at big-box stores, and one spool of ribbon covers all three.
11. One Red Satin Bow on a Bare Evergreen Branch
Restraint has a number: one bow per two square feet of visible tree face. That sounds stingy until you see it — a single well-placed satin bow on a bare branch reads as instant, deliberate elegance, while eight of them start looking like a craft fair booth. If your tree is small or your room is quiet, this is the whole design.
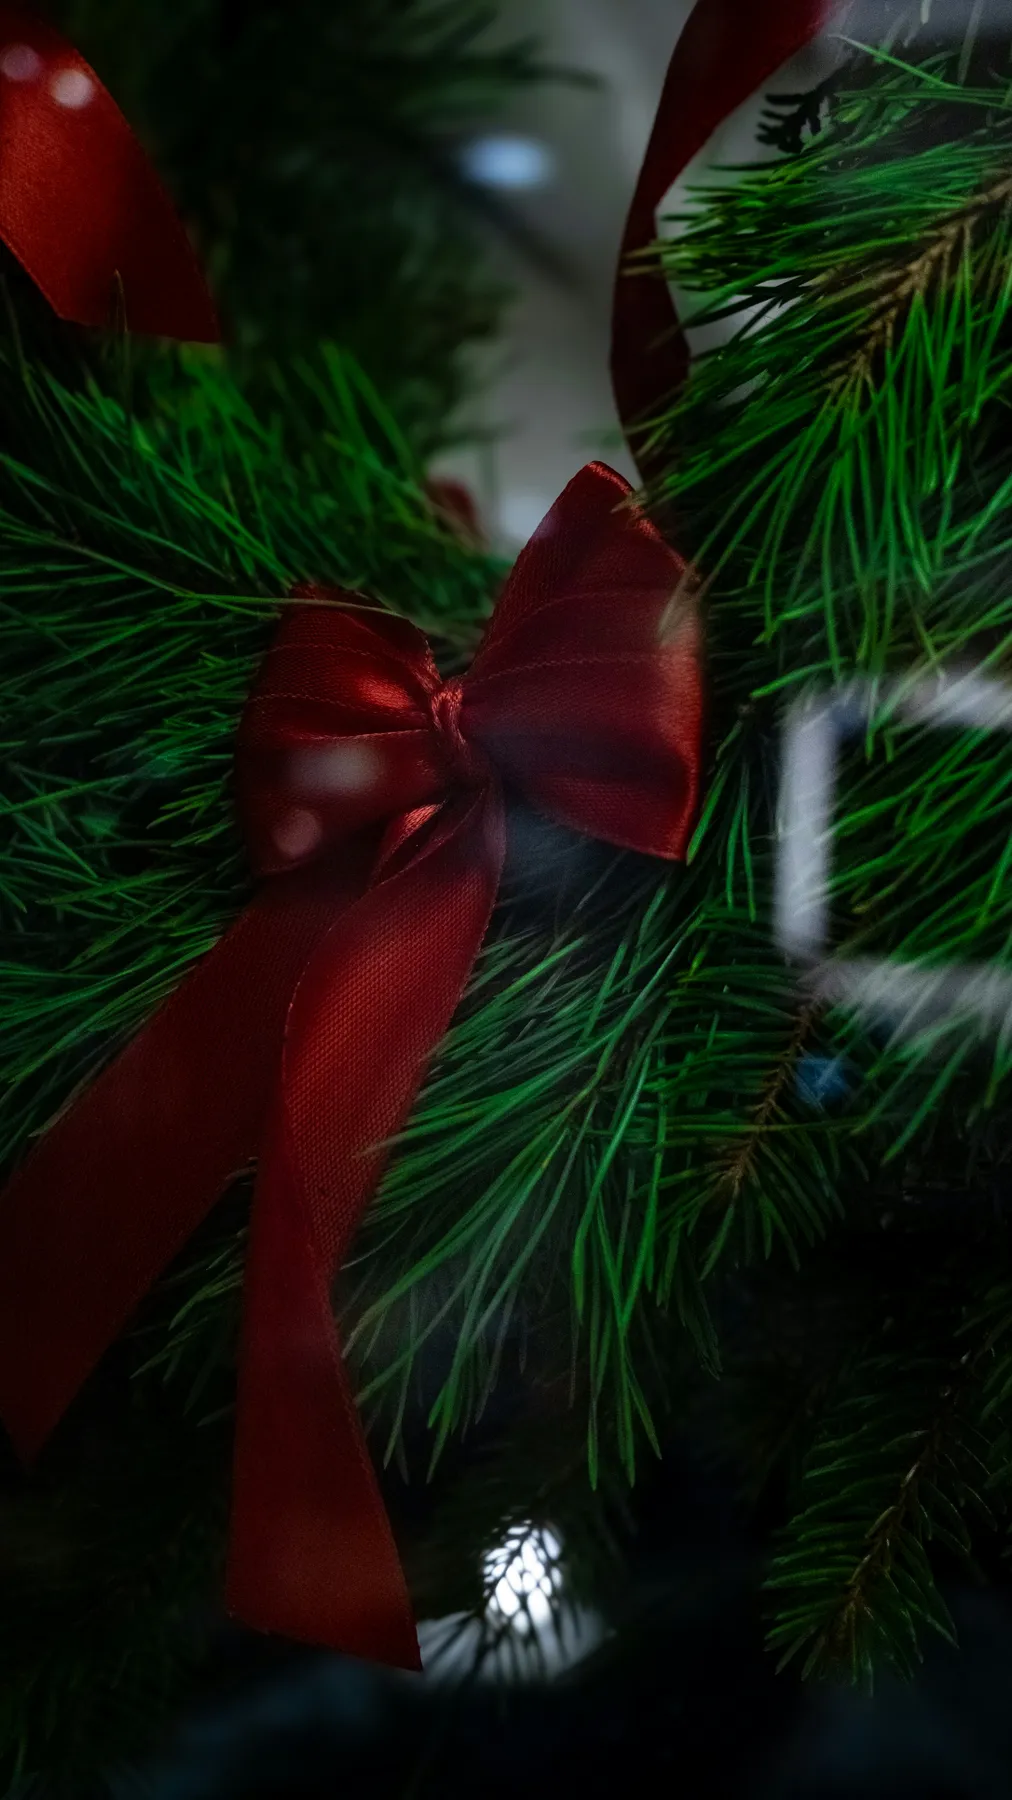
Close-up drama like this suits small trees and narrow spaces. A 6- to 7-foot tree in a corner, on a landing, or beside a fireplace in a room under 150 square feet is exactly the answer when a full-size tree won’t fit. For bigger rooms with high ceilings, Idea #1 takes the same bow and scales it up to architecture.
12. Red Snowflake Bow with Gold Glitter Stars
The patterned ribbon is the only thing on this stretch of tree that carries a print, and that’s precisely why your eye lands there. A solid red bow at this size would be a red blob; gold snowflakes give you something to read up close. Patterned ribbon earns its keep in close-up photos, which is where most trees actually live now.

Printed ribbon has a shelf life. The gold stamping on cheaper spools flakes after two or three seasons, especially if you store bows squashed in a box. Keep printed ribbons rolled, not folded, and photograph the spool label so you can match it later. Near a radiator or a sunny window, expect fading by February.
Eighty percent green needles and lights, 15 percent red, 5 percent gold — the gold only appears in the snowflake print and one glitter star. That tiny metallic percentage is what keeps a two-color tree from going flat. Add gold last and stop the moment it feels like a second color instead of a highlight.
13. Merry Christmas Charm Bow on a Frosted Branch
- Choose a matte red ribbon so the silver charm reads against it.
- Sew or hot-glue a small jump ring to the back of the charm.
- Tie the bow first, then safety-pin the ring to the knot’s underside.
- Scatter three to five snowflake sequins across the loops and tack with fabric glue.
- Let everything cure overnight before hanging.
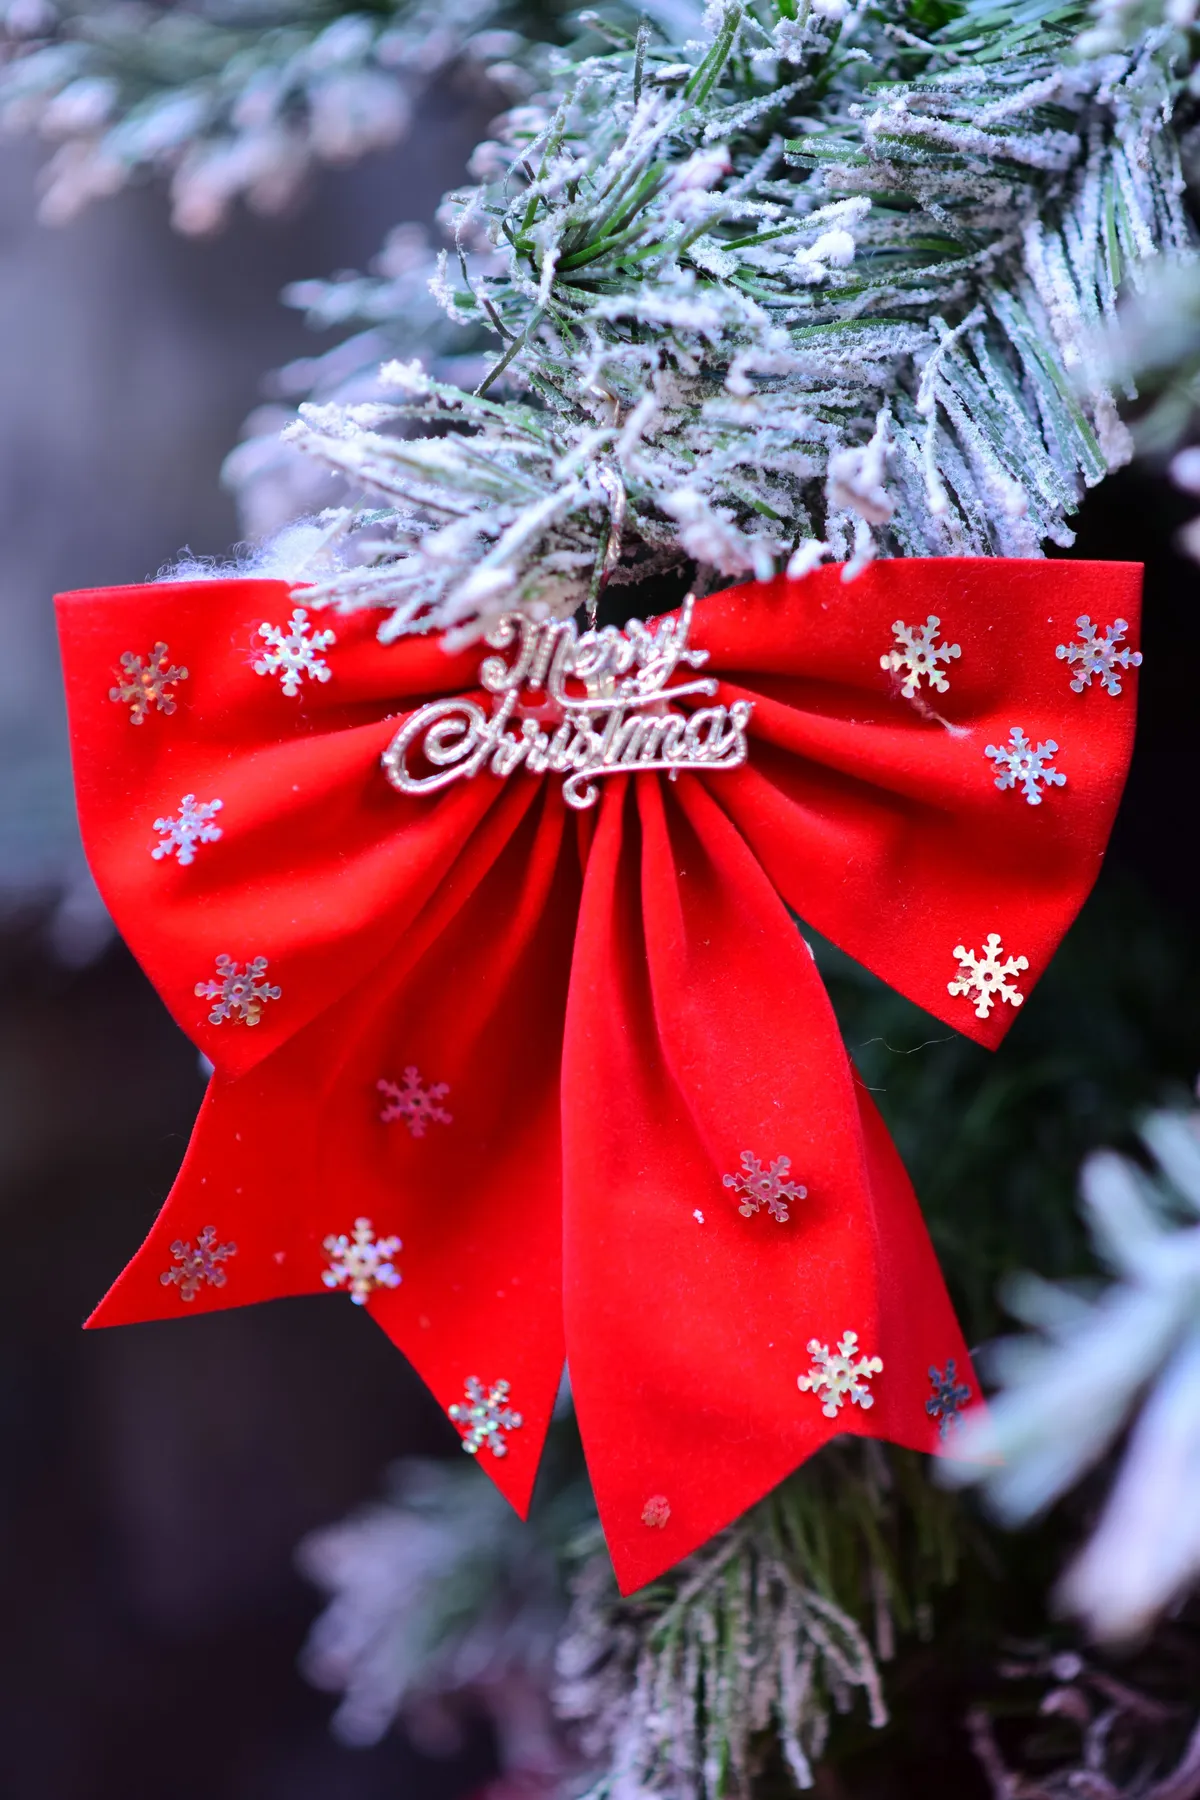
Fifteen minutes and under $10 in supplies.
Faux snow and sequins are the two most fragile things you can put on a tree. Flocking flakes the moment it’s handled, and sequins snag knit sleeves on the way past. Keep this style of bow above waist height and carry it by the tails, never the loops. If small kids are in the house, swap the sequins for flat felt snowflakes stitched on — same read, zero shedding.
14. Chunky Crochet Bow on a Faux Pine Tree
Crochet bows are the thrift-store jackpot of Christmas decor. Handmade versions surface at Goodwill and estate sales for $2–$4, and they look expensive because somebody actually spent hours on them. If you’d rather make your own, a chunky cotton yarn and a 9mm hook get you a bow in about 90 minutes; a full skein runs $6.
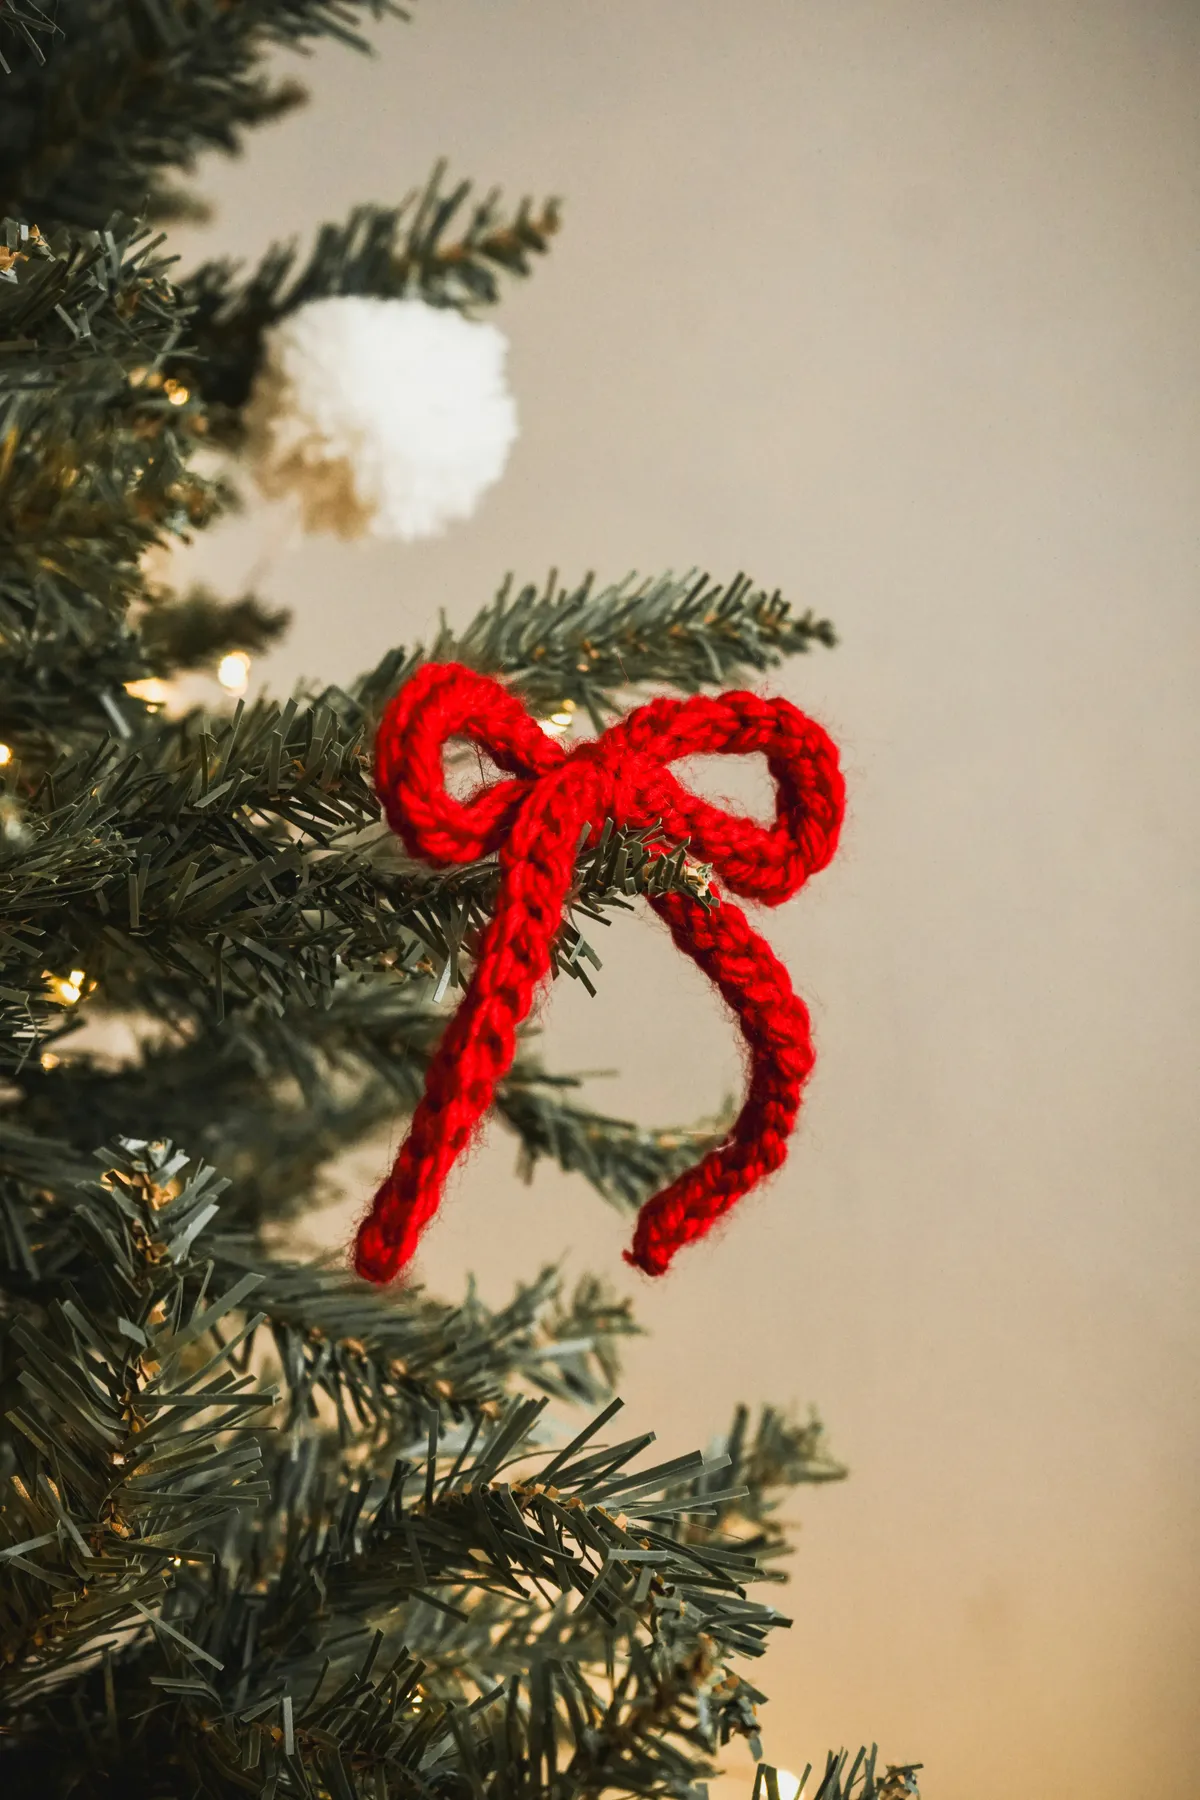
Texture mixing is the reason this works — soft matte handmade cotton against plastic pine needles and hot string lights. The mistake is pairing it with shiny ornaments, which fights it. Keep everything around a crochet bow matte: felt, wool, wood, cotton. One glossy bauble in the frame and the handmade quality collapses into clutter.
15. Red Teardrop Ornament and Glitter-Striped Ribbon
Dark green needles, one bright red focal ornament, and a stripe of gold — that’s the whole formula, and it works because the red is isolated. Give that teardrop a twin in the same red and the effect dies on the spot. Think of it as 90 percent dark green, 7 percent red, 3 percent gold or silver, and let the sheer ribbon carry all the metallic.
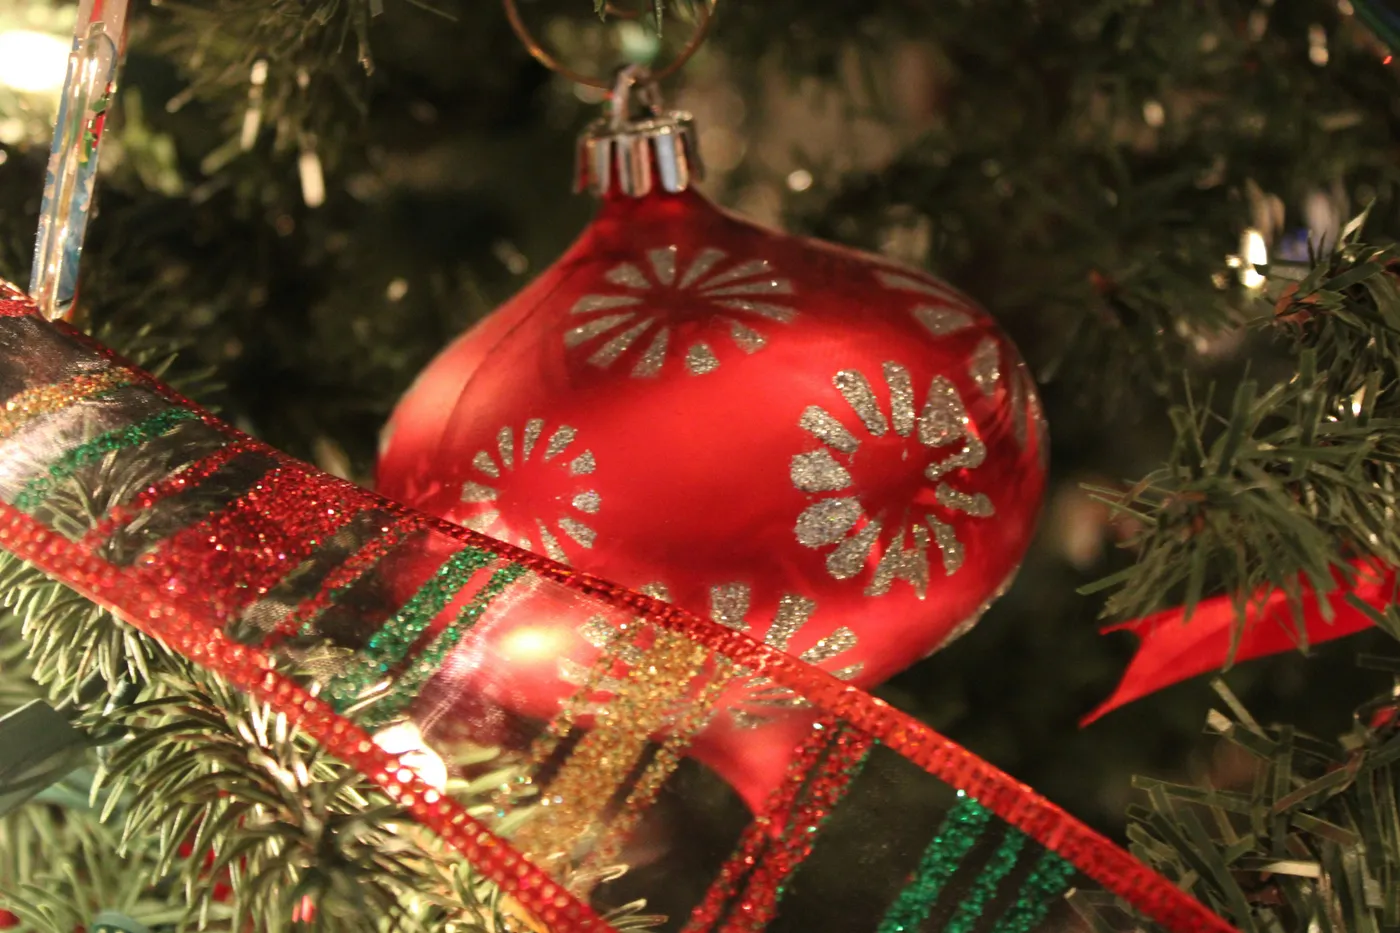
Contrast, scale, and reflection are doing the work. The glossy ornament against matte needles gives you a hard-versus-soft edge; its teardrop shape breaks up the roundness of every other bauble; and the silver starburst catches light from the bokeh string lights behind it. The striped ribbon adds a horizontal stroke where everything else runs vertical.
16. Hands Tying a Velvet Bow in a Cable-Knit Sweater
What makes this feel warm isn’t the bow — it’s the cream cable knit sleeve in the frame. In real life it’s the same story: the colors surrounding the tree change how the red reads. Deep red velvet next to cream wool and pinecones looks collected and calm; the same bow against white walls and chrome looks like a store display. Drape a knit throw nearby and the tree settles into the room.
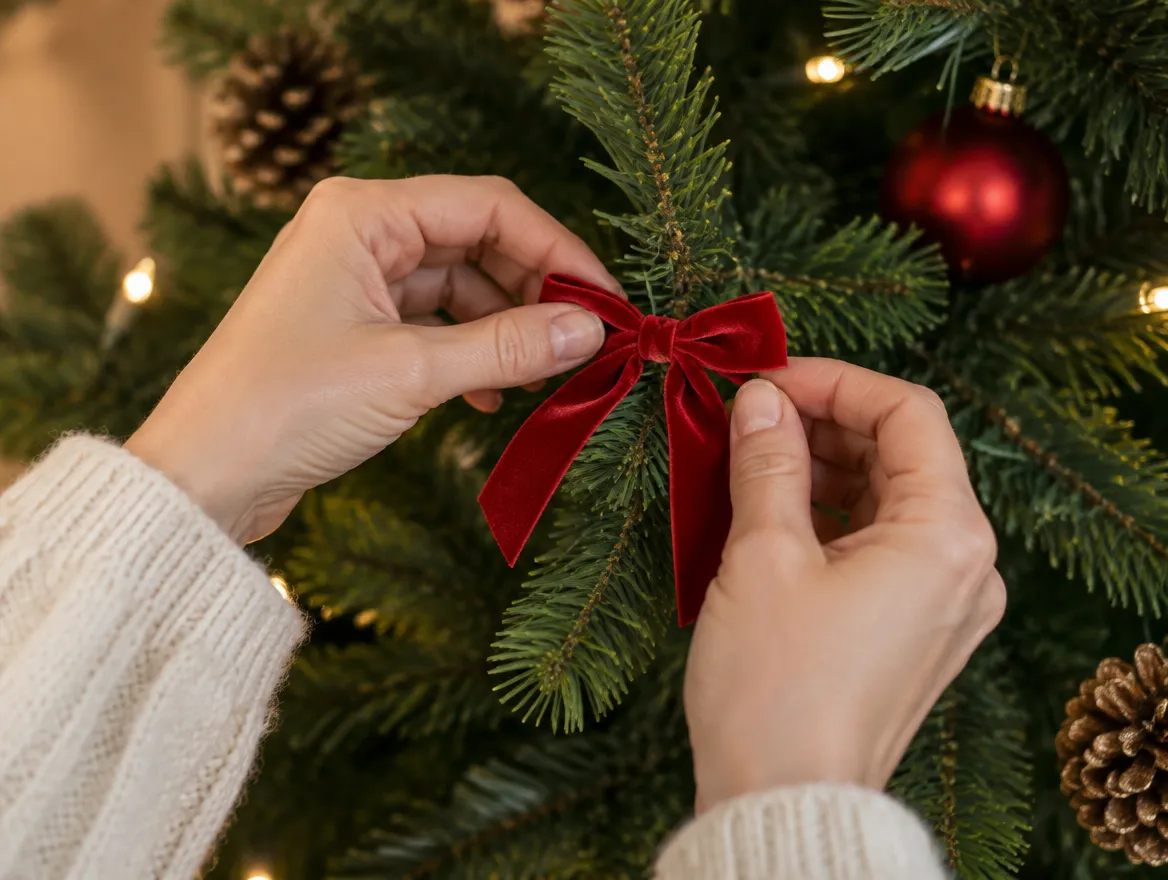
Tie from the front of the tree, not the side. Stand where you’ll actually look at it and work top to bottom, so each bow’s tails fall over the branch below. Keep every tail the same length — nine to twelve inches is the sweet spot — and cut on a diagonal so the velvet doesn’t fray. Two seconds with a lighter along the raw edge seals it for good.
17. Gold Wrapped Gift with a Red Satin Bow Nestled in the Branches
Presents inside the tree are gorgeous and structurally risky. A 6-inch box tucked into branches needs support underneath or it drops the first time somebody bumps the tree — and it takes three ornaments with it on the way down. Use a lightweight empty box, wire it to a sturdy branch through the lid, and skip the whole idea if you have a cat.

A shiny gift box is a five-dollar project. Buy a plain kraft box, wrap it in gold tissue or metallic paper, and tie the ribbon yourself with a double-loop bow using the same technique as Idea #4. Discount stores sell gold paper for under $3 a roll and red satin ribbon for $2. Fabric-wrapped boxes cost nothing after year one and never show a crease.
18. Red Velvet Bow and Beaded Garland Draped Through Branches
Two different reds in the same velvet family — one deep and matte, one brighter with a sheen — is tonal layering, and it’s why this tree looks collected rather than color-coordinated. The garland drapes in swags instead of spiraling, which carves soft negative space between the branches so the tree doesn’t read as one solid mass.
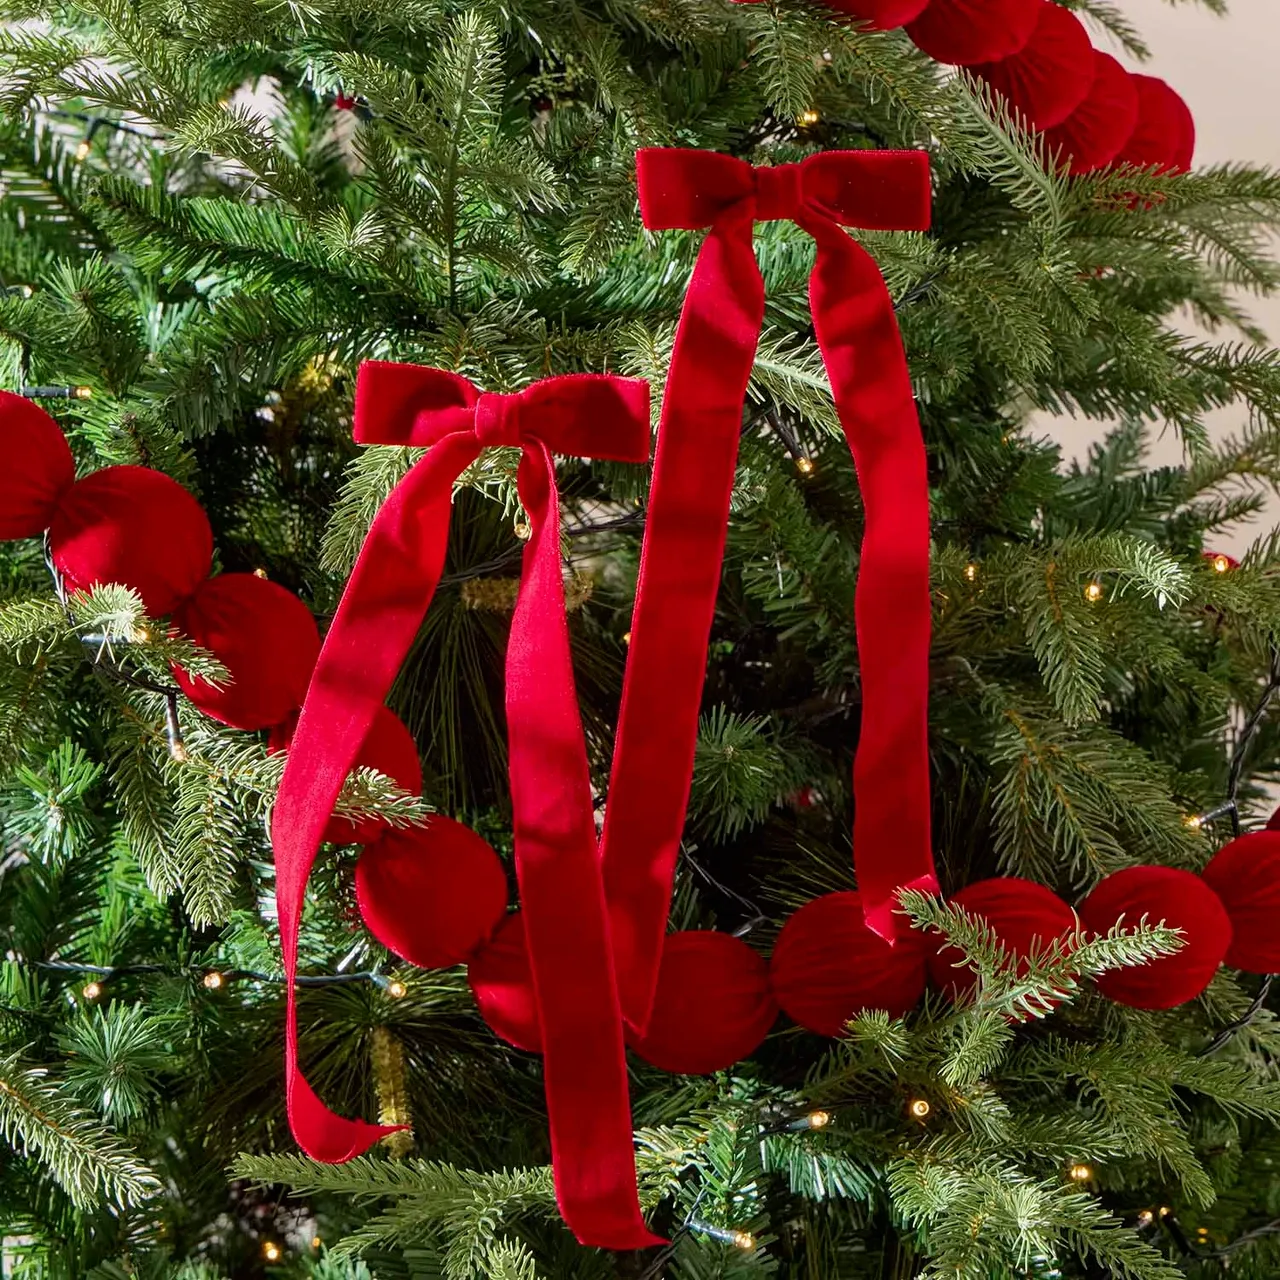
Swagged garland eats vertical space fast — figure one swag per 18 inches, so a 7.5-foot tree takes five. That works under any standard 8-foot ceiling, but a 9-foot tree in a two-story foyer needs double the swag count or it reads sparse from below. Small rooms: one swag, placed high.
- Cut velvet ribbon into 14-inch strips.
- Fold each into a bow and wire the center.
- Attach with a floral pick angled toward the trunk, not the branch tip.
- Alternate bows with 12-inch garland swags.
- Point every tail slightly downward.
Forty minutes for a full tree, about $18 in ribbon and garland.
19. Oversized Velvet Bow on a Flocked Tree by a Blue-Sky Window
Pay attention to what’s behind the tree. A white flocked tree in front of a bright window goes almost translucent in daylight, which flatters a deep red bow and destroys anything pale. If your tree sits against glass, put the heaviest color at the top and leave pastels off the list entirely — they’ll vanish by 10 a.m. and you’ll spend December wondering where your money went.
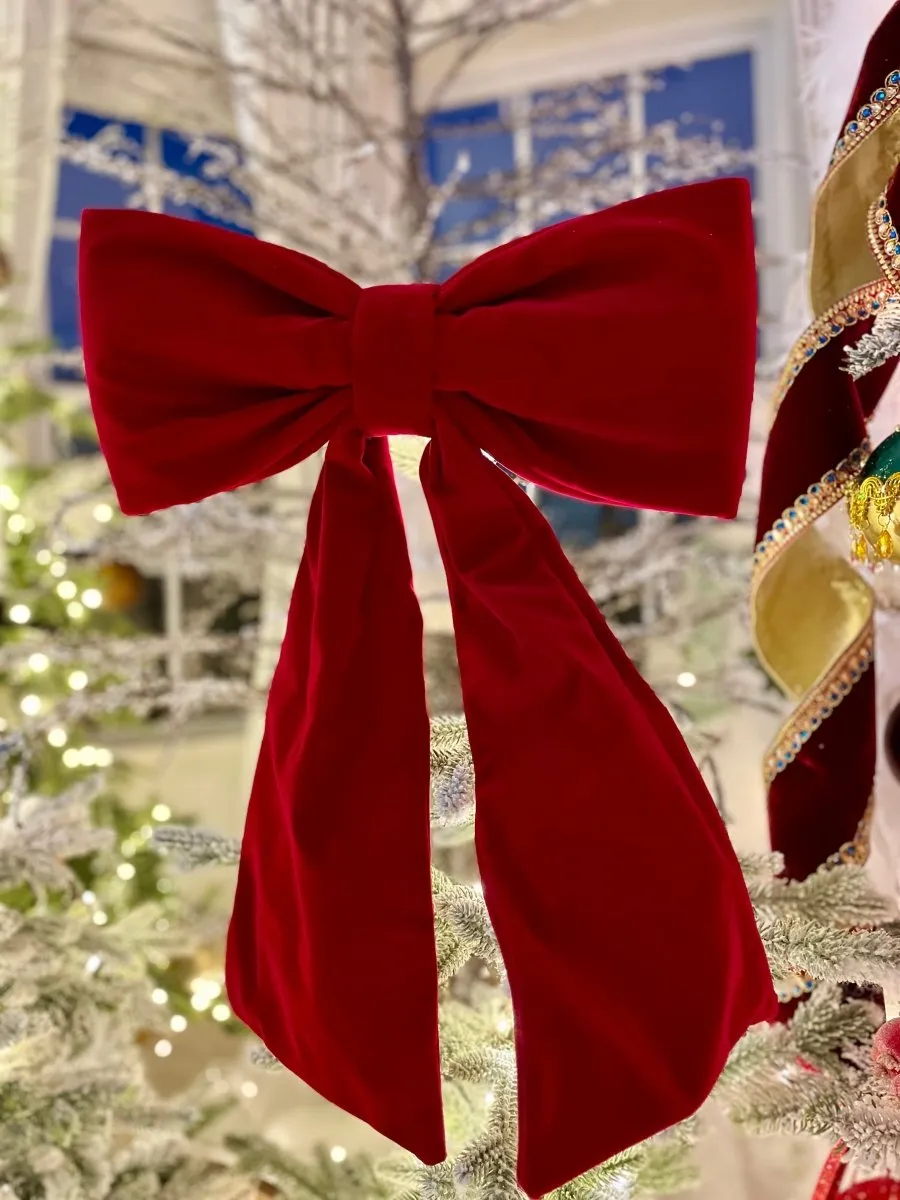
White trees are unforgiving. Every bit of dust, every toddler fingerprint, every slightly yellowed bow shows up in the daylight. They also photograph cooler than they look in person, so that warm cream garland you bought may come out grey. Want the snowy look without the upkeep? A lightly flocked green tree with one big red bow gets you most of the way there.
20. Red Glitter Bow with a Pink Handbag Bauble and Teal Bottle Brush
Maximalist, slightly chaotic trees are having a real moment — the Pinterest phrase is “collected clutter,” and it’s a direct reaction to a decade of perfectly matched ornament sets. What makes it work in 2026 rather than 1985 is editing the palette: one saturated red anchor, then two or three unexpected colors kept to a tight range. The bow stays traditional so everything else can misbehave.
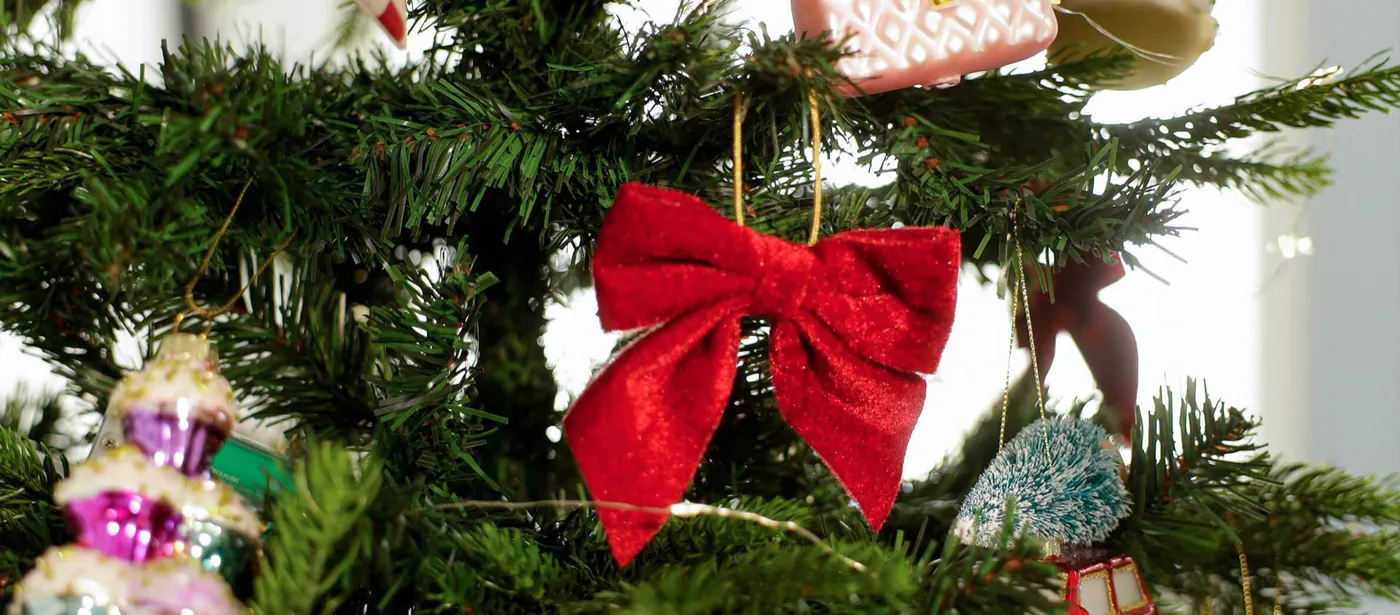
Glitter bows are high-impact and high-maintenance. Loose sparkle sheds every time the tree gets brushed and will find its way into the carpet, so vacuum with a hose attachment rather than a beater bar. Bottle brush trees and small novelty ornaments also trap dust in their bristles — a quick pass with a hairdryer on cool, held at arm’s length, fixes that.
21. Packed Red and Plaid Tree with Flocked Berries
A tree this dense needs height and breathing room. Plan on at least 7.5 feet, a 9-foot ceiling, and roughly three feet of clear floor around it — a pack this tight looks oppressive wedged into a corner. If you’re working with a smaller footprint, Idea #11 proves the same red does more with far less volume.
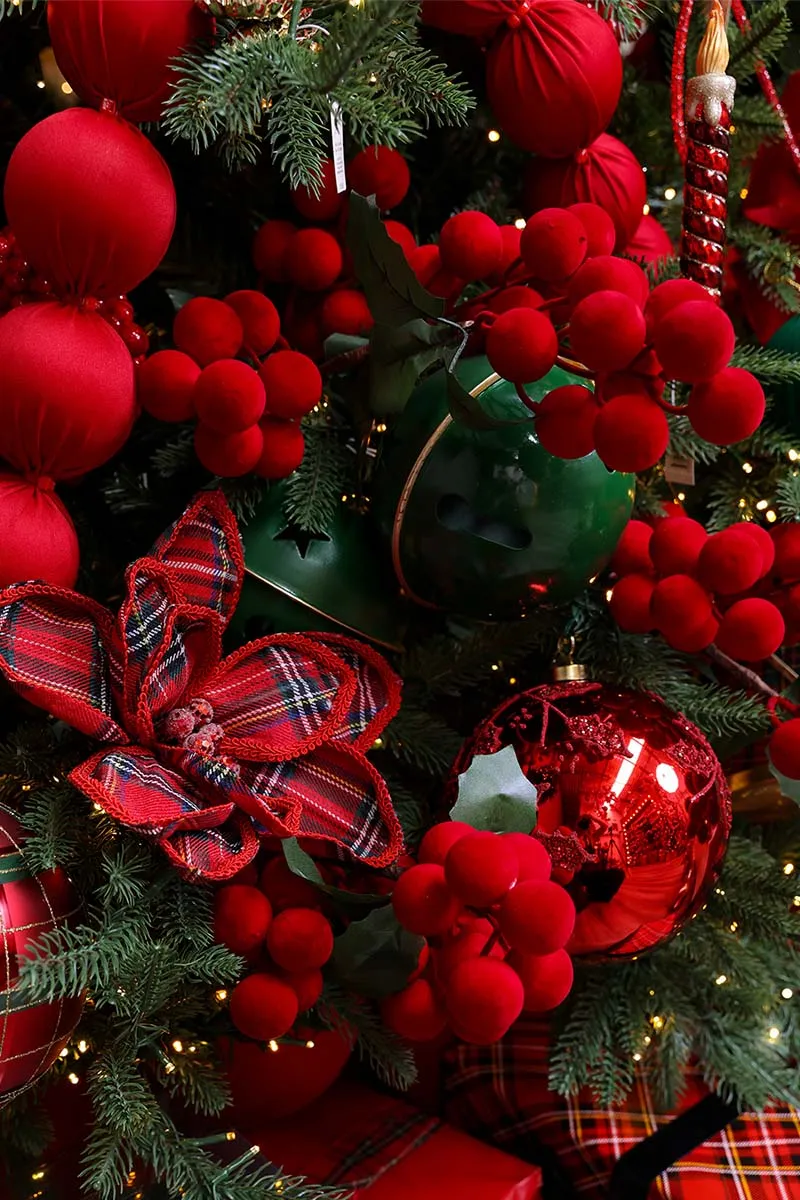
Over-decoration works when the shapes repeat and the colors don’t multiply. Here you have three textures — velvet balls, shiny baubles, flocked berries — all in the same red, plus exactly one plaid fabric flower that breaks the pattern on purpose. That single plaid accent is the only thing introducing a second color story, which is why the whole thing stays legible.
22. Red Velvet Sphere with a Gingham Bow Among Cream Baubles
- Count your ornament hooks — one per ornament, plus ten spares.
- Check branch strength where the heaviest baubles will hang.
- Lay cream, red, and gold out together in daylight before hanging anything.
- Confirm ribbon width: 1.5 inches for ornament bows, 4 inches for tree bows.
- Pick the topper first — it changes how everything below it reads.
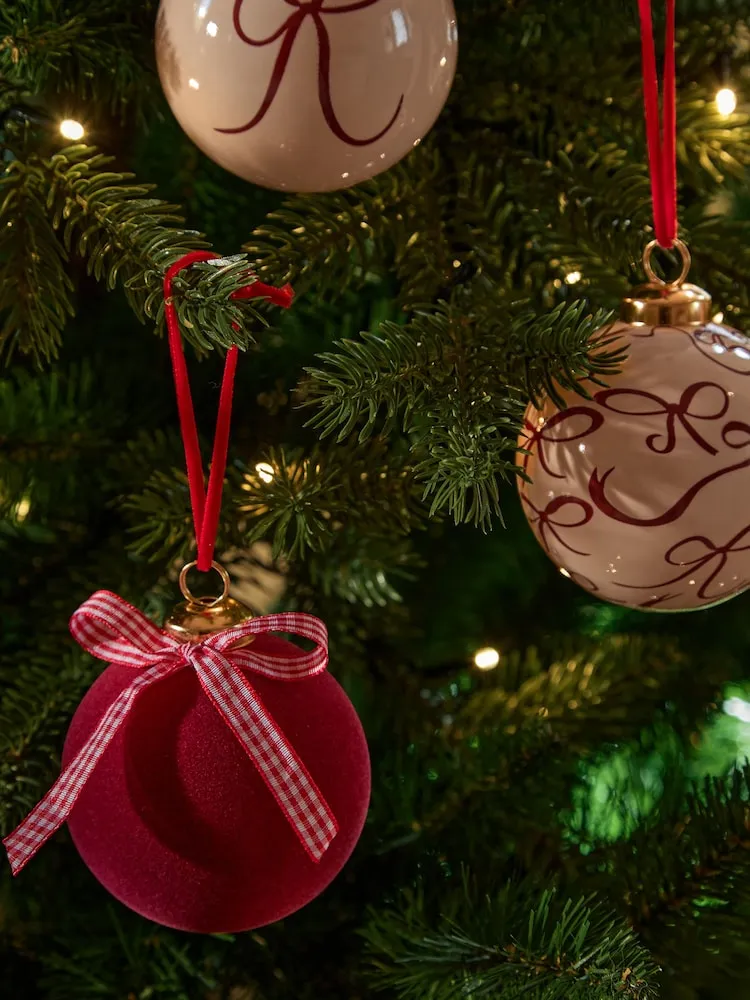
Cream is doing more work than red on this tree, which surprises people. Roughly 55 percent cream, 35 percent red, 10 percent gold — the cream baubles give the eye somewhere to rest between saturated ornaments. Swap cream for bright white and the tree sharpens up; swap it for ivory and everything softens into vintage.
23. Layered Plaid and Velvet Bow on a Feathery Green Wreath
- Cut velvet ribbon to 20 inches and plaid to 24 inches.
- Stack the plaid under the velvet, offset by an inch.
- Pinch both together and bind with florist wire.
- Fluff the loops outward, keeping the plaid visible at the edges.
- Wire the bow to the wreath frame — not the greenery — at the four o’clock position.
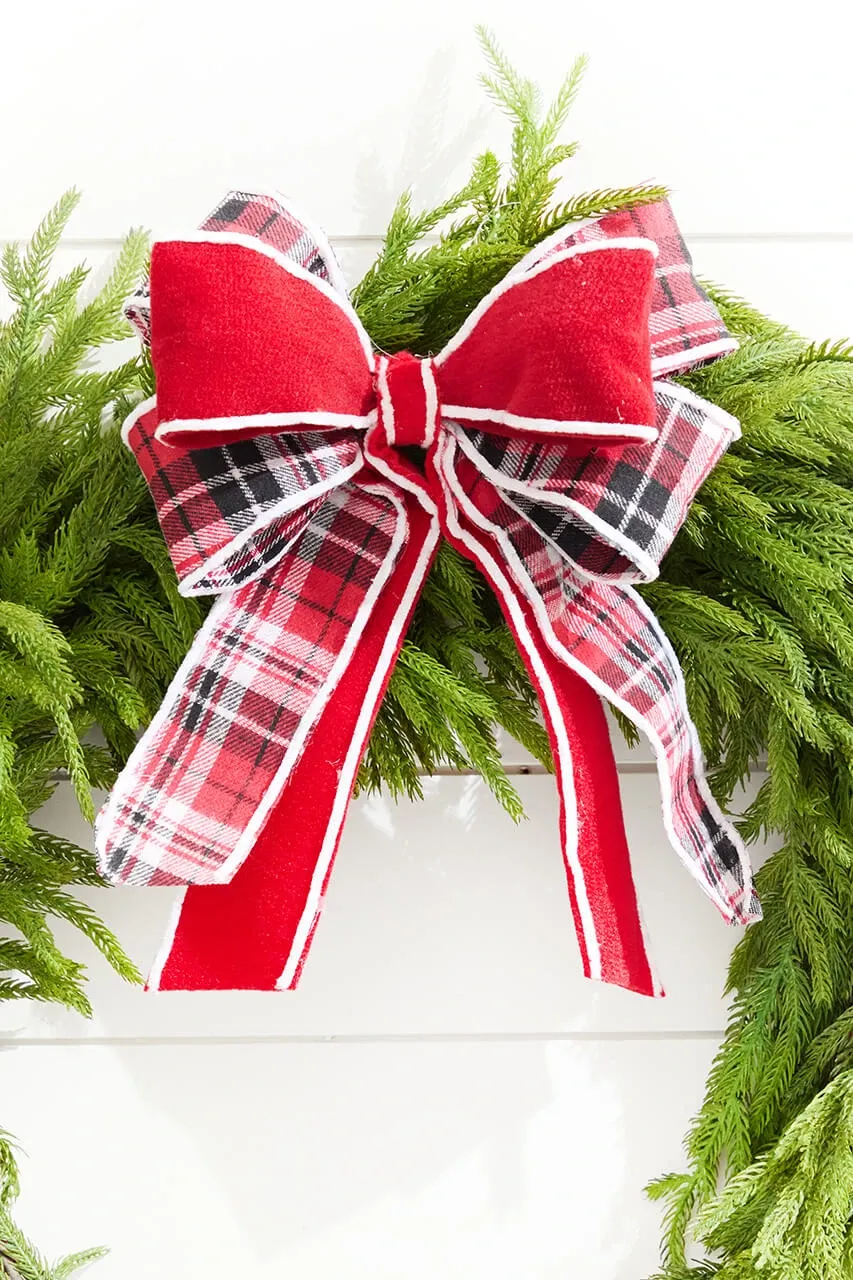
About 20 minutes and $14 in ribbon.
The layering is the entire trick: a solid velvet ribbon riding on top of a busy plaid, offset so both patterns show. One ribbon alone reads flat; two of the same width compete. Velvet gives the eye a solid place to land while the plaid does the talking around the edges.
Wreaths are wildly overpriced for what they are. A plain faux-pine wreath runs $12–$25 at discount stores; the bow costs about $8 and fifteen minutes. Idea #28 takes the same layering approach one step further with more ribbons and no extra skill required.
24. Dark Tree with a Sheer Red Bow Topper
- Artificial tree, 7.5 ft: $120–$300
- Sheer red ribbon, 4-inch, 10 yards: $12–$28
- Mixed ornaments, 50 count: $50–$120
- Warm white LED lights, 500 count: $20–$45
- Tree collar or woven basket: $30–$70
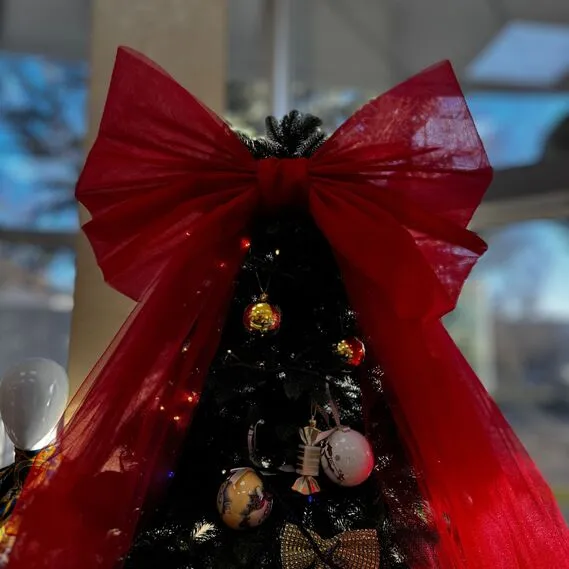
Total: $232–$563. Cheaper route: a used tree from Facebook Marketplace at $40–$80, ribbon from a craft store, and the gold and red ornaments you already own.
Sheer ribbon needs height to look intentional — those long tails want to fall, and on a 6-foot tree they’ll puddle on the floor. Give this topper a 7.5- to 9-foot tree and at least 10 feet of ceiling clearance in a foyer or living room. In a low room, knot the tails at the midpoint instead of letting them run.
25. Three Plush Velvet Bows Against White with Green Garland
Velvet bows are the easiest thing on this list to make for almost nothing. A quarter yard of stretch velvet is $5–$8 and yields two large bows; pre-made versions at home stores run $12–$25 each. Thrift stores and Buy Nothing groups are full of them every January. This is Idea #7 at a completely different scale of project.
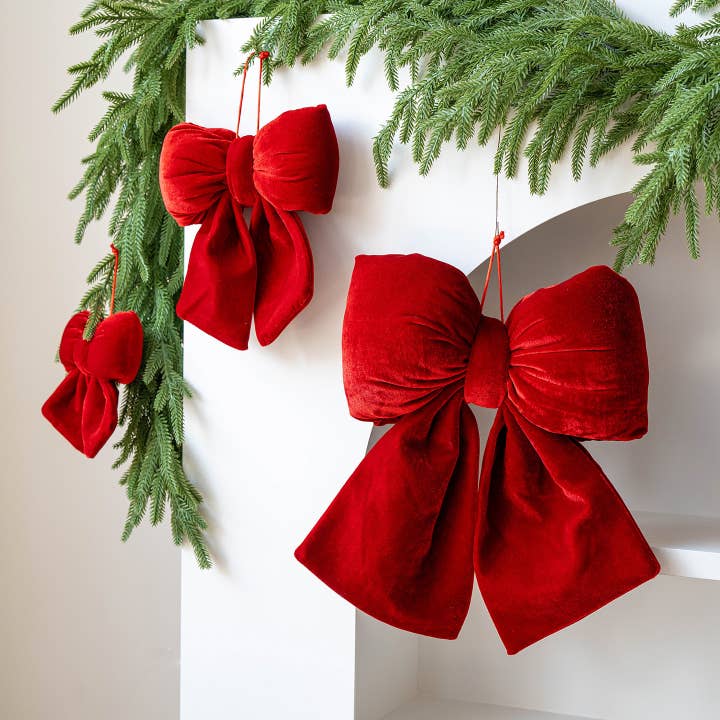
Hang bows at three different heights and three different sizes — roughly 10, 8, and 6 inches — and keep the spacing uneven. Equally spaced, equally sized bows on a garland read as bunting; varied ones read as collected. A thin red string looped at the back of each bow hides the hanging point and stops the bow from tipping forward on the garland.
26. Red, Gold, and Silver Bows on Dense Pine Branches
Three metallic finishes, one fabric — that’s the constraint keeping this from looking like a party store aisle. Roughly 50 percent red, 30 percent gold, 20 percent silver, with every bow cut from the same matte material so only the color changes. Swap silver for rose gold and the same formula reads warmer; swap gold for copper and the whole tree goes earthy.
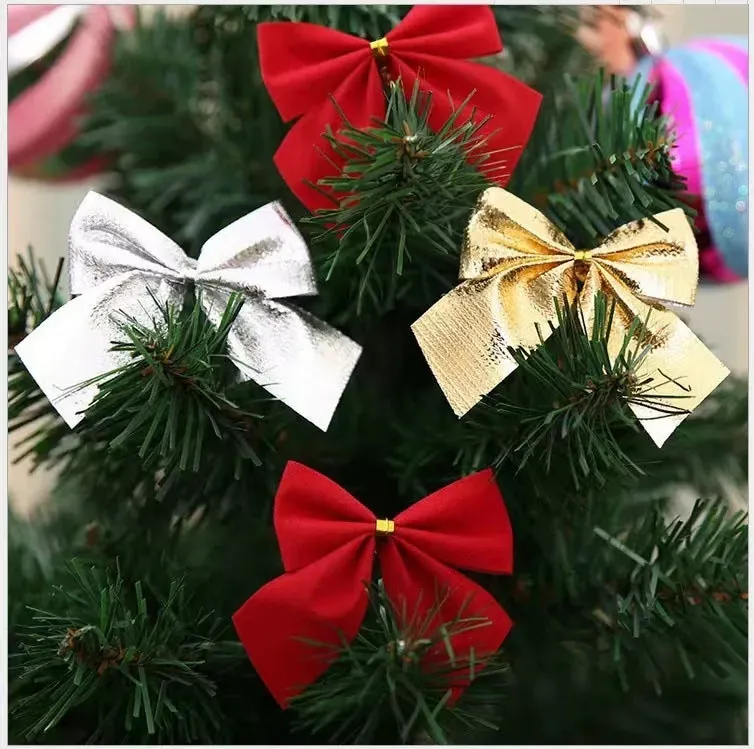
Repetition at small scale reads as texture rather than clutter. Because every bow is the same size and shape, your eye stops counting them individually and registers a field of red and gold — exactly what you want on a busy tree. The tiny gold center ties are the visual rhyme that makes all that repetition feel deliberate instead of accidental.
27. Glittery Red Bow Topper on a Mixed-Ornament Tree
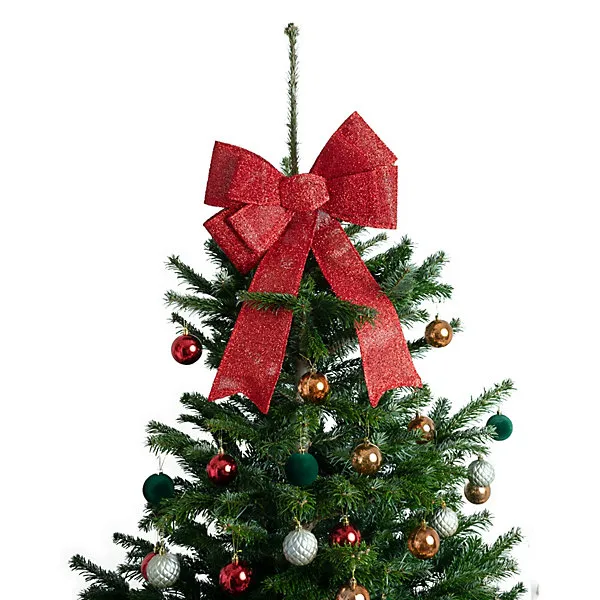
A glitter topper will dust everything below it. If the tree sits over a rug or a pale floor, expect a sparkle trail by mid-December — and don’t put a fabric skirt directly underneath unless you enjoy vacuuming it twice a week. Sealed glitter, the kind that feels almost smooth to the touch, costs a few dollars more and sheds a fraction as much.
Toppers need proportion more than size. A bow topper should be about one-eighth the tree’s height, so roughly 11 inches on a 7.5-foot tree. Anything bigger takes over the whole silhouette, which only works under very high ceilings. Mixed-ornament trees also want 7.5 feet minimum so the ornaments have room not to collide.
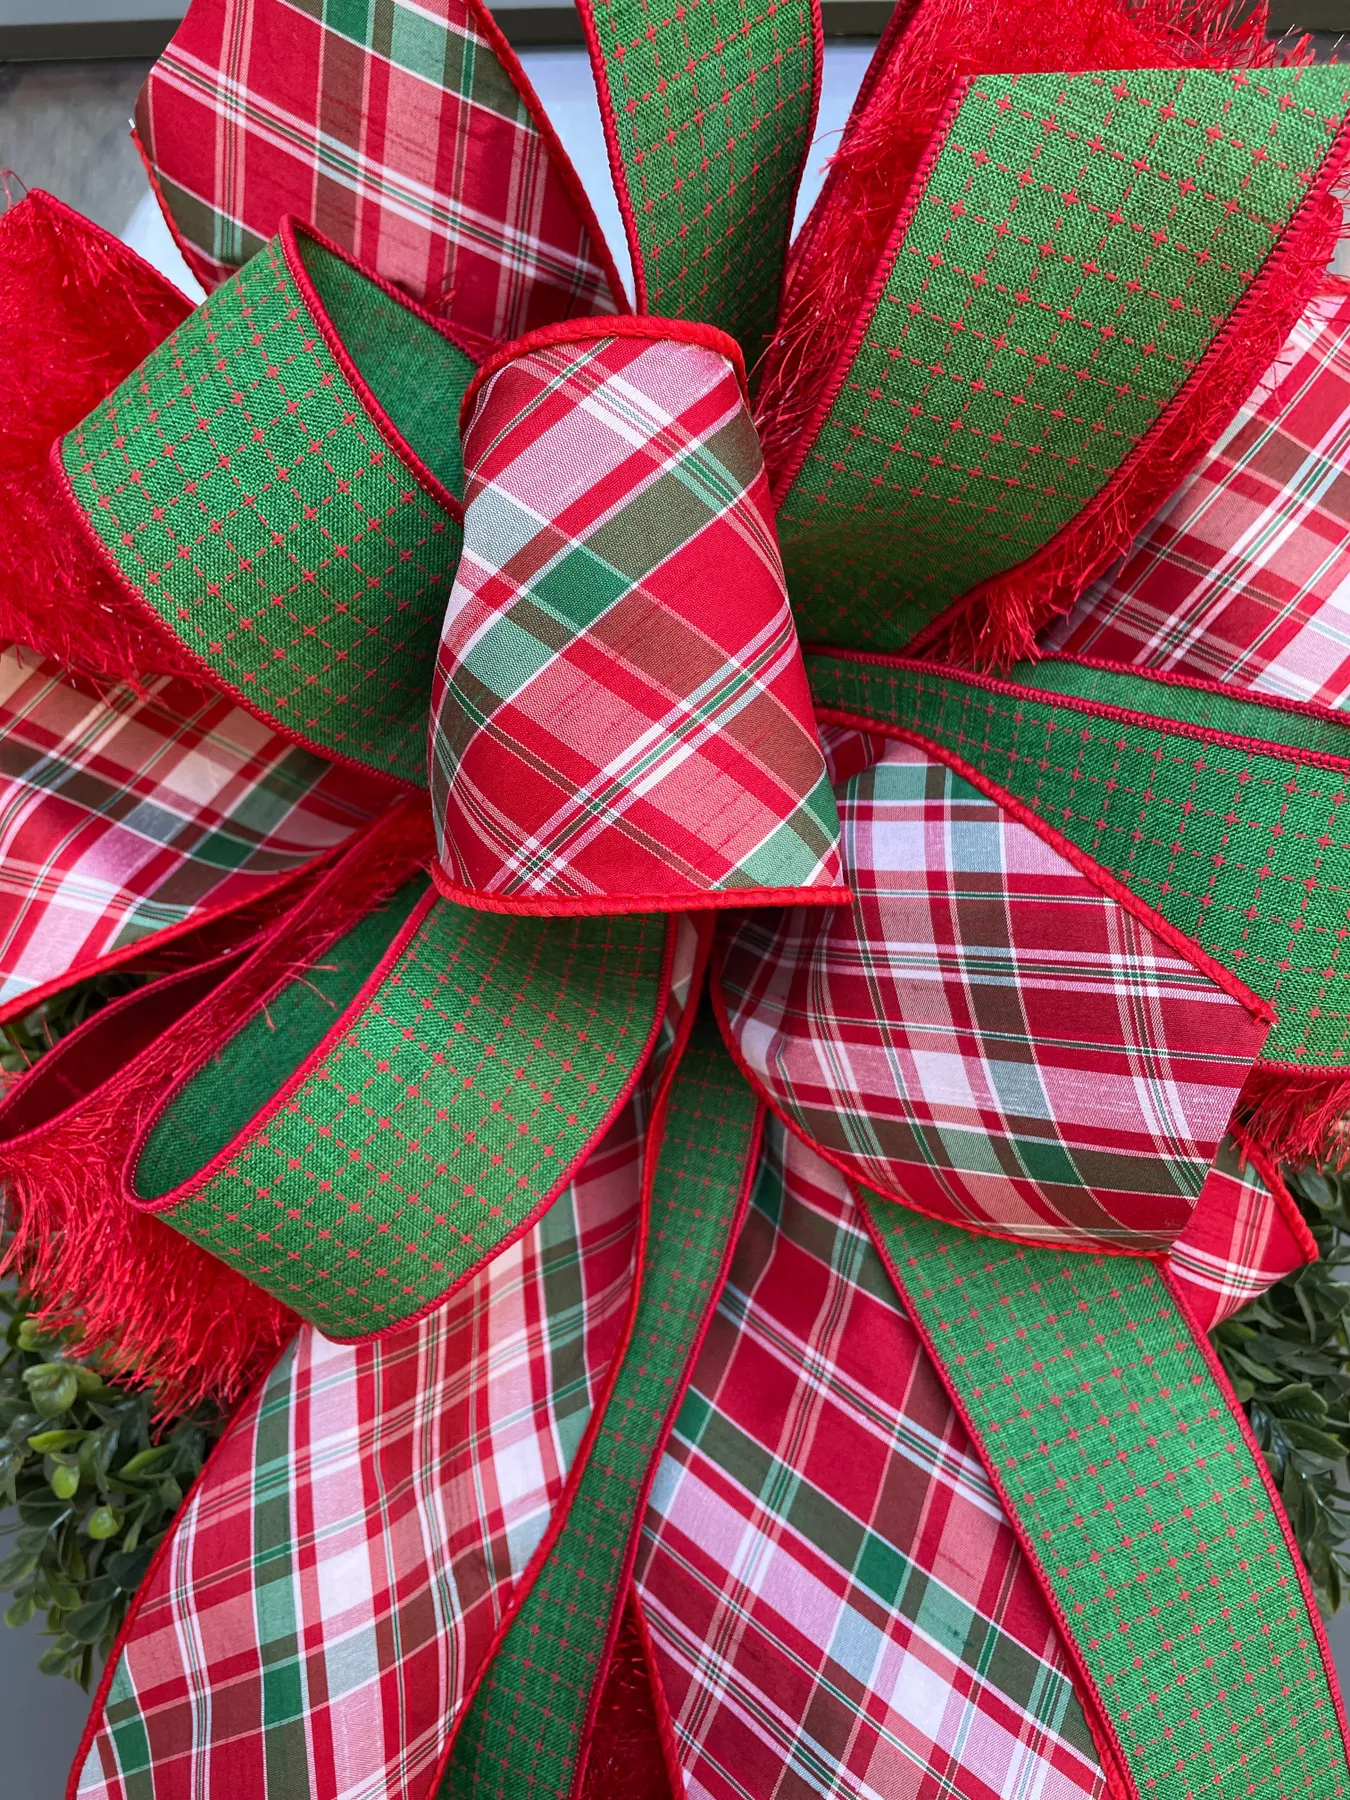
28. Layered Red and Green Plaid Bow with Cross-Stitch Ribbon
- Cut three ribbons: plaid at 24 inches, green cross-stitch at 20, fluffy red at 16.
- Stack largest to smallest, each offset by half an inch.
- Pinch the center and bind tightly with florist wire.
- Fan the loops so all three patterns show at the edges.
- Wrap a narrow red ribbon over the wire to hide it.
Twenty-five minutes and about $16 in ribbon.
Pattern mixing is the counter-move to five years of monochrome holiday minimalism. The 2026 version isn’t random — it’s plaid plus a grid plus a solid, all in the same red-green family, so the clash stays controlled. It also has staying power because it’s built from fabric rather than trends; plaid and cross-stitch have been Christmas staples for a century.
The green cross-stitch ribbon is the detail that makes this bow worth photographing. A red-and-plaid bow alone is everywhere; that middle layer of textured grid adds a second scale of pattern that reads as depth from three feet away. Idea #23 shows the two-ribbon version — same idea, one less layer.
Hang the Bow First, Then Step Back
Every good red bow tree on this list comes down to the same three decisions: the right size, the right ribbon, and the discipline to stop hanging things. Start with one bow and one bare branch, then build outward until it feels finished instead of filled.
Pick the idea that matches the room you actually have — not the one you saw on a two-story foyer. And when you’re done, take the photo from the doorway. That’s the angle everyone else sees anyway. 📌 Pin your favorite version now so it’s waiting for you next November.